Using MSP432 Texas Instrument Launchpad
Launchpad MSP432 : http://www.ti.com/tool/msp-exp432p401r/
Install Energia
http://energia.nu/download/ Download energia-1.6.10E18-windows.zip
With this version of Energia, you can use the MSP432
and the screen Kentec BOOSTXL-K350QVG. After, you have to install a
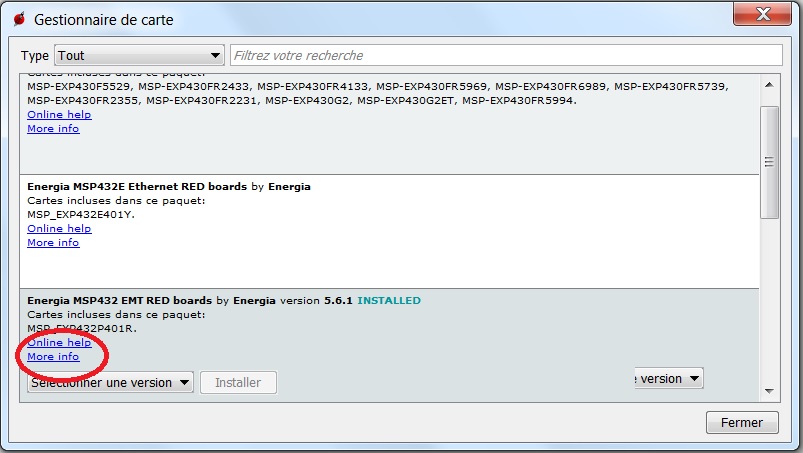
tool that permit to use the MSP432P401R. In the Menu: Tools > Boards
> Board Manager > MSP432P401R, click on
More Info. With the menu on the right Version,
choose 5.6.1
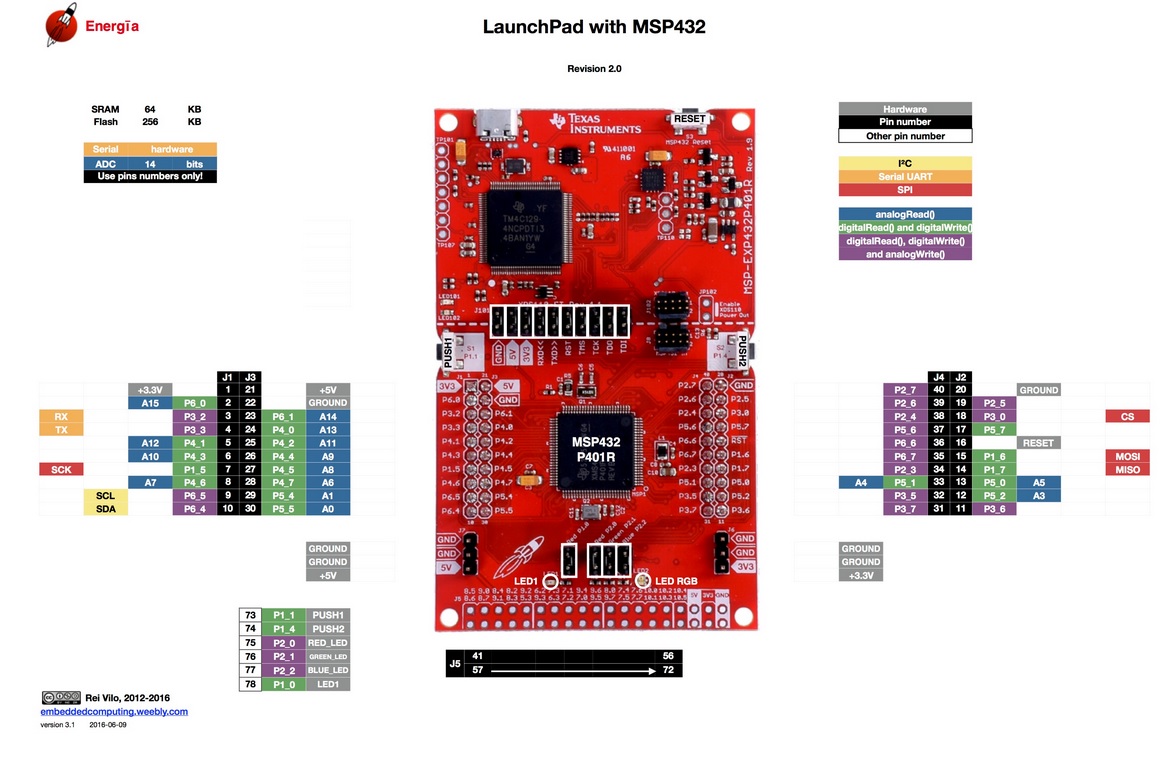
Mapping of MSP432
http://energia.nu/wordpress/wp-content/uploads/2015/03/2016-06-09-LaunchPads-MSP432-2.0-%E2%80%94-Pins-Maps.jpg
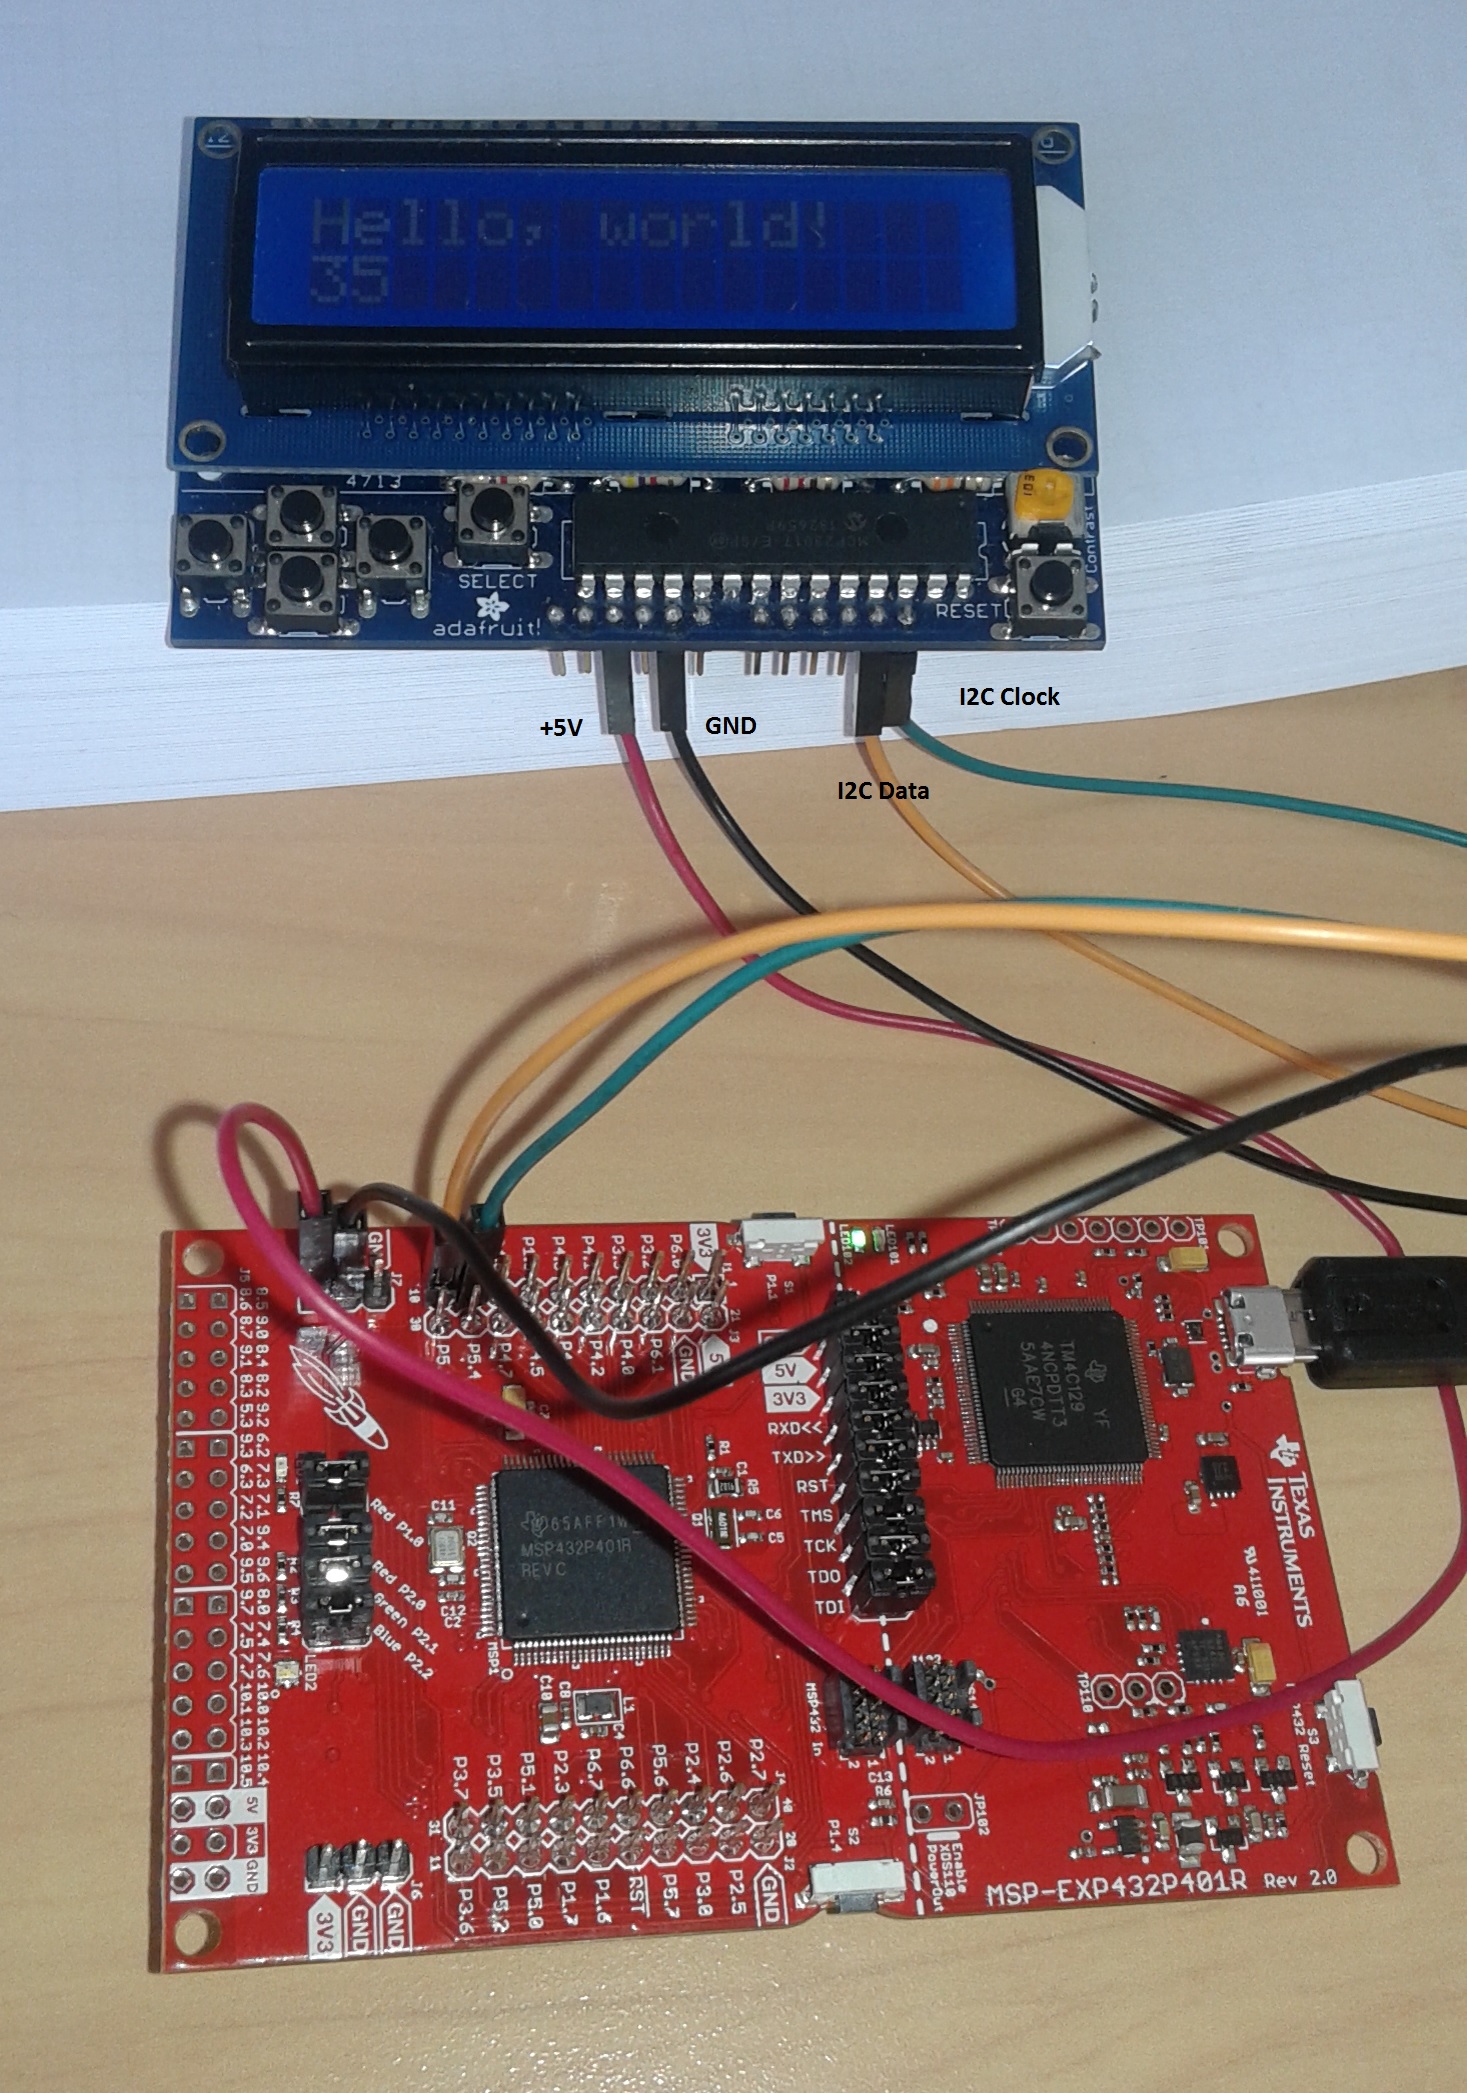
Using the RGB LCD Shield
Download the library Adafruit at this adress: https://learn.adafruit.com/rgb-lcd-shield/using-the-rgb-lcd-shield
Save the library at this location : C:/energia-0101E0017/harware\msp432/libraries/
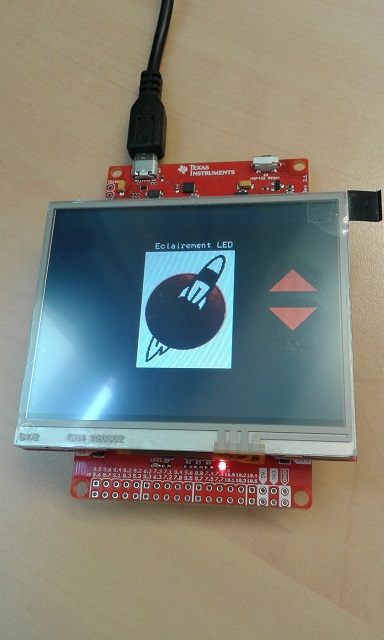
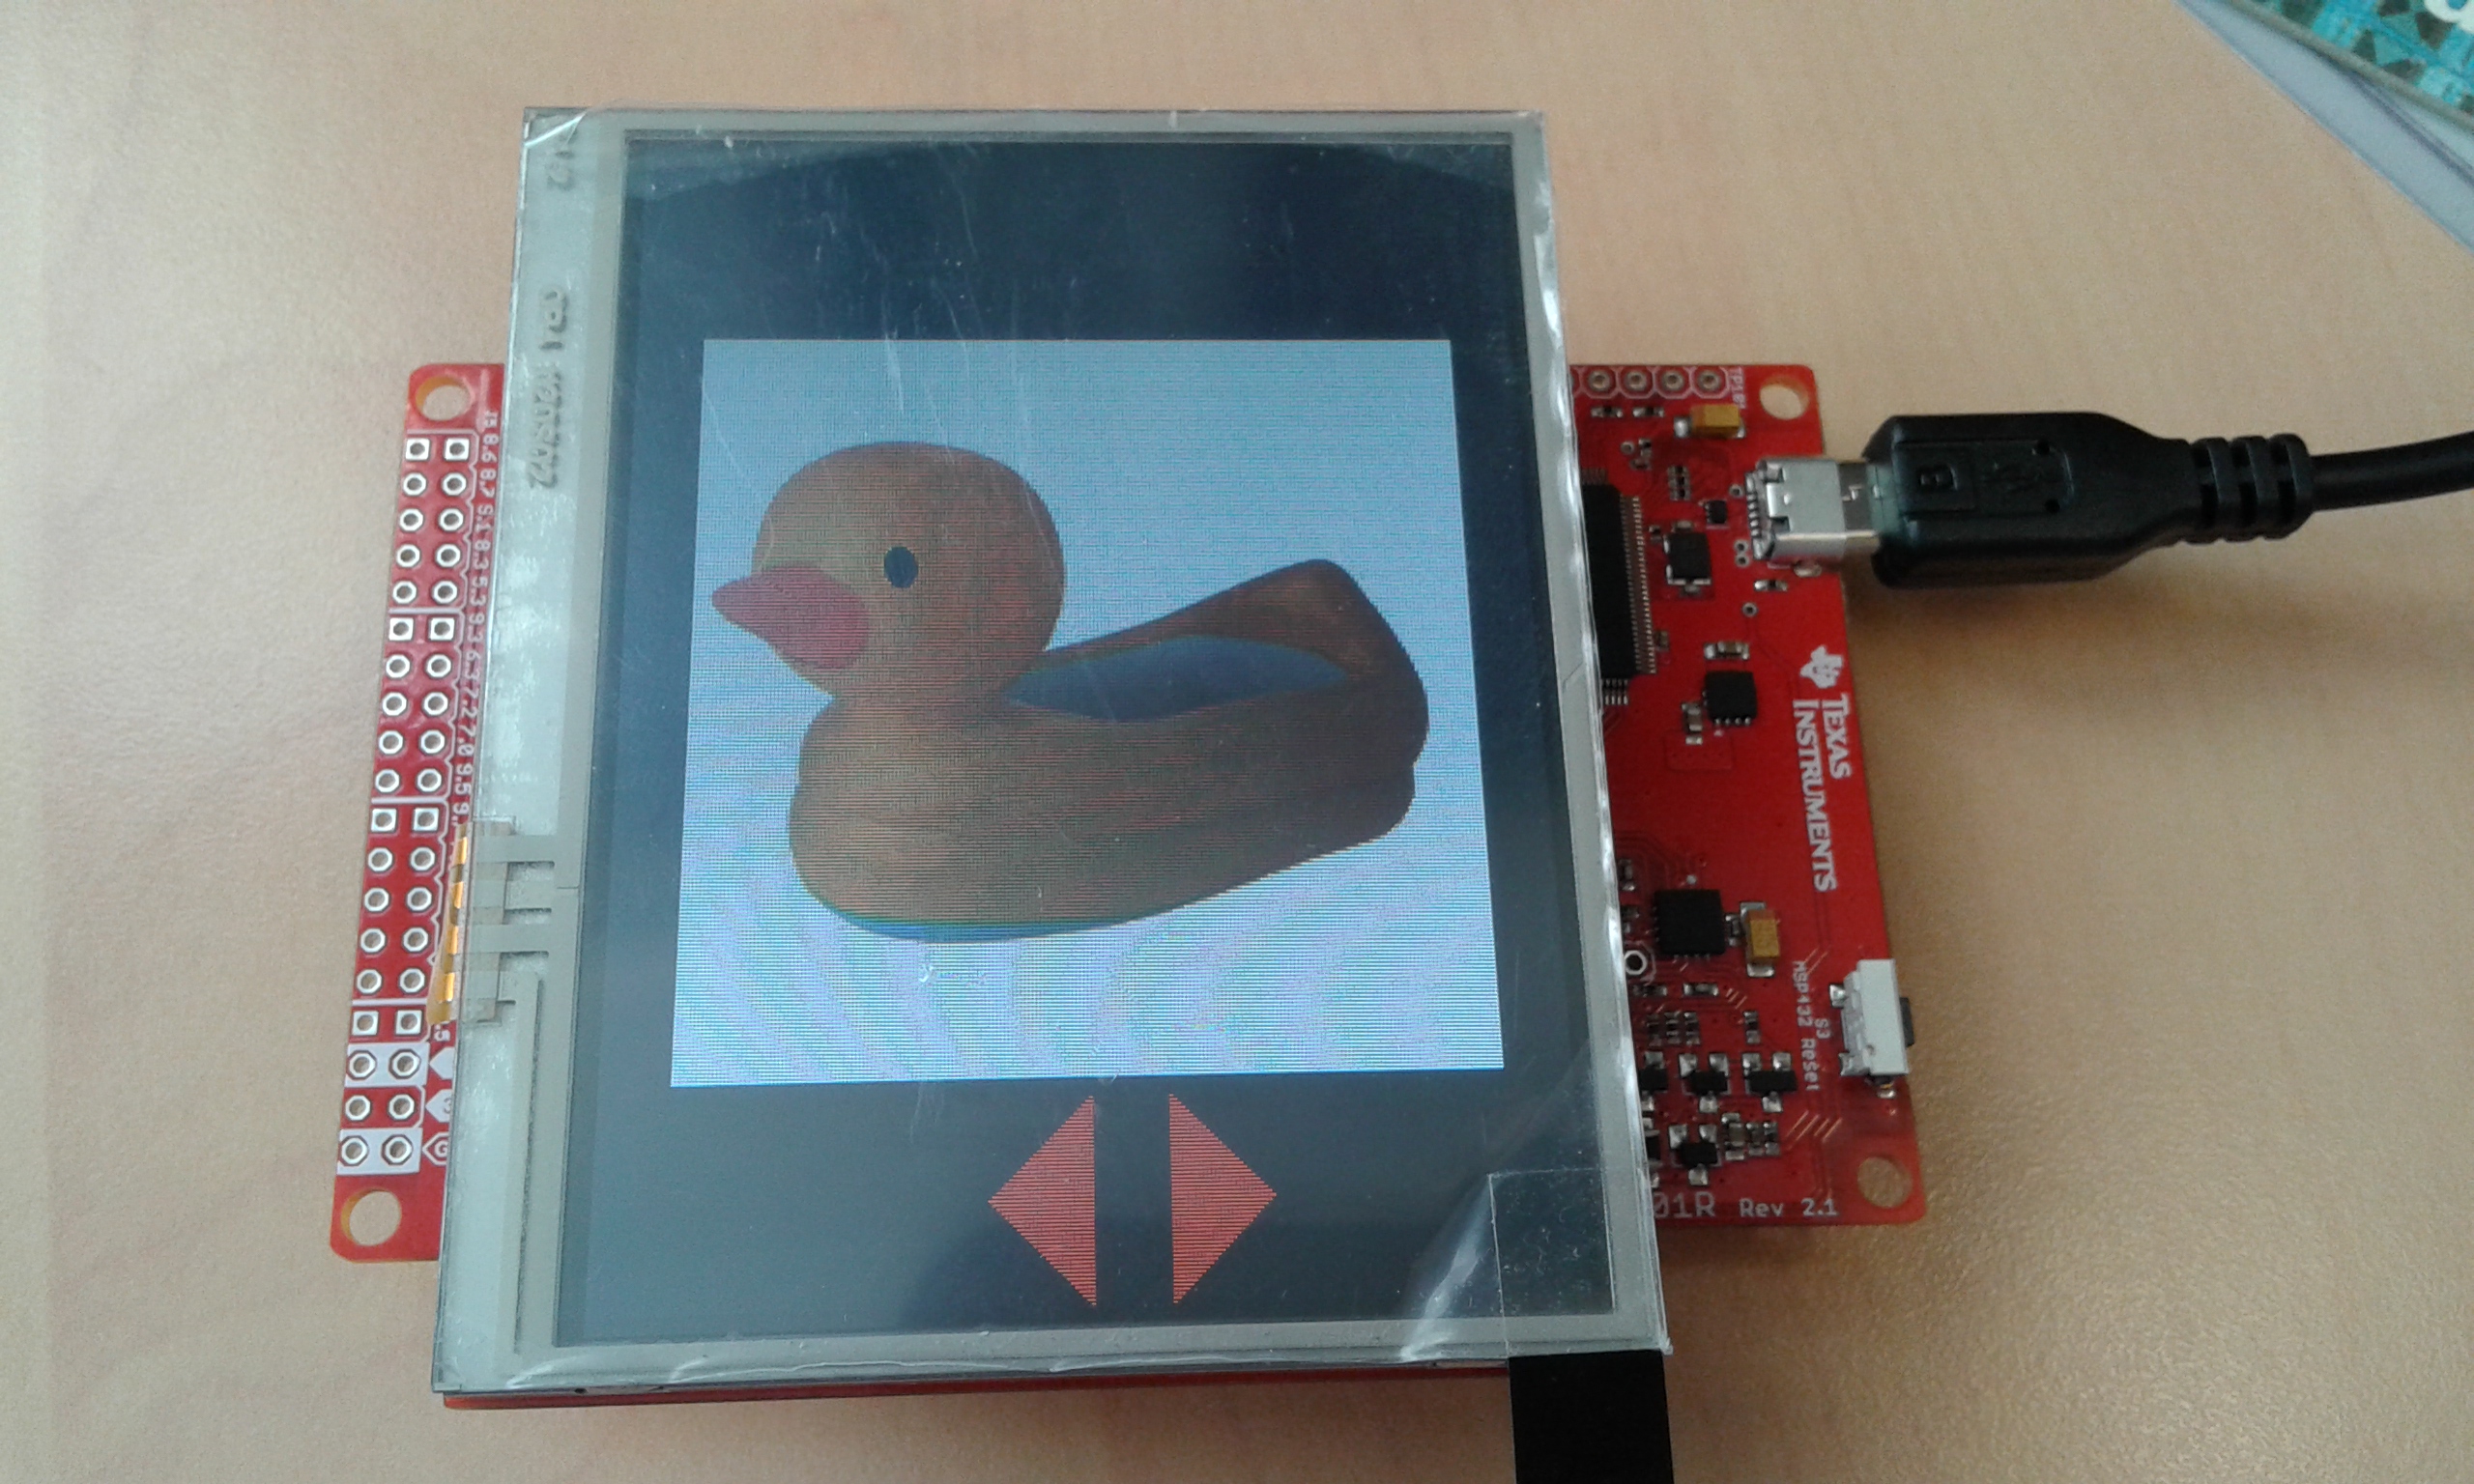
Using the TOUCH LCD BoosterPack
http://www.ti.com/tool/BOOSTXL-K350QVG-S1
The
BOOSTXL-K350QVG-S1 Kentec QVGA Display BoosterPack is an easy-to-use
plug-in module for adding a touch screen color display to your
Launchpad design. MCU LaunchPad developers can use this BoosterPack to
start developing
applications using the 320 x 240 pixel
SPI controlled TFT QVGA display with resistive touch screen.
This BoosterPack works with the energia-1.6.10E18-windows. if you install the In the Menu: Tools > Boards > Board Manager >
MSP432P401R, click on More Info. With the menu on the right
Version, choose 5.6.1
Commands for the screen
Program.ino to begin with the use of the BOOSTXL-K350QVG-S1. Download this file. Extract it and open with Energia the file Essai_Ecran.ino
Download an image
You
have to generate an image with a size lower than 320x240 pts. This
image have to be converted in a file.h and each pixel is represented
with 16bits. For that, you can use LCD Image Converter
https://sourceforge.net/projects/lcd-image-converter/
Using LCD-Image-Converter https://sourceforge.net/projects/lcd-image-converter/
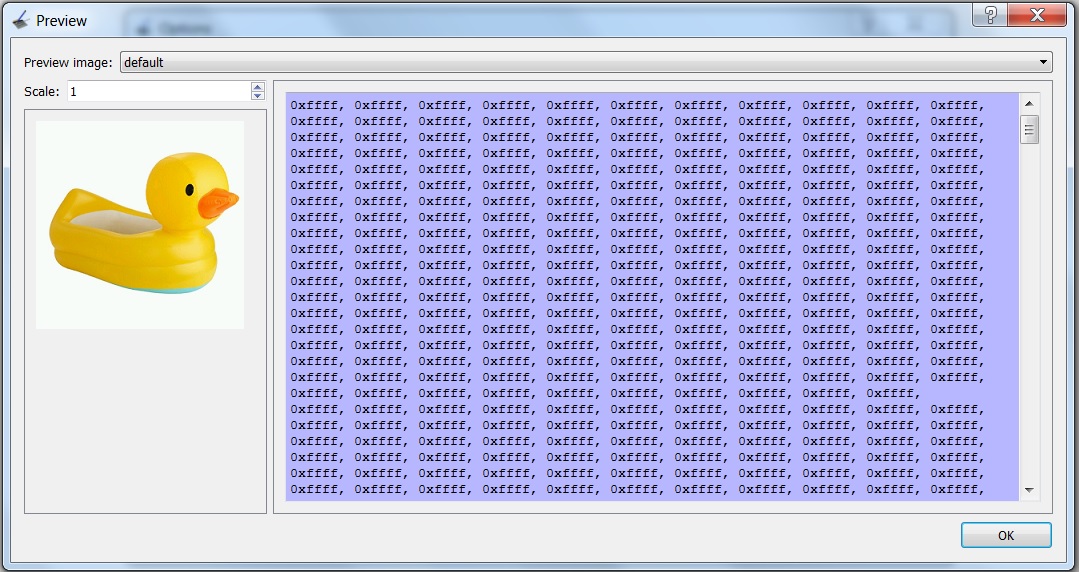
, download a new image: File > New Image. And Options >
Conversion > Preset > Color R5G6B5. In the menu Image, choose
Block Size = 16 bits. After, with the menu Show Preview visualize and
copy all the values of the file in duckR.h
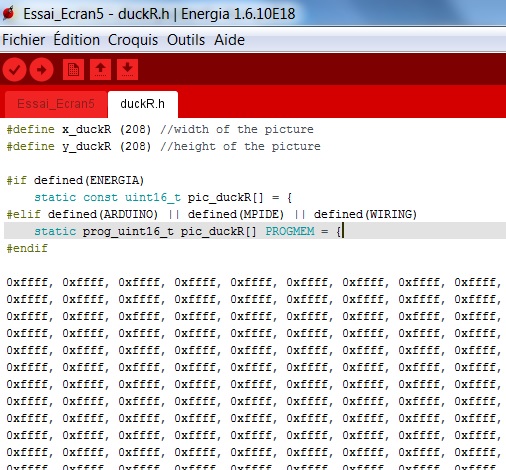
In
the file duckR.h, you have to add the first lines that define the width
and heigth of the picture. The following files give you the files.
duckR.h
Essai_Ecran5.ino
Essai_Ecran.zip