Scene & Prefab
Physics
Setup
In the Project window, navigate to _Unity Essentials > Scenes.
Open 2_KidsRoom_3D_Scene.
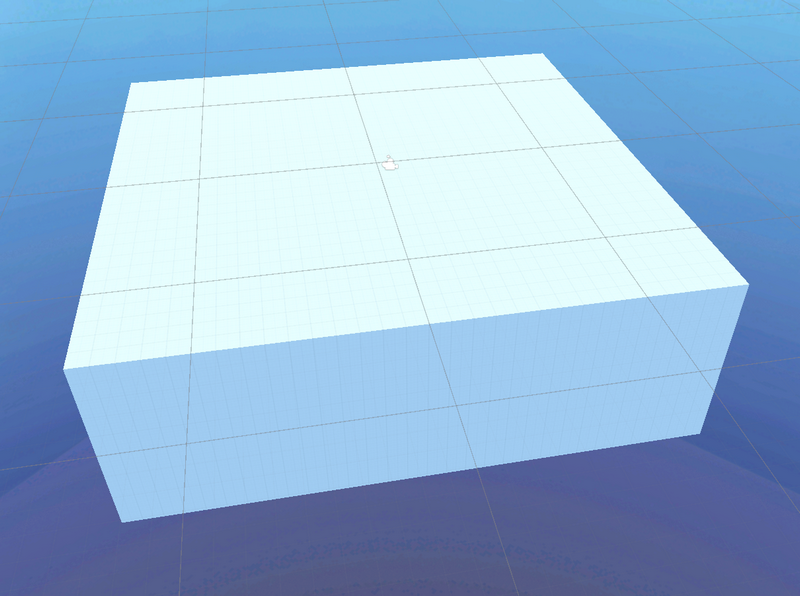
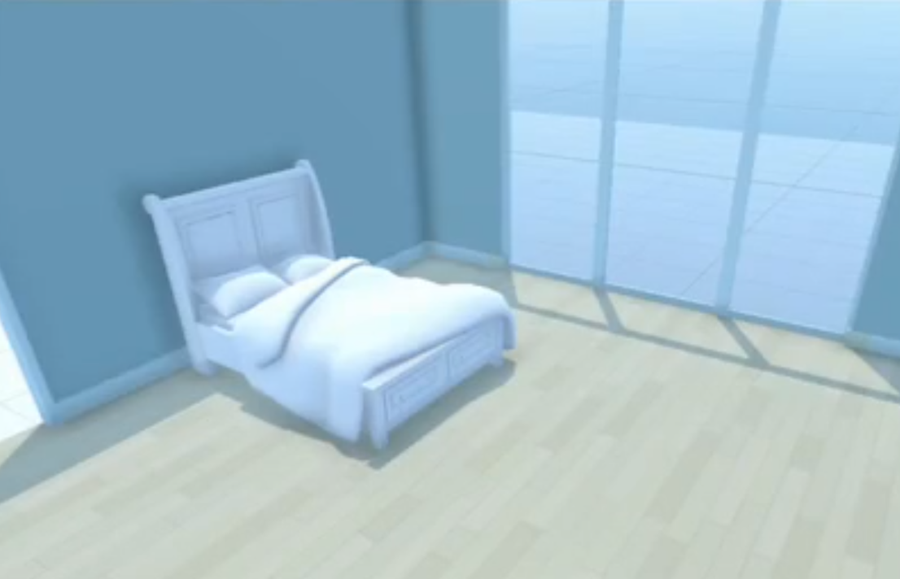
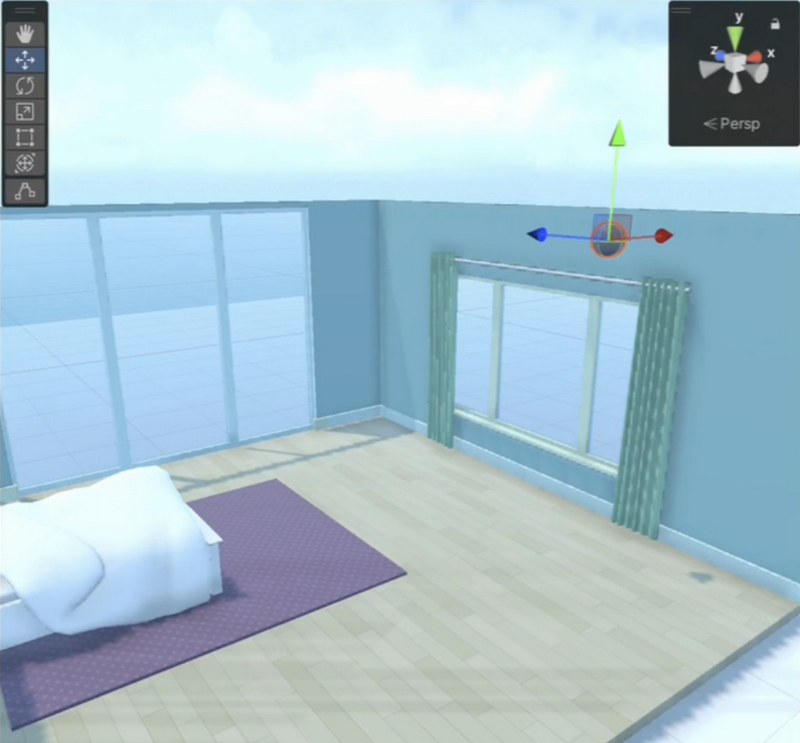
You’ll see a big empty white ground object in front of a blue sky in the Scene view:
Prefab
Prefabs are pre-fabricated assets that you can reuse across your project.
In the Project window, go to _Unity Essentials > Prefabs > Rooms.
Click and drag the 01_Bedroom prefab onto the center of the ground in the Scene view.
Center scene
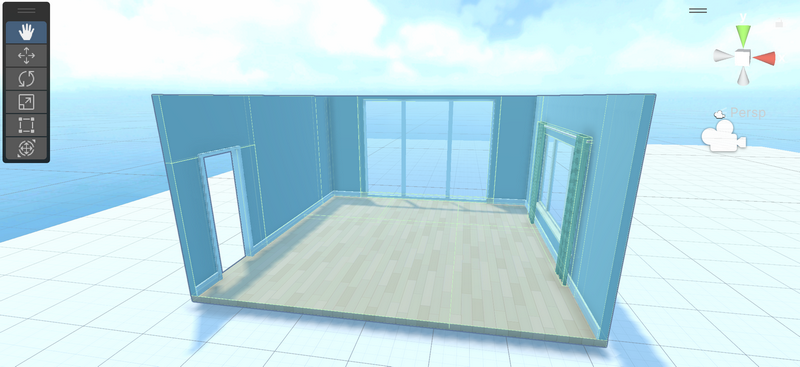
Next, Frame, Orbit, FlyThrough, and Zoom to get a good view of the empty room:
Use F to frame in on the bedroom.
Hold left-click + Alt and drag with your mouse to orbit around the room.
Hold right-click + WASD QE to flythrough.
Zoom with the scroll wheel to get to a good distance.
Transform component
Every single object in your scene has a Transform component, which allows you to control the object’s position, rotation, and scale.
The origin of a scene is position 0, 0, 0 on the X-, Y-, and Z-axes.
In the Hierarchy window, select the 01_Bedroom GameObject.
Go to the Inspector window and set the Position values in the Transform component to X = 0, Y = 0, and Z = 0.
Preview
Navigate to _Unity Essentials > Prefabs > Bedroom
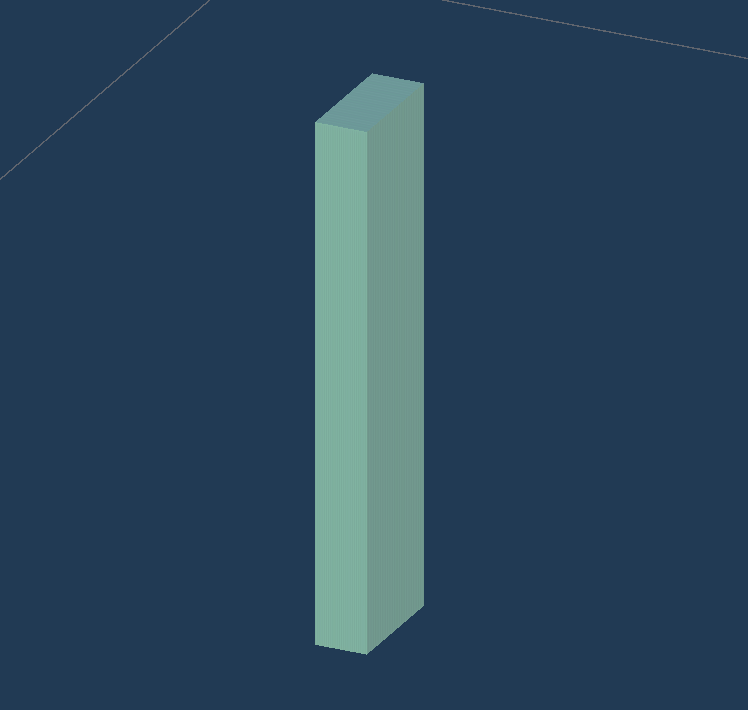
Select each of the beds to preview them at the bottom of the Inspector window.
Don’t double-click the bed prefabs in the Project window, it would open the prefab as a new scene.
Just single-click them to preview them.
Drag a bed prefab into your scene.
Use the Move and Rotate tools to position it with its back against the left wall.
Tip: You can always undo any unwanted edits with Ctrl+Z.
Change object size
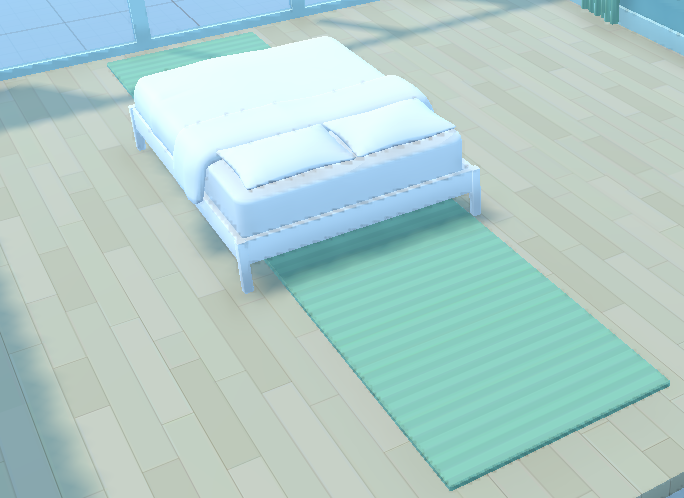
Drag the prefab RugRectangleLong_Green and put it under the bed.
As you notice, its size is not big enough.
Select the the rug.
Activate scale tool.
Drag the correct axe to extend the rug’s size.
Decorate
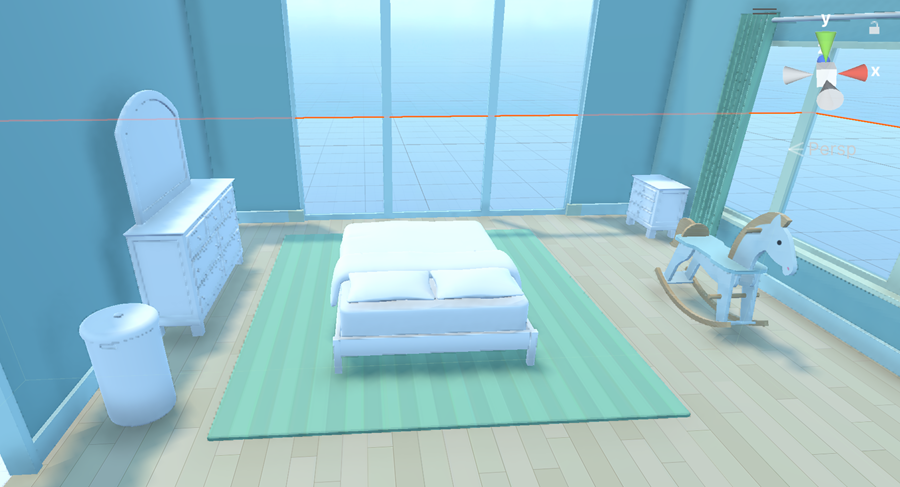
Personalize your bedroom by adding some more furniture. Use your own design sense to arrange items like nightstands, dressers, and chests.
At a minimum, add:
a rug
one other piece of furniture
a rocking horse
a basketball
Tip: Frame and orbit around newly placed objects to make sure they’re actually located where you think they are.
Bouncing ball
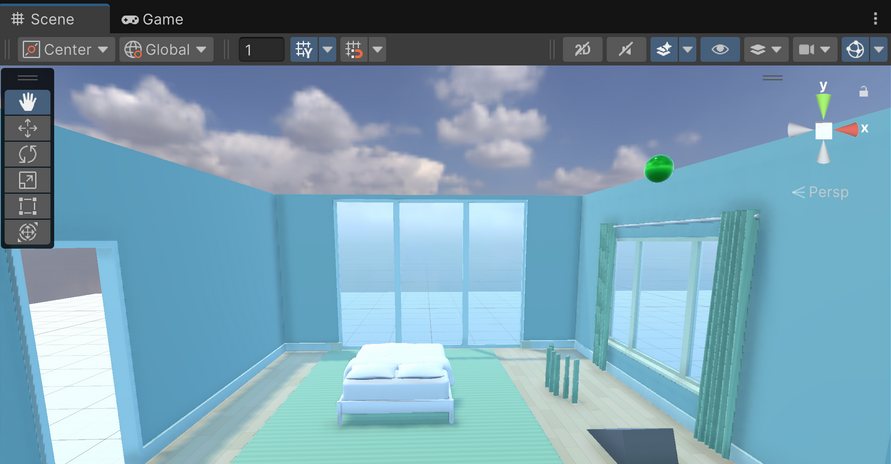
Create a sphere
In the Hierarchy window, right-click in an empty area and select 3D Object > Sphere.
Avertissement
When you create the sphere, it may appear in a seemingly random location, which is actually based on the object you last framed in the Scene view. You might not even see the sphere after creating it. Don’t worry about its location for now!
Right-click on the new Sphere GameObject in the Hierarchy window, select Rename, and rename it “Ball”.
Note
In Unity, where 1 unit equals 1 meter.
Make sure the Ball GameObject is still selected.
In the Transform component, modify the Ball GameObject’s Scale to adjust the ball size so that it measures 25 cm.
Note
Rather than using the Transform tools in the Scene view to drag the ball around, you’ll enter the ball’s precise position directly in the Inspector window in the Transform component.
With the Ball GameObject still selected, locate the Transform component in the Inspector window.
Set its Transform position to X = 2, Y = 3, and Z = -1.
Apply a material
Materials define the visual appearance of objects in Unity.
You can notice that the sphere primitive had by default a material with gray color.
In the Project window, navigate to _Unity Essentials > Materials.
Right-click inside the Materials folder and select Create > Folder, and name it “My Materials”.
Double-click to enter this folder.
Inside the new My Materials folder, right-click and select Create > Material.
Rename the new material “Ball_Mat”.

In the Inspector window, in the Surface Inputs section, for the Base Map property, click the white color swatch to choose a new color.
Adjust the slider Metallic Map to make the object more or less shiny.
Remember that you have a preview of the result at the bottom of the window :

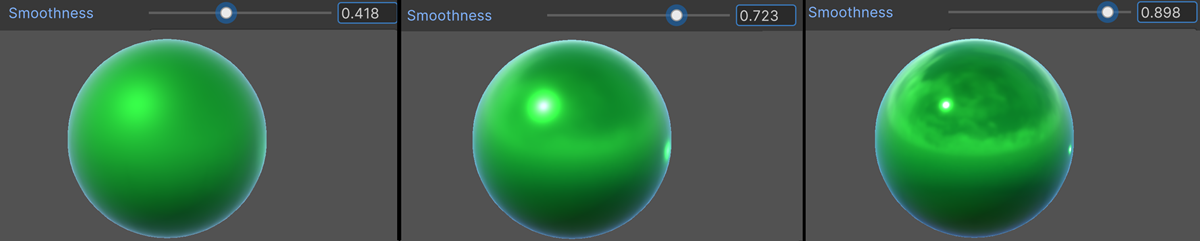
Adjust the Smoothness slider to sharpen or to blur reflections on the material :
Note
You have just created a new asset. This material can be used in any scene of the entire project.
Drag the Ball_Mat material directly onto the Ball GameObject in the Scene view to apply this material on the ball.
Rigidbody
Without doing anything, the ball will stay at its current location in midair. We will now add a Rigidbody to simulate mass and gravity.
Select the Ball GameObject in the Hierarchy window or Scene view.
Select the Add Component button at the bottom of the Inspector window.
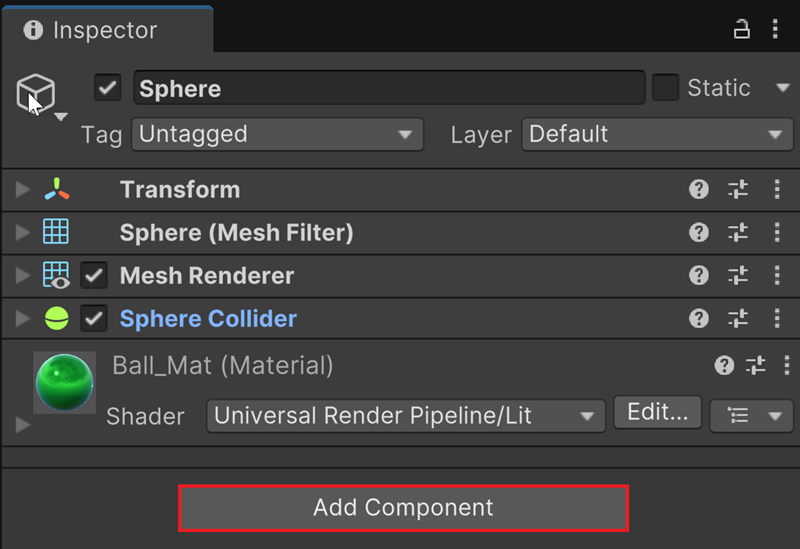
Enter « Rigidbody » in the search bar and select the Rigidbody component.
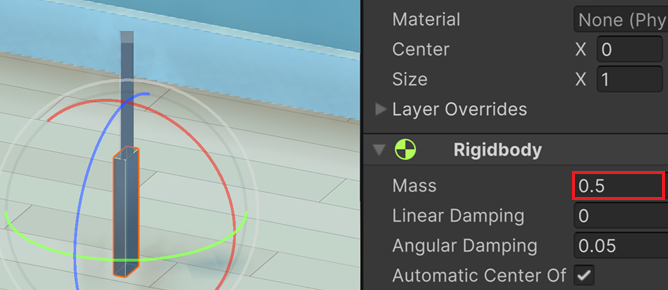
Notice that a new Rigidbody component has been added to your ball:

Enter Play mode and watch how your ball responds to gravity.
Exit Play mode.
Physics material
Your bouncy ball’s bounce is probably pretty disappointing. It behaves more like a bag of sand than a lively, bouncy ball. To make it bounce, you’ll create and apply a Physics Material. Unlike standard materials, which control the visual aspects of GameObjects, Physics Materials govern the physical behavior of GameObjects, like how they bounce upon impact.
Inside the My Materials folder, right-click and select Create > Physics Material.
Rename the new material « Ball_Physics ».

In the Inspector window, set the Bounciness property of this Physics Material to 1 for maximum bounce effect.

Drag and drop the Physics Material onto the ball in the Scene view.
Select the Play button and watch as your ball bounces.

Exit Play mode after you’re done testing.
Collision
In the Project window, navigate to Prefabs > Shapes.
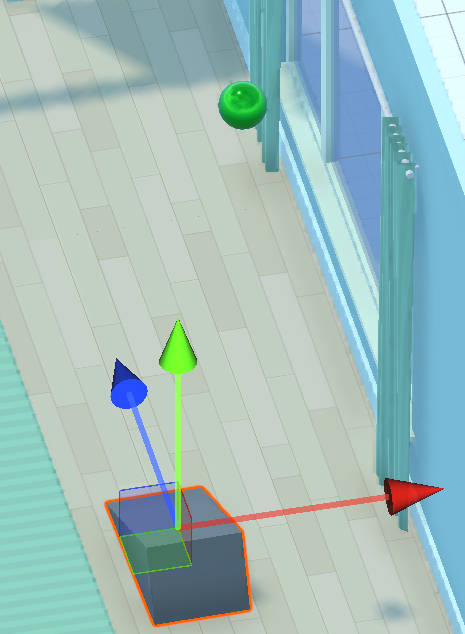
Drag the Ramp prefab into your scene and place it on the floor.
For precise positioning:
Select the Ball GameObject and press F to frame it.
Switch to the top view using the Scene view gizmo.
With the Move tool, adjust the ramp’s position so it’s directly under the ball.

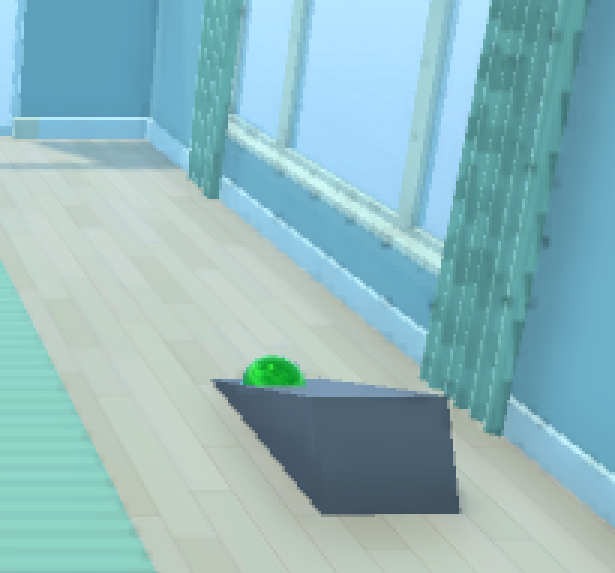
Enter Play mode.
Notice the unexpected result where the ball passes through the ramp.
Exit Play mode.
Colliders
You’ll now fix the ramp by adding a collider component, which is essential for physical interactions in Unity. A collider is a component that defines the shape of an object for the purpose of physical collisions and interactions within the environment. Without a collider, an object has no physical boundaries and other objects can go right through it like a cloud.
Note
The sphere primitive you added earlier for the ball already came with a Sphere collider.
Unity provides various options:
Sphere collider
Cube collider
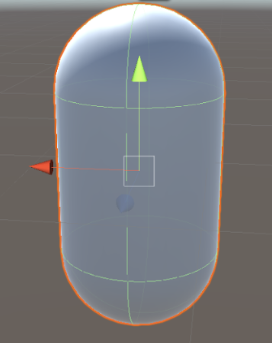
Capsule collider:
Note
To display an object in the scene, we need a geometric model with several thousand facets. But to detect collision between an object and the rest of the world, we can use basic geometric shapes like above. This is quite sufficient, especially for moving objects or characters.
However, since the ramp has an irregular shape, in such a situation, we need to use something called a Mesh collider. In such a situation, the geometry of the collider corresponds to the geometry of the object.
Avertissement
A mesh collider has to be used with caution. Indeed, if the geometry of the object is in high definition, you’ll experience a flagrant loss of performance/fps.
Now:
Select the ramp in your scene.
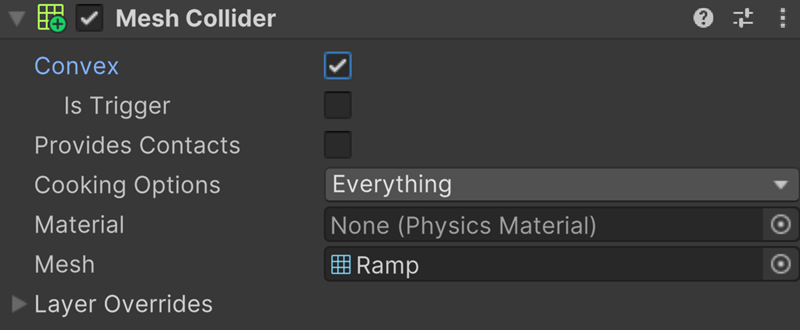
In the Inspector window, select Add Component and search for “Mesh collider”.
Add the Mesh collider component to the ramp.
In the Mesh collider component, enable the Convex property.
Avertissement
Enabling the Convex property simplifies the collider into a convex shape: technicality like a gift wrap. This way, you can drastically reduce the number of facets of a complex geometric object.
Enter Play mode to test the ball’s interaction with the ramp.
Exit Play mode.
Tower of tiles
Create a tile
Add a wooden tile facing the ramp.
Create a 3D cube.
Scale and move the cube to obtain a wooden tile.
Enter play mode to test its collision with the ball.
Notice that after the collision, the tile stay fixed.
Add a rigidbody to the tile.
Notice that now the tile is falling.

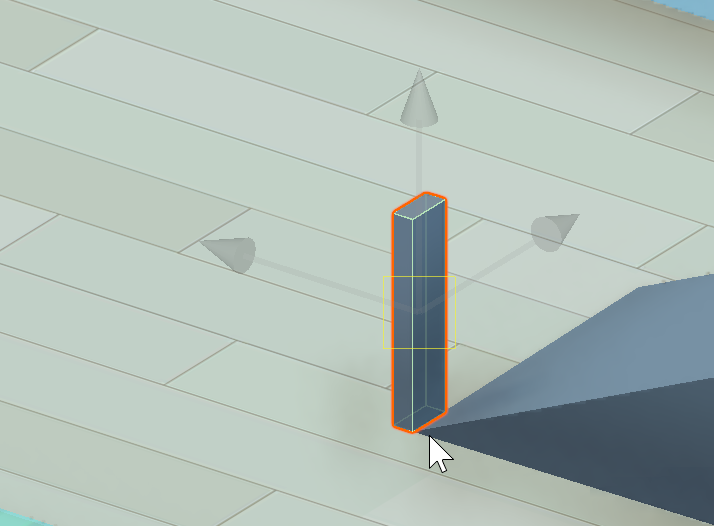
Snap to vertex
If you look at the positioning of the tile on the ground, you will generally notice that it is floating in the air. This is due to an imprecise placement:
The manipulation described below is new to you. Thus, focus before you begin:
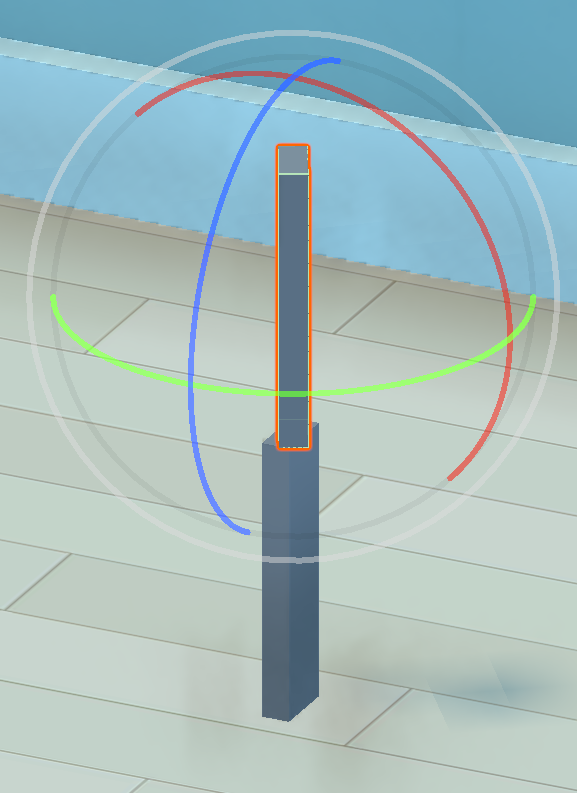
Select the tile.
Check that the move tool is active.
Hold on the V key
Move your cursor to one of the bottom vertices of the tile.
Notice that the axes dynamically move, it is just a responsive interface, nothing happens.

Click without releasing on the bottom vertex you selected:
Axes and cursor disappear !
The tile may also disappears !
Move your cursor to a bottom vertex of the ramp.
The selected vertex will snap to the bottom vertex.
Release left button and the V key to validate.

In case nothing goes as you wanted, perform an UNDO with CTRL+Z.
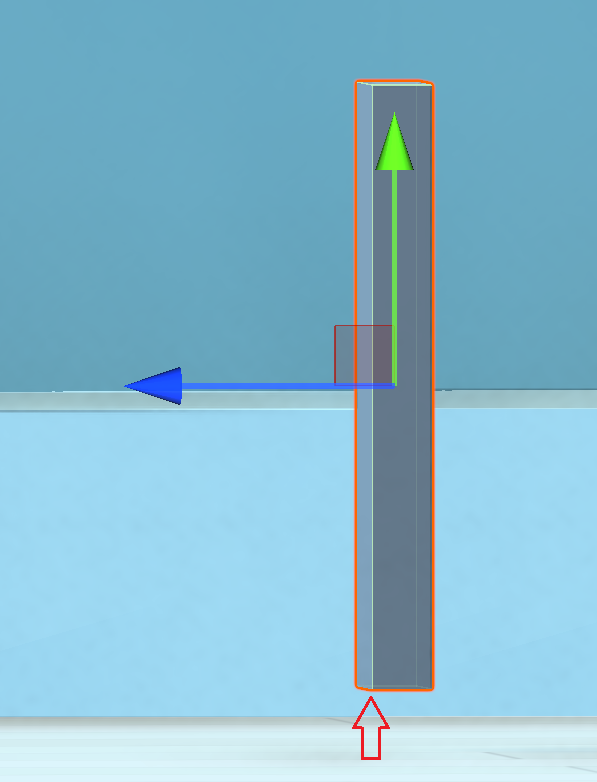
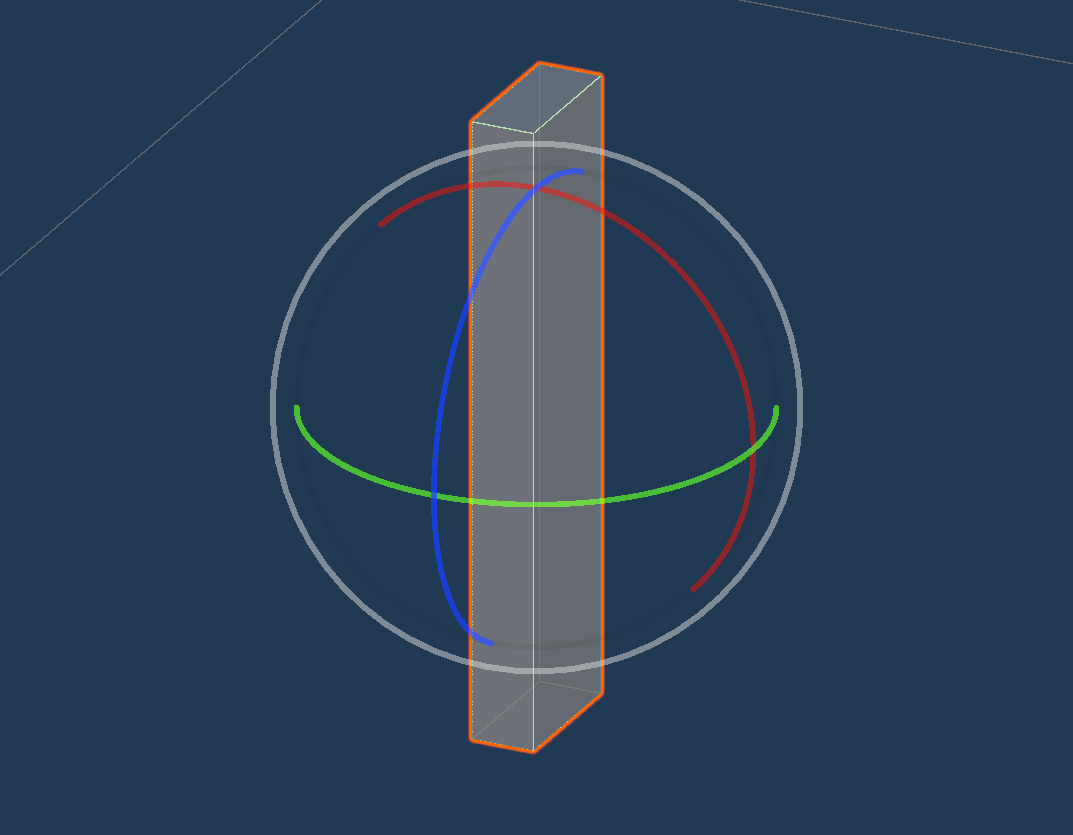
Move object in only two directions
The tile is now placed on the ground. We have to move it the its previous location without changing its height. Thus, we have to use the translate tool only in two directions. For this, we have two options:
Use the red gizmo to translate in one direction and then the blue gizmo to translate in the other direction.
Use the flat square in the center of the move tool:
Create a Prefab
To build a tower of tiles, we would want to reuse our previous tile already set up correctly (size and rigidbody). For this, we transform our object into a prefab and then we use this prefab to create each tile of the scene.
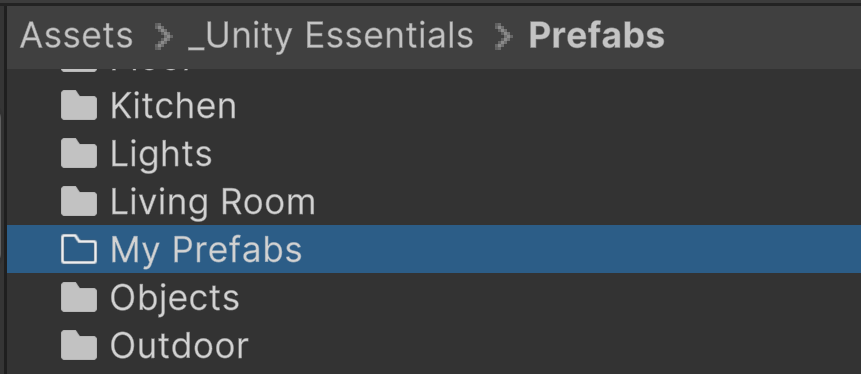
In the Project window, navigate inside the Prefabs folder.
Select the Add, (+) button, at the top of the Project window.
Then select Folder and name it “My Prefabs”.
Click and drag your GameObject from the Hierarchy window into the My Prefabs folder in the Project window.

Observe that the object in the Hierarchy window turns blue, indicating it is a copy — or an instance — of a prefab.

Note
When you drag a GameObject from the Hierarchy window into any folder in the Project window, it converts the object into a prefab.
Note
Prefabs in Unity are GameObjects, with all their components and properties already set up. Prefabs are not classes like in OOP: a new object created from prefab is a copy of the prefab object. This mechanism prevents the use of constructors, which could be more complex to implement.
Reusing prefab
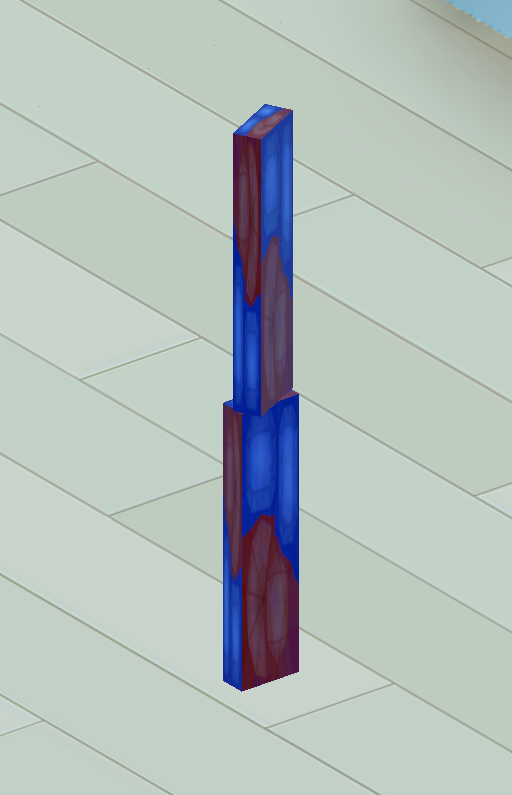
Drag the Cube prefab to build a new tile above the previous one.
Rotate the new tab to shift it slightly.
Use the snap technique to ensure that the two tiles are stacked on top of each other with no gap.
Edit a prefab
Avertissement
Editing an instance of a prefab does not affect the other instances of the prefab or the prefab itself.
We now explain how to edit and modify an existing prefab:
Locate your prefab in the Project window.
Still in the Project window, double-click the prefab to enter prefab editing mode:
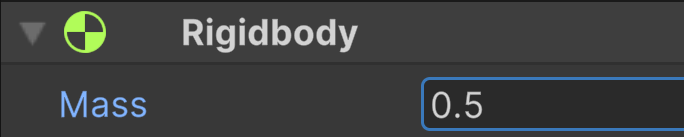
Navigate to the Rigidbody component in the Inspector window.
Change the mass from 1kg to 0.1 !
To exit prefab editing mode, select the small back arrow at the top of the Hierarchy window.

Select the tiles and check their mass:
Note
Changes made to a prefab are propagated to all its instances.
Now, we change the appearance of our tiles:
Re launch prefab edit mode.
In the mesh renderer, open Materials and click on the button:
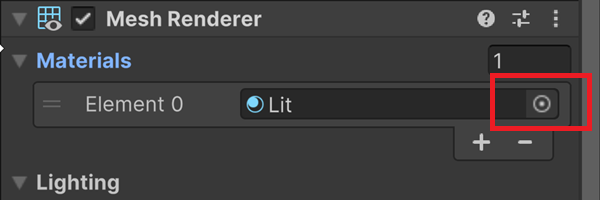
Select the material you prefer.
Go back to the scene view.
Group objects
In the Hierarchy window, select the first tile.
Then hold down the Shift key and select the second tile.
You can also hold Ctrl (macOS: Cmd) to select individual additional GameObjects.
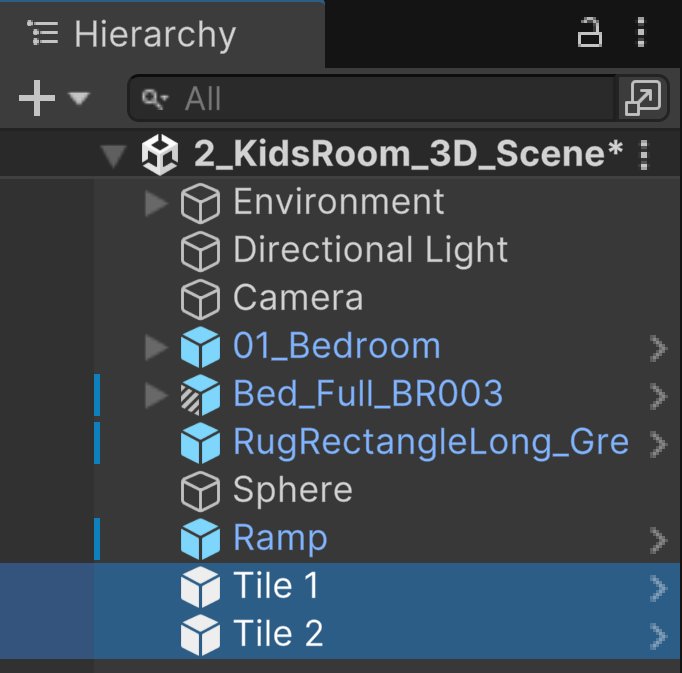
Right-click the selected items and choose Create Empty Parent.
Rename the parent to GroupOfTiles.
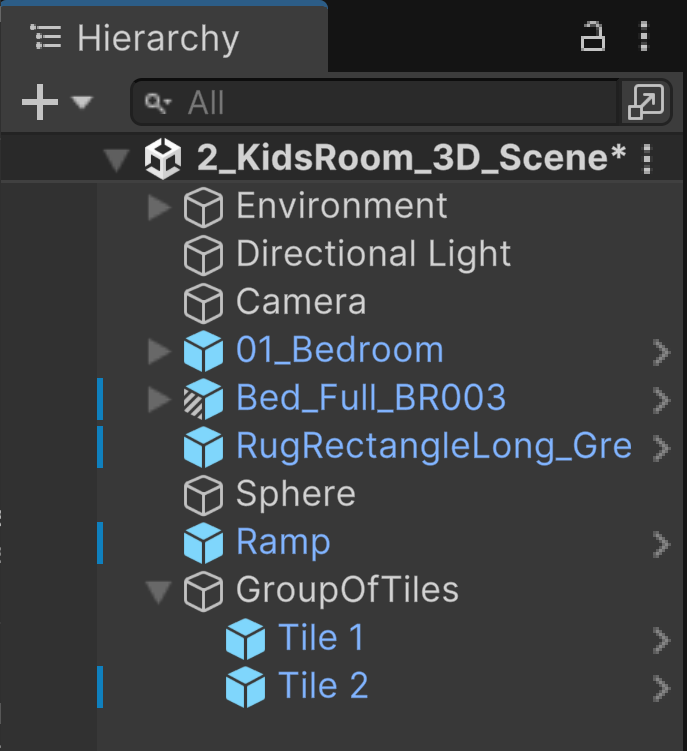
This action creates a new parent GameObject with the two tiles indented as child GameObjects.
Select the parent GroupOfTiles.
Use the move, rotate, and scale tools, notice that the objects in this group behave as one unit.
Prefab of prefabs
There are no limitations to the prefab system. Indeed, you can create a prefab from a group of objects that are themselves instances of prefabs.
Select GroupOfTiles in the hierarchy windows.
Click and drag it into the Prefabs > My Prefabs folder within the Project window.

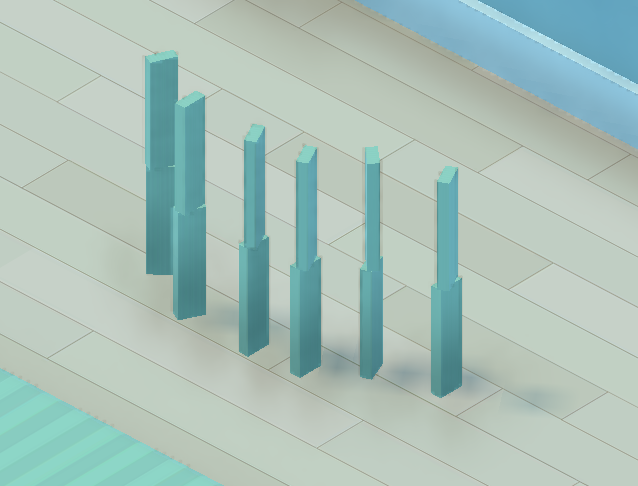
Use this new prefab to place multiple towers of two tiles in a line:
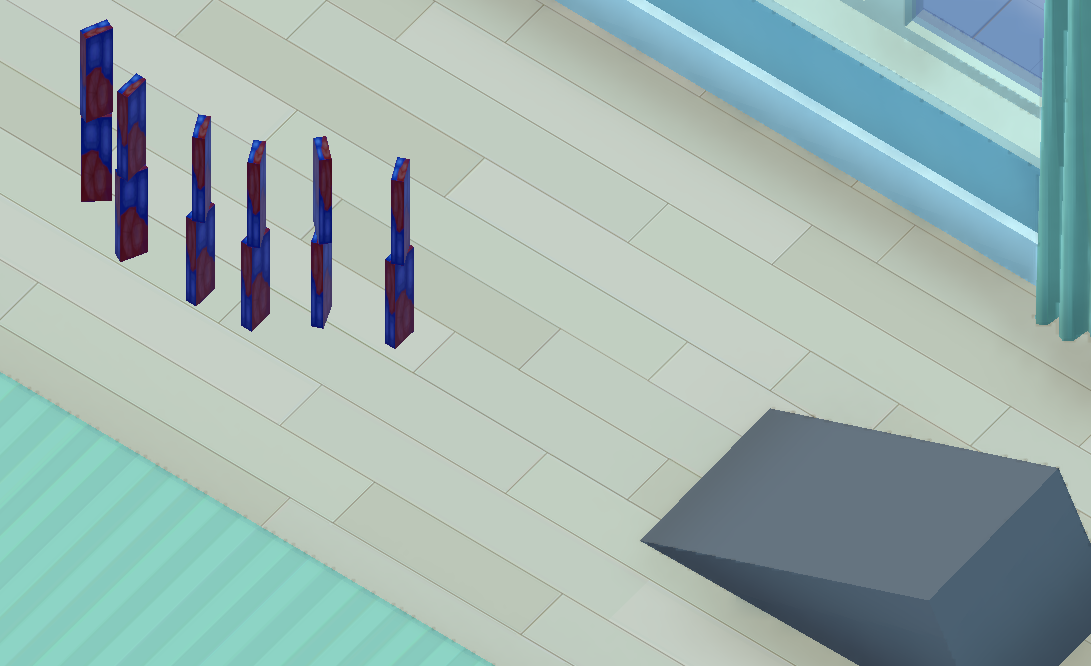
Enter Play mode to test the collision between multiple towers.
Edit the tile prefab and modify the color of the tile:
Exit and check the updates in the scene:
Note
Updating a prefab applies the changes to all other prefabs based on it.
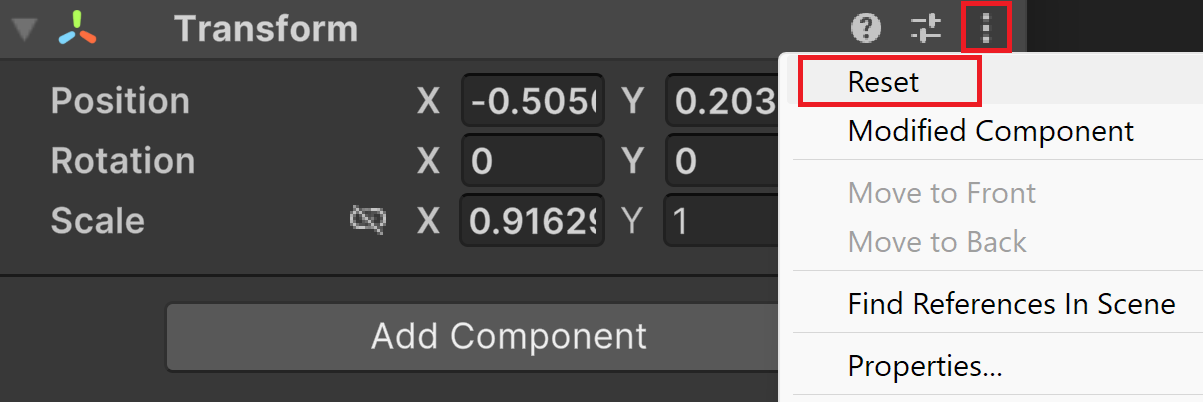
Reset transform
A manipulation that may be useful:
Select the bed.
In the inspector, find the transform node.
On the right, click on the … and select Reset.
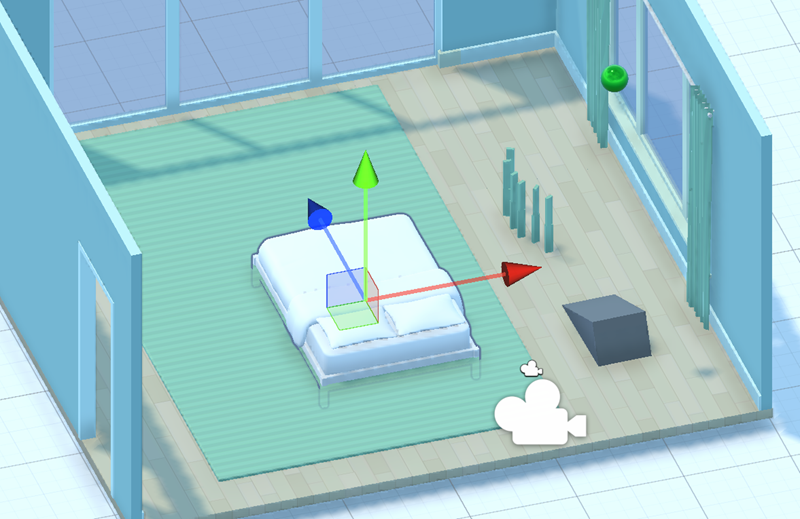
Now, the center of the bed is located at the origin (0,0,0) of the scene:
Shooting setup
Camera
In Unity, the Camera GameObject is similar to a physical camera on a movie set. Adjusting the camera’s position, rotation, and field of view allows you to frame your scene just as a cinematographer would.
Avertissement
Remember that moving the camera changes the view of your scene in Play mode ONLY.
Next:
In the scene view, find and select the camera icon:

Notice that the camera is an object in the scene like all the others objects. It has:
A Transform node.
Some internal property.
An entry in the Hierarchy window.
Change the field of view to 90° and enter play mode to view the change.
Reset value to 60.
In the toolbar at the bottom of Scene view, enable the Cameras option to get a preview of what the camera can see:

Change the location of the camera to see the preview change.
Align camera
It can be difficult to position the camera in the right place using the Move and Rotate tool. We prefer to do it in three step:
Position ourselves approximately in the scene view.
Transfer this position to the camera.
Fine-tune the camera position.
This way:
In the Scene view, use Flythrough mode (WASD + right-click) to get a good view of the bouncing ball and the tiles.
Select the Camera GameObject in the Hierarchy window.
Select GameObject > Align with View.
or press Ctrl+Shift+F to align the Camera GameObject with your current view.
Enter Play mode to test the new camera angle.
If necessary, tweak the Position, Rotation, or Field of View property in the Camera component to get the perfect angle.
When you’re happy with your camera angle, disable the Cameras window overlay.
Lighting
Avertissement
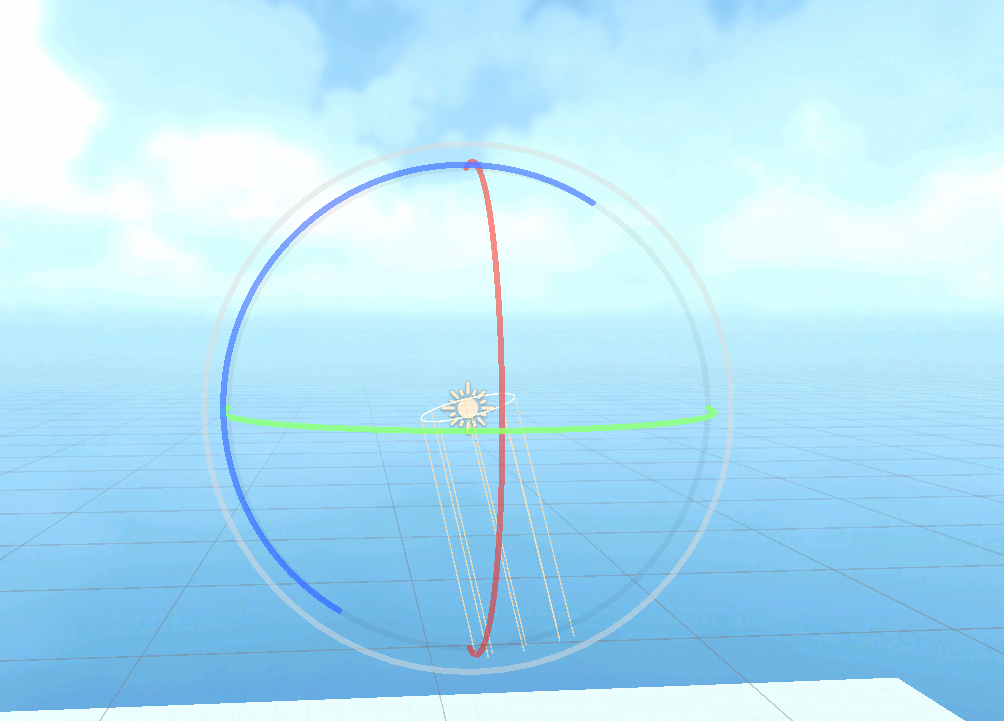
For a directional light, all light rays are parallel. This type of light represents a light that’s located infinitely far away as the sun. So, changes in position won’t affect the lighting.
Then:
In the Hierarchy window, select the Directional Light GameObject, then frame it in the Scene view.
Rotate the light to adjust the shadows and overall lighting.
In the Inspector window, in the Emission section, experiment with Color and Intensity to find the desired lighting effect for your scene.
Note
If you want more of a nighttime light, make the light more blue and decrease intensity.
Skybox
Skybox in Unity is a type of virtual backdrop that surrounds the entire scene, giving the illusion of a distant environment or sky around the environment you create.
In the Project window, navigate to _Unity Essentials > Materials > Skyboxes.
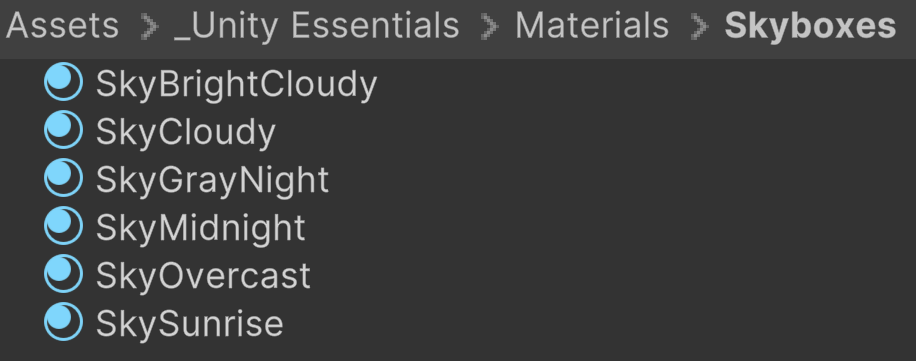
Browse the other skybox materials and preview them in the Preview panel at the bottom of the Inspector window.
Click and drag any skybox that interests you onto the sky in the Scene view.
Quizzz
What is a prefab?
A special type of camera in Unity used for rendering 3D environments in a 2D perspective.
A window layout preset that focuses on editing individual GameObjects.
A tool in Unity that allows developers to write and compile scripts directly within the Editor.
A reusable asset that allows you to store a GameObject complete with components and properties.
When you add a primitive 3D shape to your Unity scene, what happens?
Each primitive 3D shape automatically includes a Rigidbody component for physics-based movement and interactions.
The object is placed at the origin of the scene (X=0, Y=0, Z=0).
A primitive 3D shape is added to the scene with a collider component attached, allowing it to interact with other physics objects.
The shape appears with a default gray material, giving it a basic appearance until further customization.
Which of the following best describes the process for creating a new blue material in Unity?
Enter Play mode, then generate a new material by pressing Ctrl+M
Directly in the Scene view, right-click a GameObject, select Material > New Material, and set its color to blue using the Inspector window.
From the Project window, select Create > Material, then in the Inspector window, use the Color picker to change the material’s color to blue.
Right-click in the Hierarchy window, select Create > Blue Material, and the material is automatically added to your project with the default blue color.
Which of the following are true about Unity’s built-in components?
A Mesh collider component matches the shape of the object’s mesh, allowing for detailed collision detection.
The Mesh Renderer component determines the appearance of a GameObject, but it does not affect the object’s physical properties or interactions.
The Transform component allows a GameObject to transform into any other GameObject when Spacebar is pressed. It is optional for all GameObjects.
The Rigidbody component adds physics properties to a GameObject, allowing it to react to forces and collisions within the game environment.
What happens when you move and rotate the Directional Light in a scene?
Moving and rotating the Directional Light will change the color of the light, affecting the mood of the scene
Rotating the Directional Light changes the direction of shadows and lighting in the scene, but moving it does not have any effect on the lighting.
Moving the Directional Light closer to objects makes them brighter, while rotating it affects the color temperature of the scene.