Export your games
Configuration
Export scenes
In Unity, a build refers to the process of packaging your application into a standalone file that can run on a specific platform or device. One of the key steps in making a build is listing all of the scenes that should be included in your final application.
In your new Main Menu scene, when you select a scene select button, it tries to load one of the scenes listed for your build. The first button will try to load Scene 1 in your build, the second button will try to load Scene 2 in your build, and so on. The problem is, you haven’t listed the scenes you want in your build yet, which is why those buttons don’t work.
In this step, you’ll select the scenes to include in your final build, which will allow your buttons to work properly.
In the Project window, navigate to Unity Essentials > Scenes.
Use the Shift key to select all the scenes you worked on, excluding the Starter scene, from 0_MainMenu_Scene to 5_TopDown_2D_Scene.
Navigate to File > Build Profiles to open the Build Profiles window.
You can also press Ctrl+Shift+B
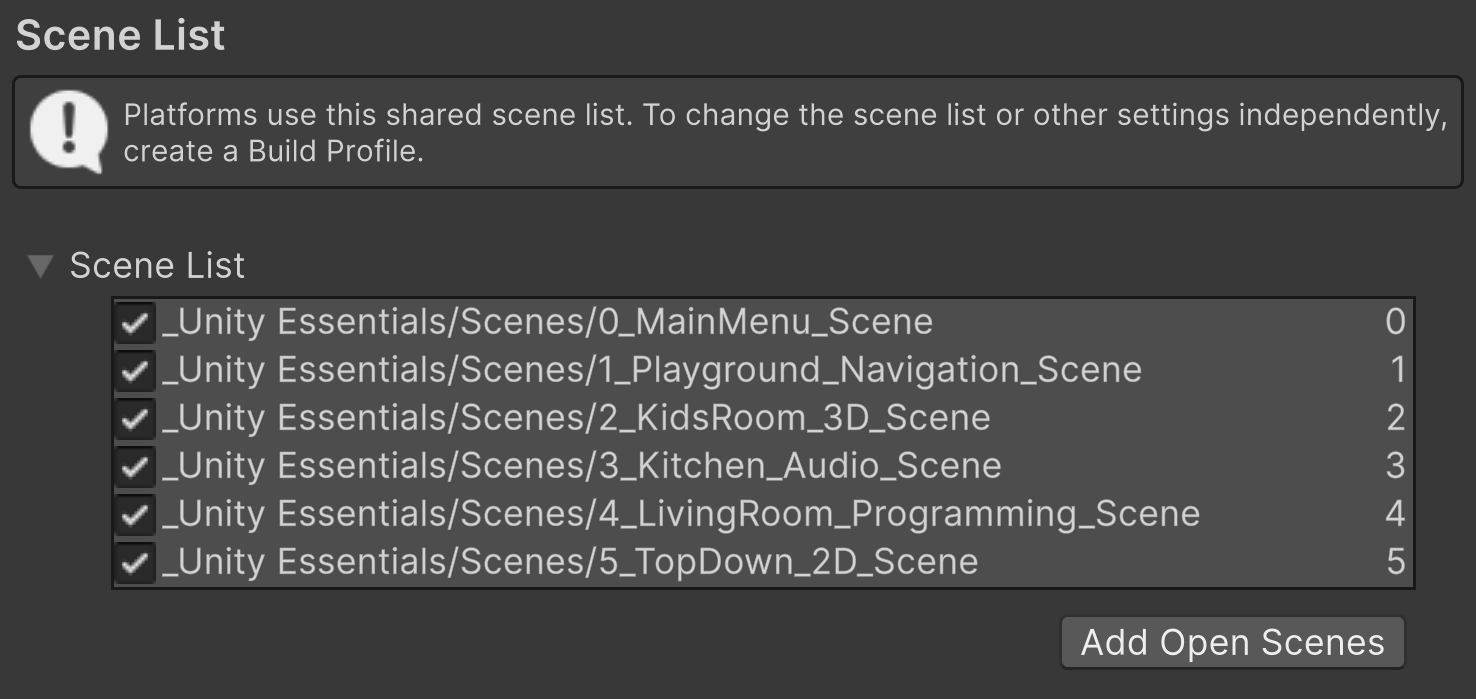
In the Build Profiles window, select Scene List from the left Platforms panel.
If there are any scenes already present in the Scene List section, select them and press the Delete key to remove them from the list.
Drag the selected scenes from the Project window directly into the Scene List section in the Build Profiles window. The build indexes on the right should range from 0 to 5.
Enter Play mode again to test the scene select navigation.
This time, the buttons should correctly load the scenes you’ve set up in your build.
After loading a scene, just press Esc to return to the Main Menu scene and select a new scene.
Configure Player Settings
The Player Settings menu allows you to configure how your application behaves when it’s running on different platforms. These settings include visual elements like the game’s icon and splash screen, and technical settings such as rendering options and performance optimizations.
In this step, you’ll edit the application’s name, icon, and the size of the window it opens in.
Open the Build Profiles window again by navigating to File > Build Profiles.
Select the Player Settings button located at the top of the Build Profiles window to access the Player Settings window.
Within the Player Settings window, set your Company Name and Product Name.
These details will be visible in the application’s properties.
Feel free to put your name as the Company Name and whatever you’d like as the Product Name.
To set your app’s icon, click Select where there is currently no image for your Default Icon
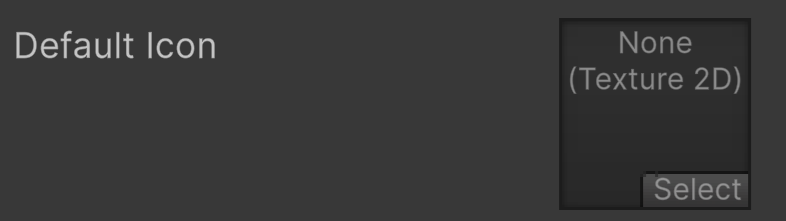
Then select a square image from your project files that best represents your portfolio.
Just below, navigate to the Resolution and Presentation section
Select the Windowed mode option to ensure the application doesn’t launch in full-screen mode by default.
This will make it easier for users to close the application if they want.
You might also want to set the Default Screen Width and Height to a typical 16:9 HD resolution of 1920x1080 or 1280x720.
Close the Player Settings window.
Your settings will be saved automatically.
WebGl export
To easily and widely distribute your project across different platforms, publishing your projects as a web-based experience is definitely the way to go! With just a click of a button, you can change your target platform from desktop to WebGL (Web Graphics Library). WebGL is a format that you can easily upload and embed on any common web browser, including Unity Play, which is Unity’s free hosting platform for any of your WebGL builds!
When you’re ready, this tutorial will guide you through building and publishing your project on Unity Play, which you can then easily share with friends!
From the top menu, go to Publish > WebGL project.
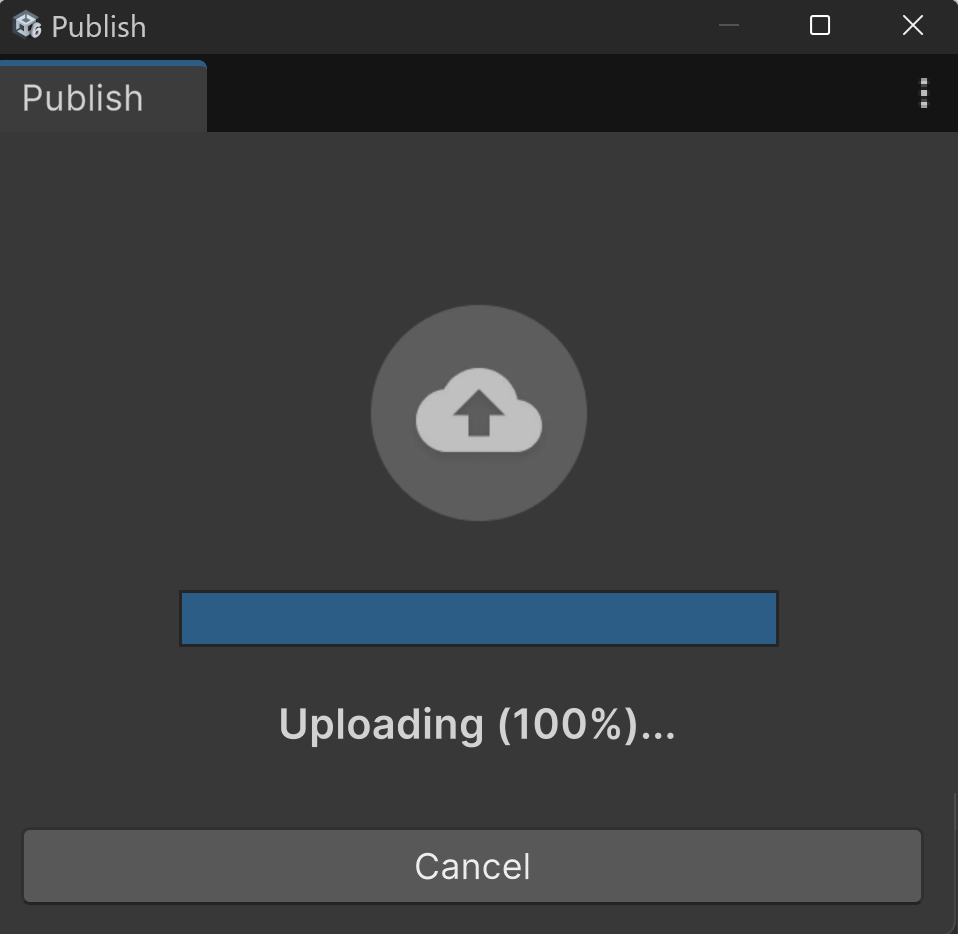
In the Publish window, select Build and Publish.
If you are prompted to switch to WebGL, select « Switch to WebGL » and choose a folder for your build in the window that appears.
Build can easily can take up to 10 minutes.
After build is finished, your project is automatically uploaded to unity server.
When your build is complete, select Done to continue.
Add some details for your project directly on Unity Play: a title, description, and a thumbnail, if you like.
Click on the Update button
Ready to play !