Setup
Install Unity
The next 3 chapters are a condensed summary of the Unity Essentials tutorials.
Unity Hub and Unity Editor
The Unity Hub is a standalone application that streamlines the way you navigate, download, and manage your Unity projects and installations. The Unity Editor is the application where you’ll build 3D or 2D worlds and create your interactive applications.

Note
Usually, you start a code editor like Visual Studio and then you open your project files. Here, it is the opposite: from the Unity Hub, you open a project which then launches the editor.
License
The Unity Personal Plan is a free offering from Unity Technologies designed for individual developers, students, and small teams. Here is a list of current plans and pricing.
Install
Go to Unity Download page: https://unity.com/download
Choose: download for Windows (or Mac)
Launch the UnityHubSetup installer
Ask to install Unity V6 LTS
Then, run Unity Hub
Select the Installs section on the left. Then, left click on the gear to select Add modules

On the Add modules page, select the available options under DEV TOOLS:
On Windows, select Visual Studio
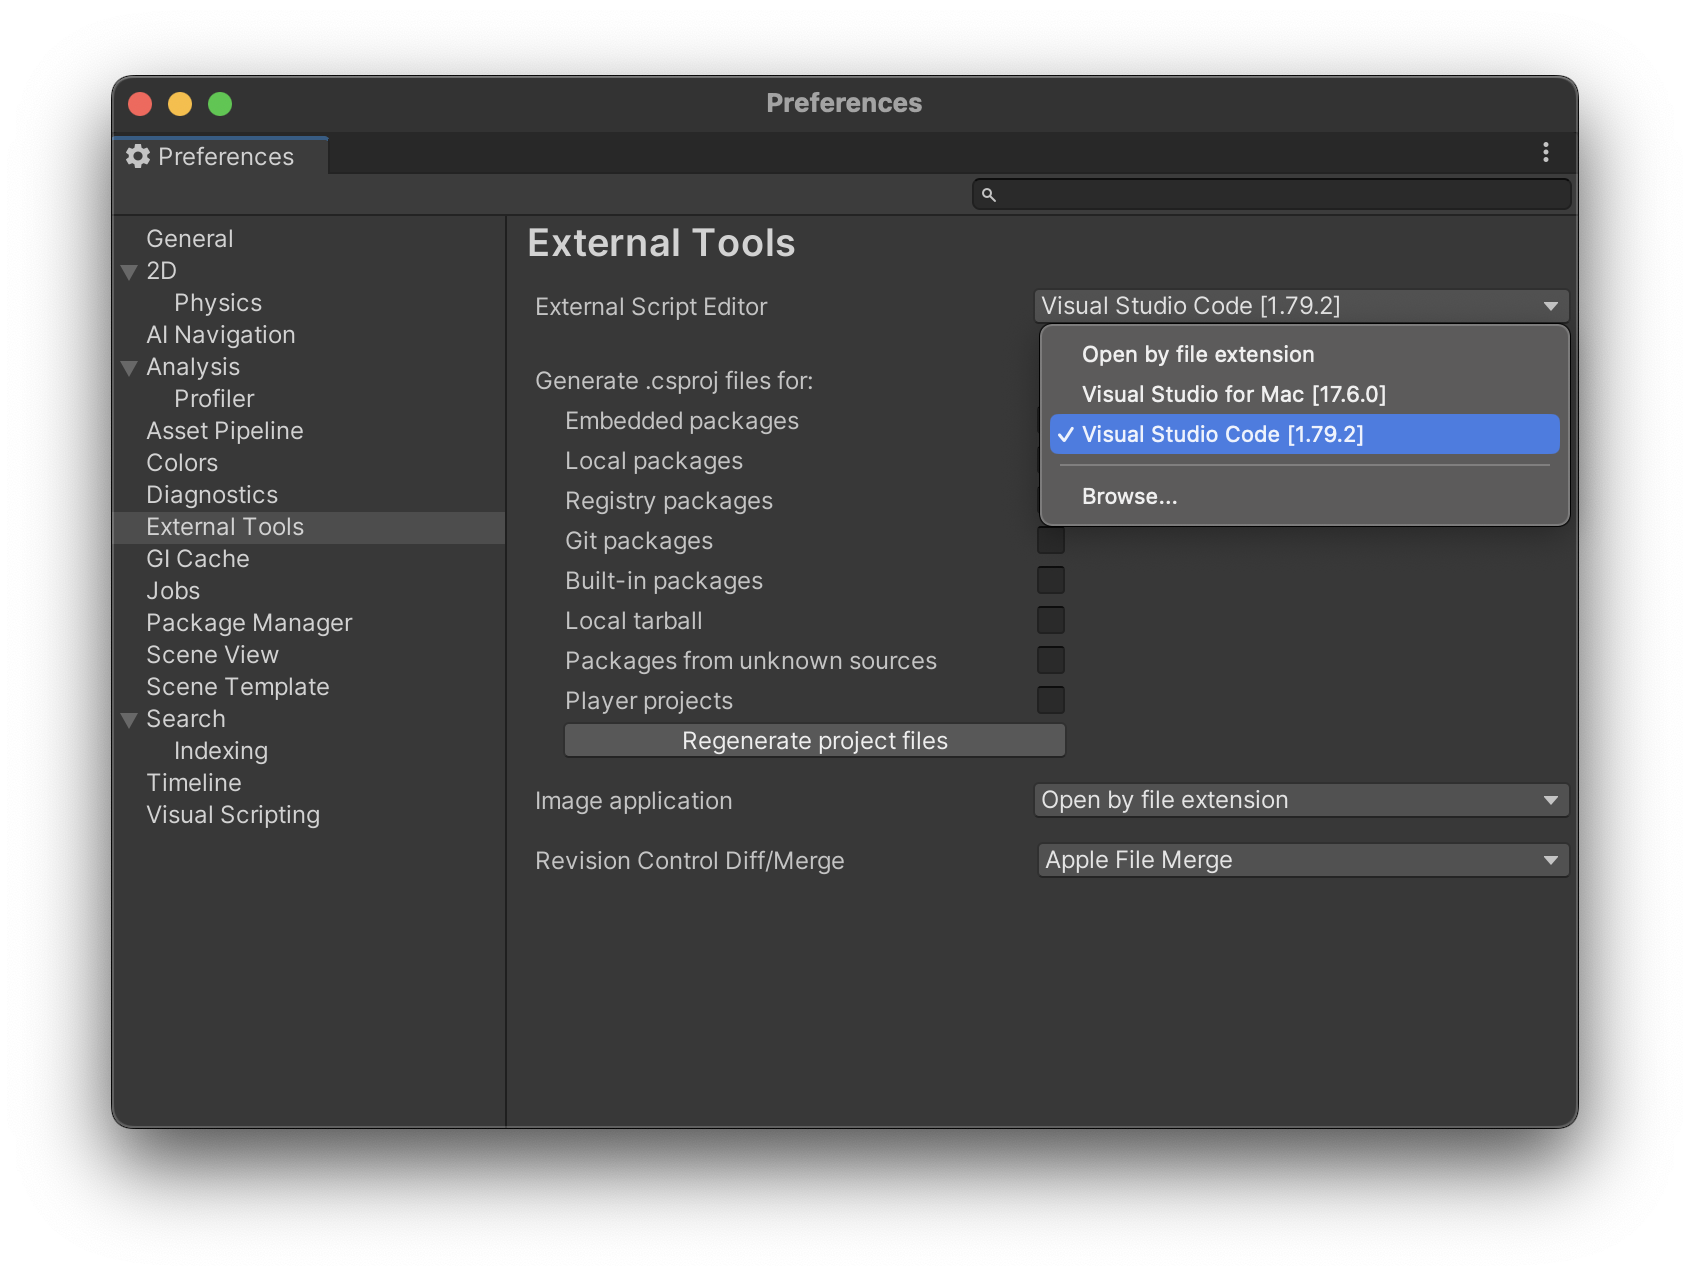
On Mac, select Visual Studio Code
Download Project
Download:
Project FilesDecompress the zip files
Launch Unity Hub
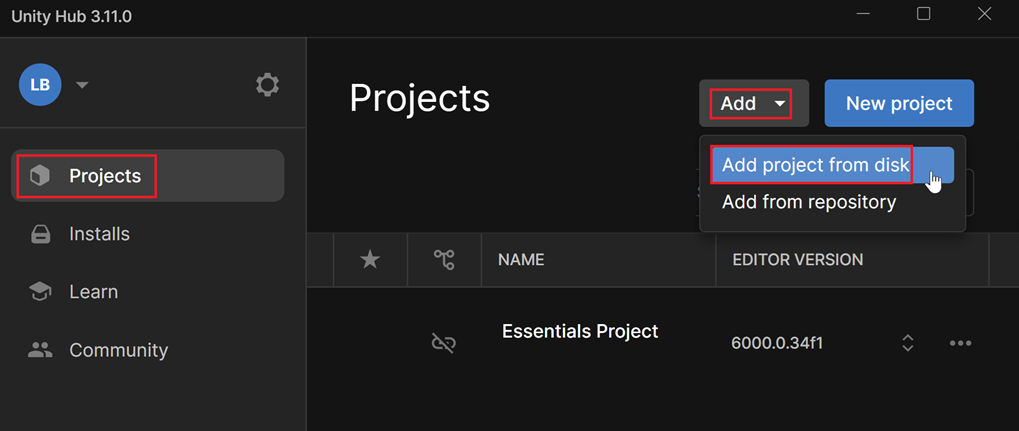
Select the Projects section on the left
Click on the Add button and select Add project from disk
Select the main project folder, the one containing the assets, library and packages folders
Import project
Manage different versions
Project version and Unity version may be different. In such a case, you have two options :
You can try an automatic upgrade of the project to fit your current unity editor version. This option is sufficient for this tutorial
If the first option fails and you need to test this project, you’ll have to install the Unity version required by the project. This is undoubtedly the most reliable solution, but it involves performing a full installation of an older Unity version.
To install an older version of Unity
The project will appear in the list of available project in the Projects tab in Unity HUB.
Play mode
Run a project
At the bottom, in the Project Window, Navigate through: Assets > _Unity Essentials > Scenes.
Double-click on -1_Starter_Scene to open it:
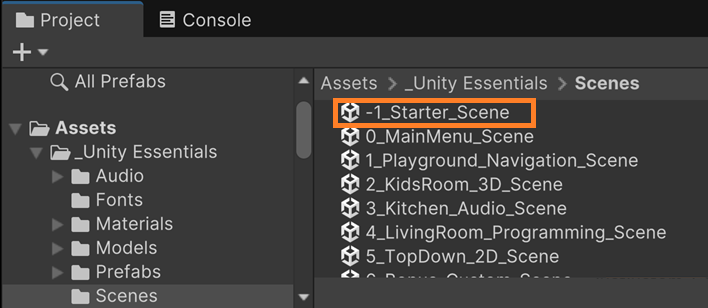
Notice that you are in a work area where people edit scene and objects.
To run the game, click on the Play button at the top of the interface:

Now in Play mode, you can test the game using WASD keys to walk around:
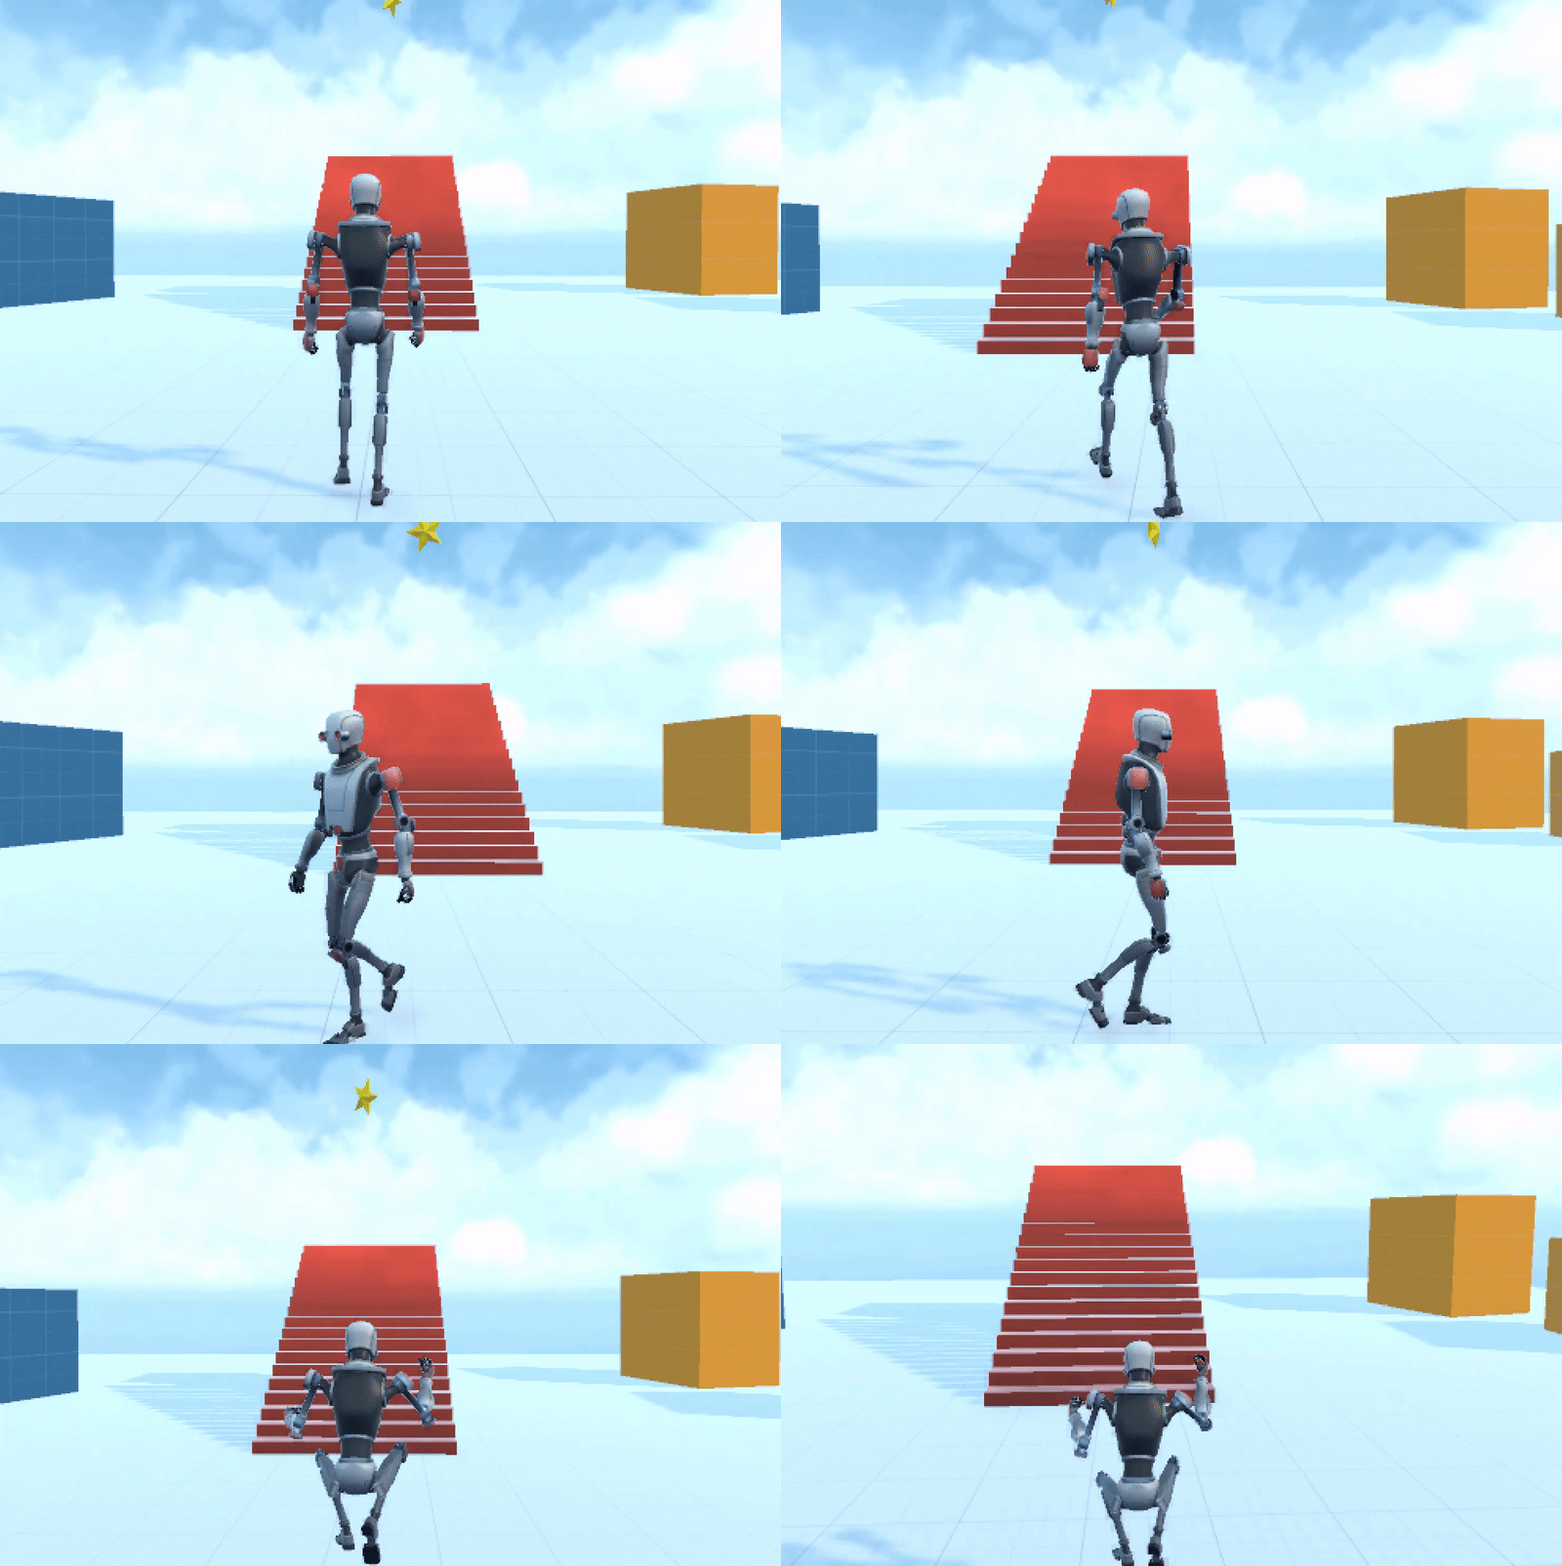
Play mode tint
To help you distinguish Play mode from the editor interface, it is possible to adapt Play mode background color.
Avertissement
It’s a tint, not a color: the tint color behaves like a plastic filter placed on top of the interface. So, choose a color close to white or this will darken the overall interface.
Dev Tools for Windows
Visual Studio
Install Visual Studio Community 2022 (not Visual Studio Code which is a lightweight version of VS2022).
It can take 1 or 2 hours of download.
If already installed, go to: Help > Check for updates.
In you Windows Launchbar, type: « Visual Studio installer » and run the package manager of Visual Studio 2022.
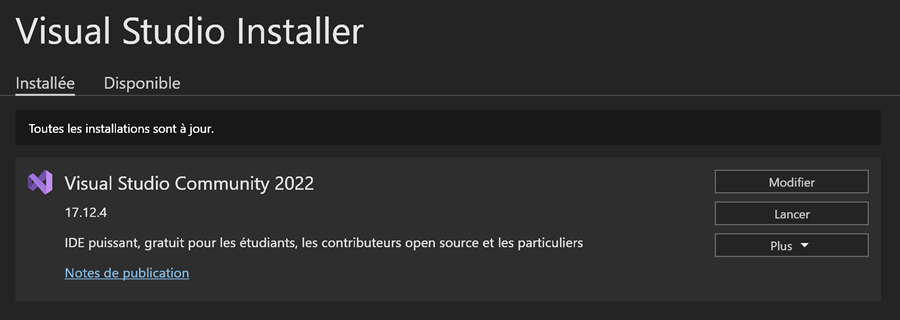
Click on Modify button.
Find and select: « Game Development with Unity »

Then click on the Install/Modify button on the lower right.
Unity
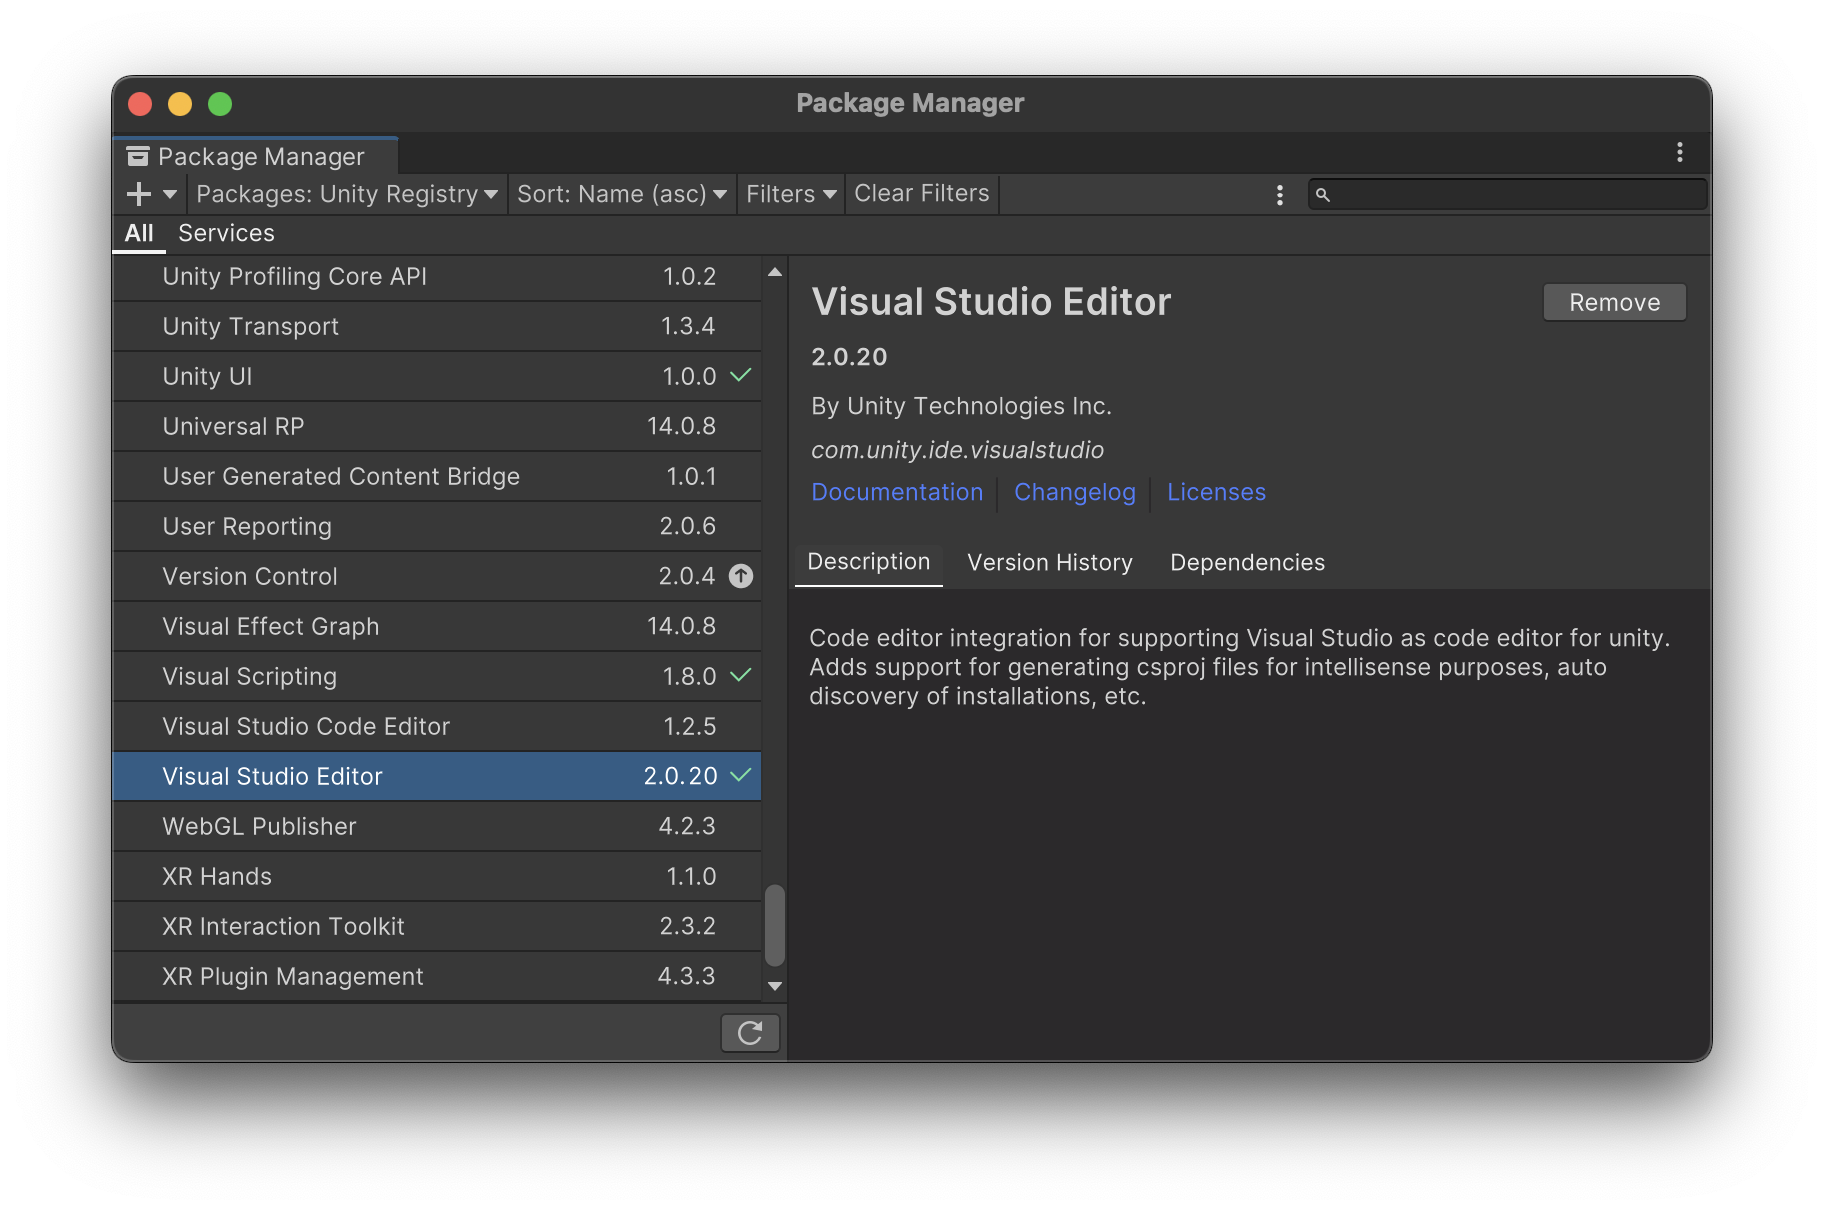
In Unity: open up Windows > Packages.
In Unity: open up Windows > Packages.
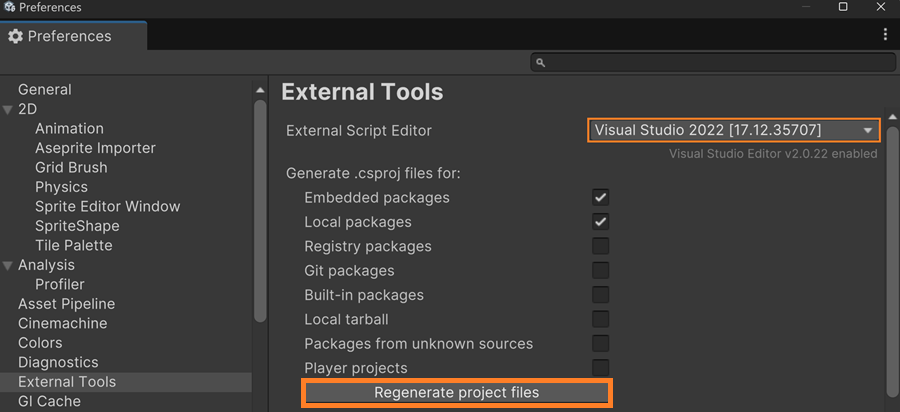
Make sure the Visual Studio Editor package is upgraded to 2.0.20 or above.
Check
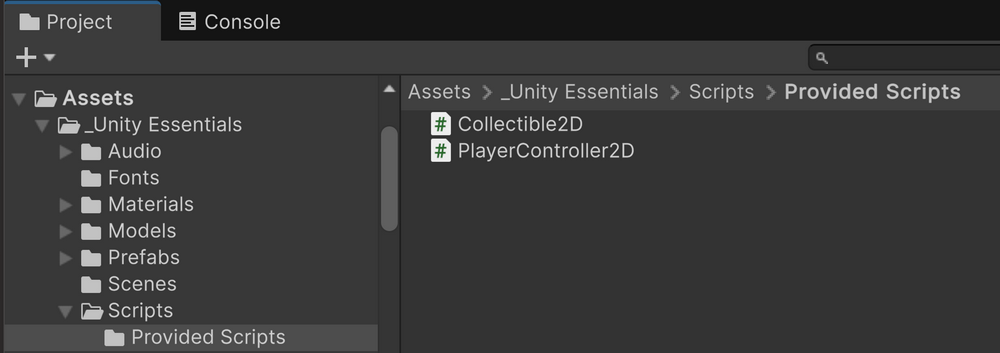
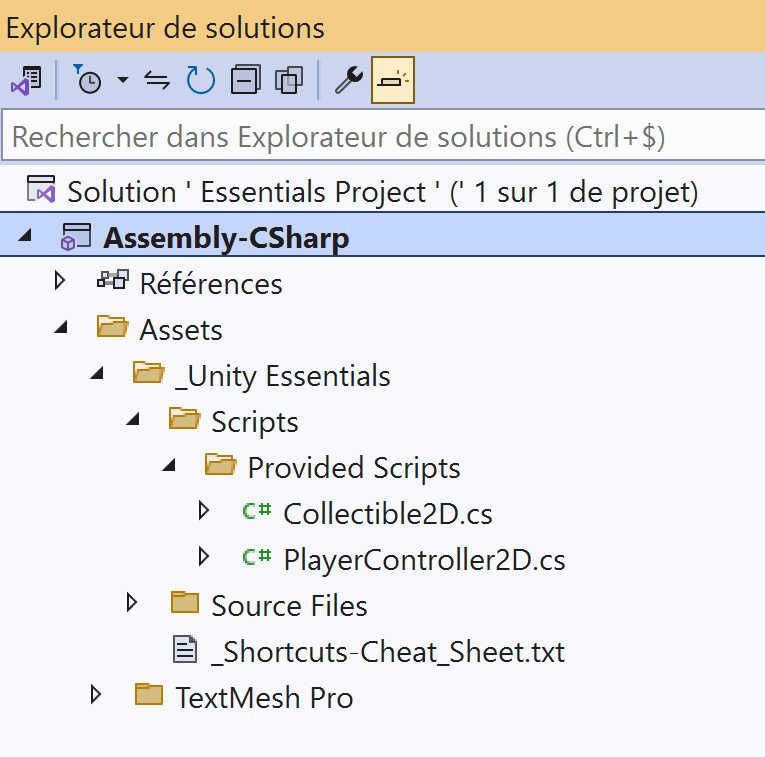
Edit a script
Project window
Intellisense
Avertissement
If project window and intellisense do not work correctly, please ask for help because the pipeline between Unity and VS is not working correctly.
Dev Tools for MAC
Note
Visual Studio 2022 is no more available for Mac. You have to use VS Code instead, which is also a great code assistant but it does not offer Debug functionalities.
VScode
Install Visual Studio code (VS Code)
If already installed please check for update: Help > check for update
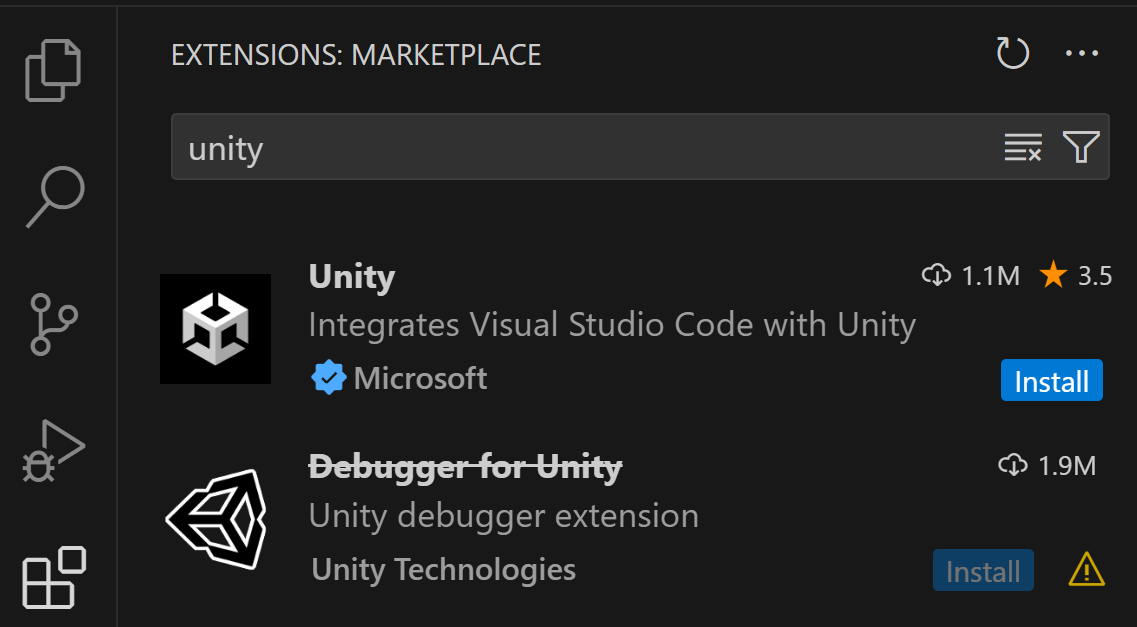
Install the Unity for VS Code extension from the Visual Studio Marketplace.
Unity
When you edit script, you have quick info when you move your cursor on Unity’s object:

Desktop Manager (Win)
–optional–
In order to keep your desktop organized, consider setting up a desktop manager. This way you can:
Have one background image per virtual desktop
Organize your icons differently on each desktop
Share all your apps between different desktops
This year, we test: Dexpot
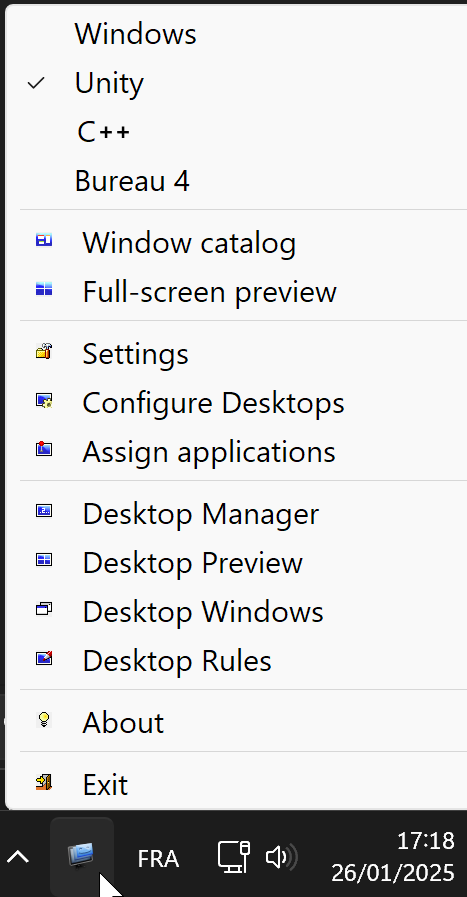
After installation, you can find a small icon in the system tray (in the lower right, near the windows clock).
Right click on this icon to open configuration menu:
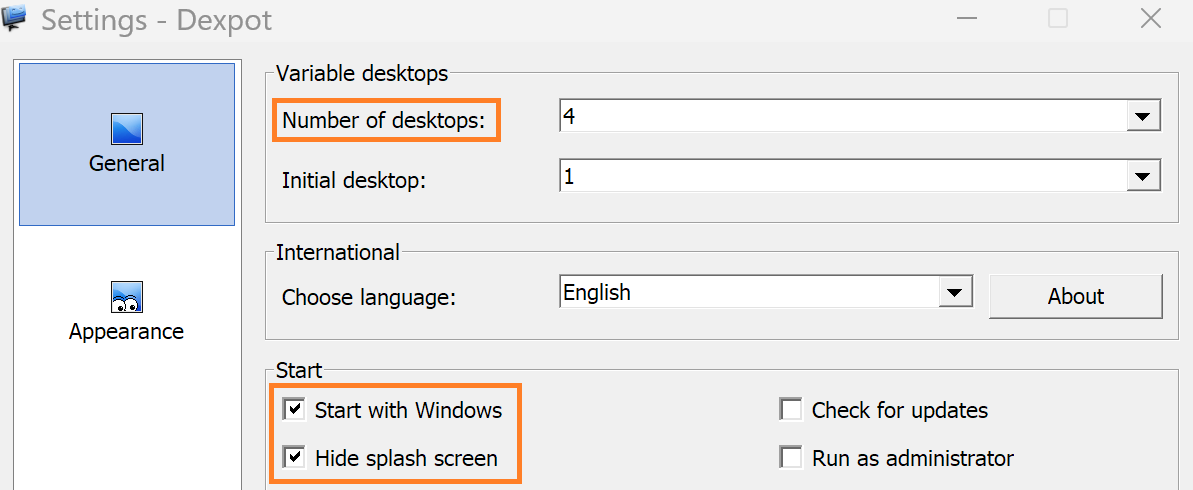
Select Settings > General
Select Settings > General
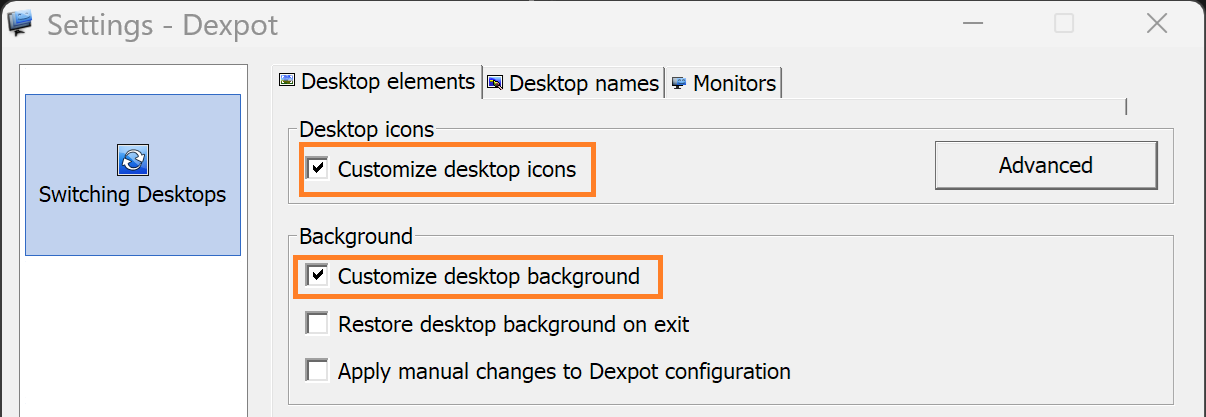
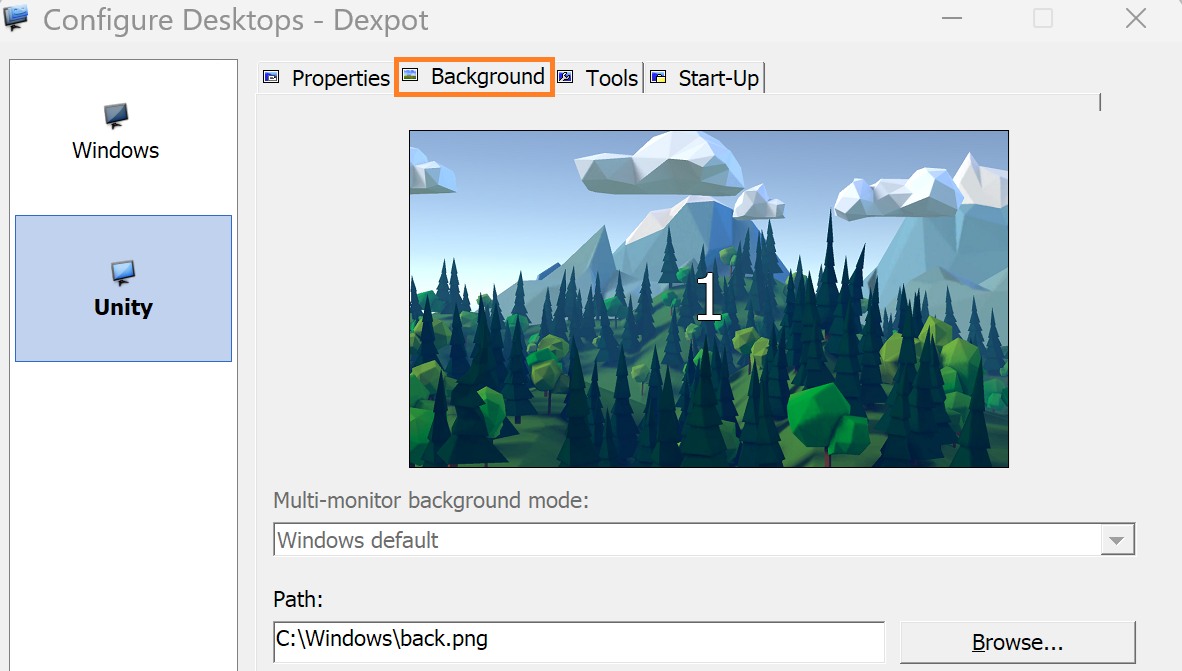
Now the desktop manager is working. You can configure different backgrounds if you want:
To change desktop, just use : ALT+1, ALT+2…


