Training
We are doing new exercises this time, providing more concise explanations.
Pedal to the metal
Creating a blank project
Create a folder project on your desktop
Run Unity HUB
Click on New Project
From the new interface, choose:
Universal 3D
Project name
Project Folder
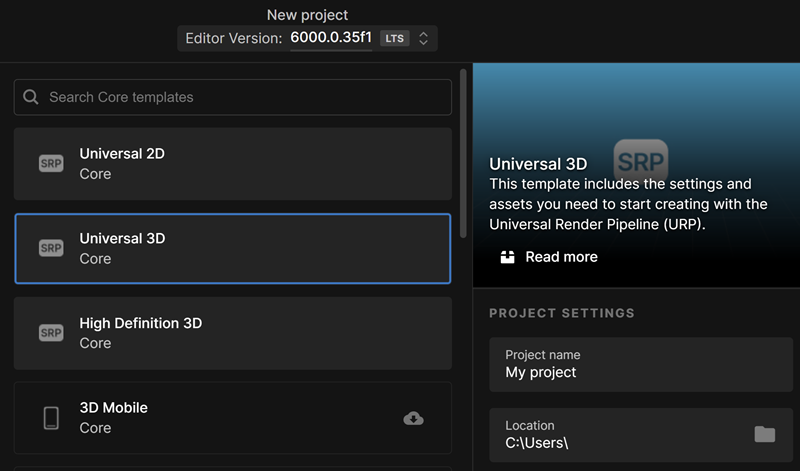
Click Create Project
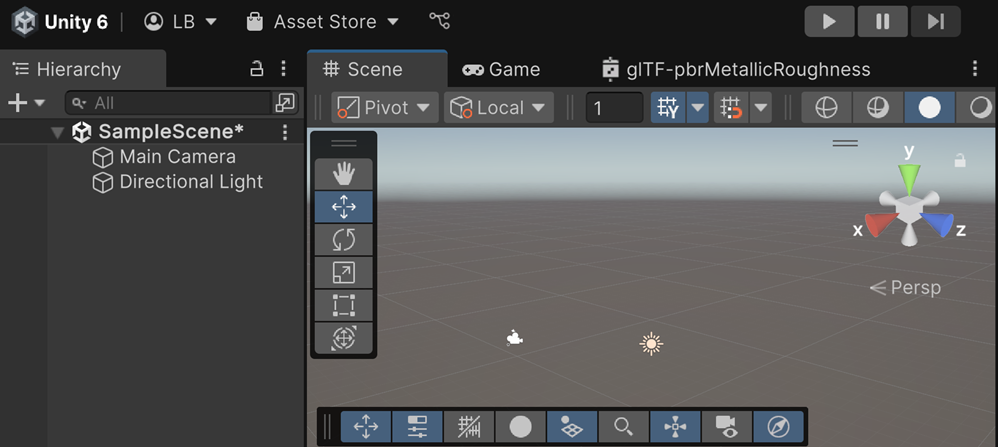
Wait 5 minutes :)
The interface opens with an empty project:
Import assets
Download
AssetsExtract Files
In Unity menu, select: Assets > Import package > Custom packages
Select the package file you just extracted
A new window appears:
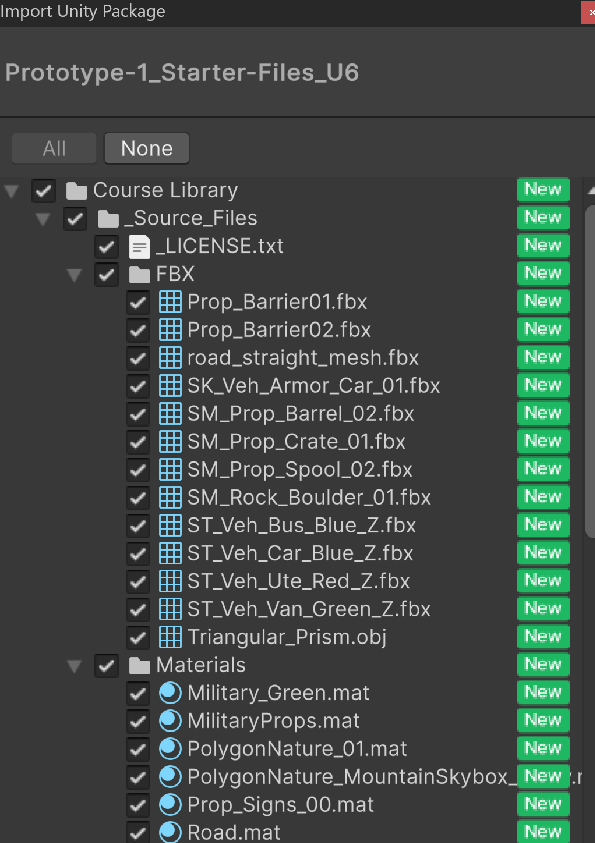
Click on Import button.
In the Project Folder, you can see that new assets have been inserted.
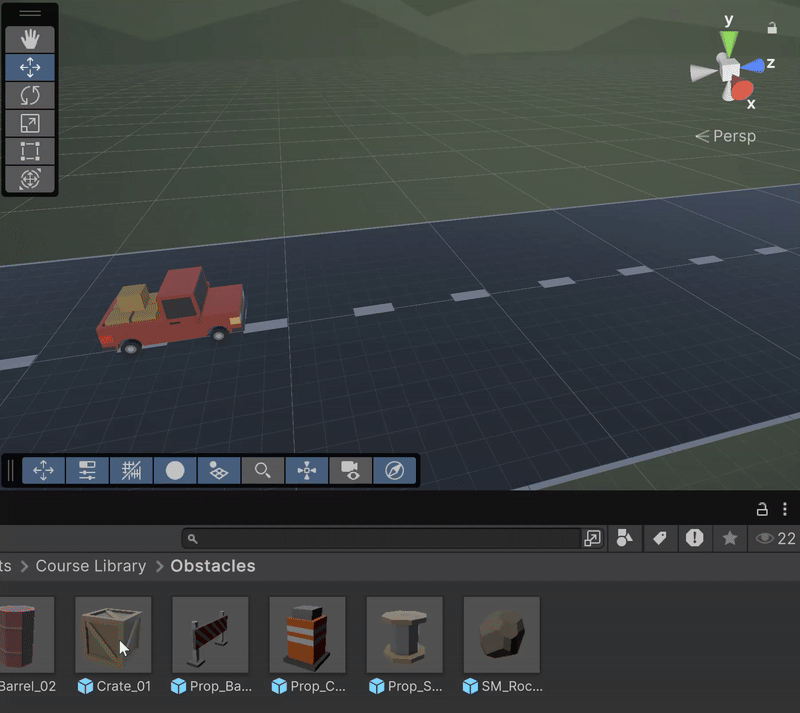
Select folder: Assets > Course > Obstacles

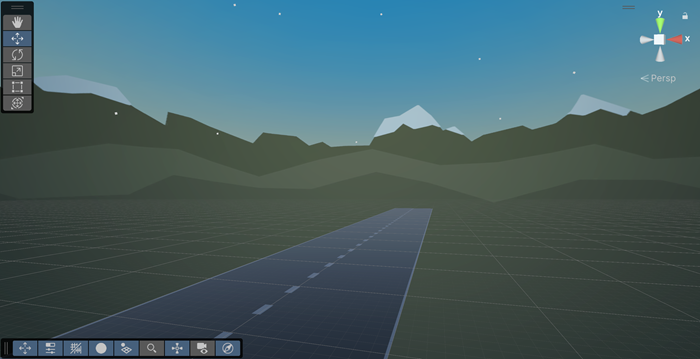
In the Project window, open Prototype 1 scene.
Right-click and drag to look around at the start of the road.
Refresher
In the Project window, open Assets > Course Library > Vehicles
Choose a vehicle and drag it into the Hierarchy window.
F key: center an object.
Right-click: look around.
ALT + Left-click: rotate camera while focusing on the selected object.
ALT + Right-click: zoom in & out.
Mouse wheel: zoom in & out.
Hold mouse wheel: pan.
Obstacles
Select the vehicle
Reset its transform node (X,Y,Z = 0)
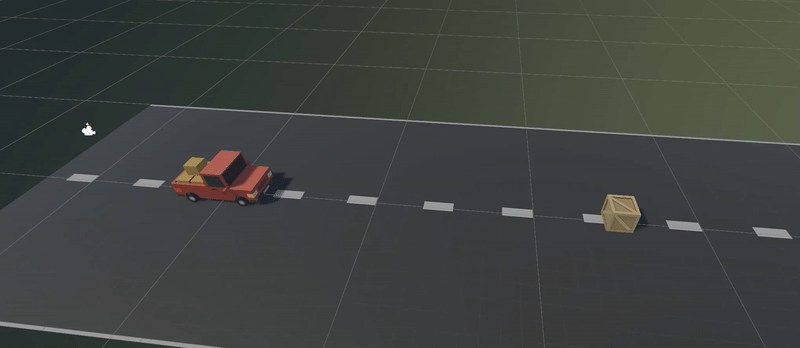
In the Project window, open Assets > Course Library > Obstacles
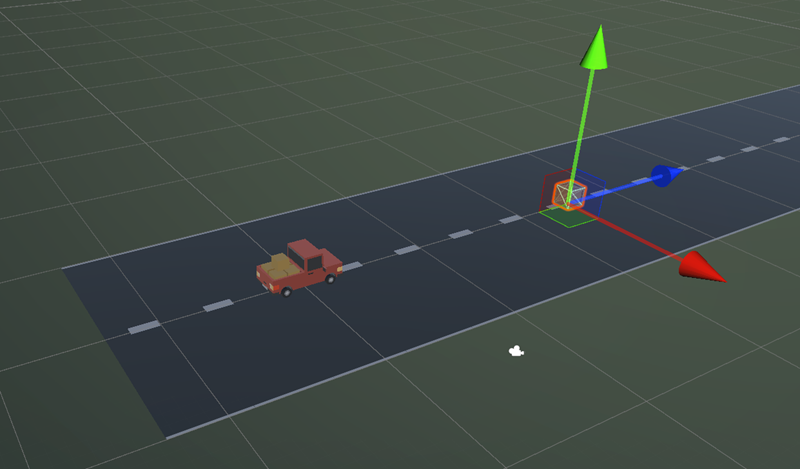
Click and drag one of them directly in the scene view to position it on the road.
Reset its transform node (X,Y,Z = 0)
Change the Z value to 25.
Avertissement
In unity, distances are expressed in meter. So 25 means that the obstacle is 25 meters ahead of the vehicle.
Layout
In the top right corner, click on the dropdown list:
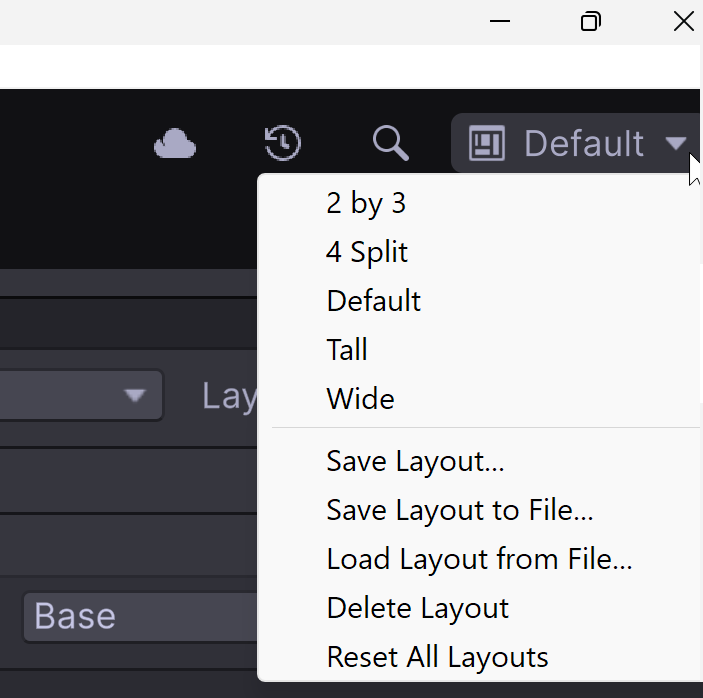
Test the different preconfigured layouts: 2 by 3, Tall, 4 split, wide…

Select 2 by 3 layout
Customize your layout by moving the Hierarchy and Project windows on the left side
In the top right corner, click on the dropdown list and choose Save Layout
Give a name to your new layout
Now you can switch between Default layout and your new layout using the dropdown list.
Camera
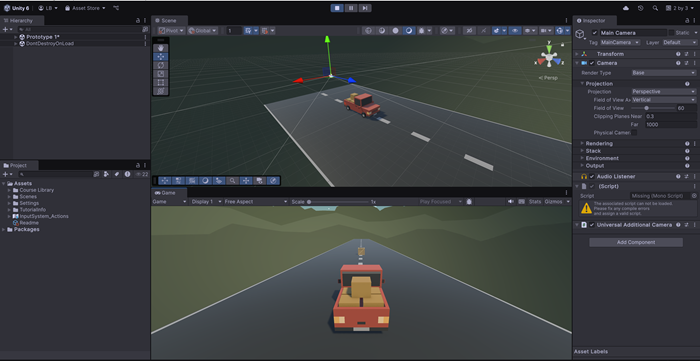
Position and angle the camera in a good spot behind the vehicle:
Move forward
Create a script attached to the vehicle
Using the Update() function, make the vehicle go forward at a speed of 10m/s
The transform.translate(…) function may help
You can create a 3D vector using the folowing syntax: Vector3 d = new Vector3(…);
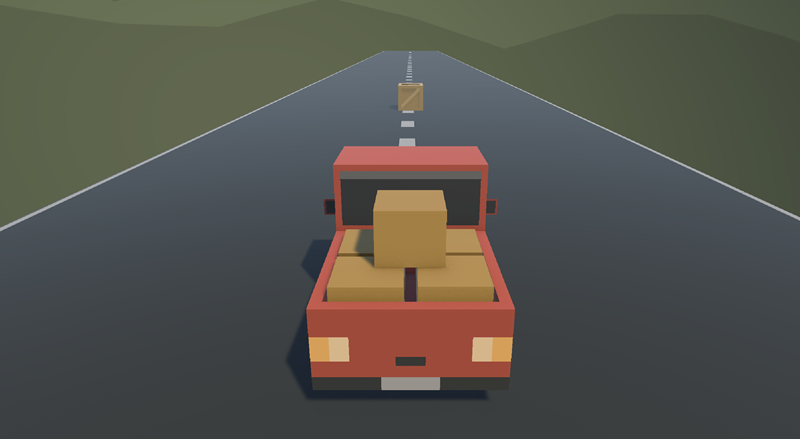
Collision
Attach a rigidbody component to the vehicle and to the crate.
Adjust their weights to match their actual weights.
Activate gravity
Check that both elements have a mesh collider activated.
Run and check your result:
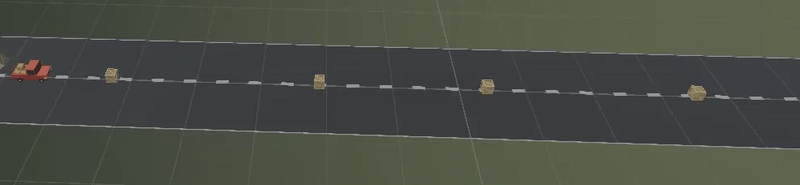
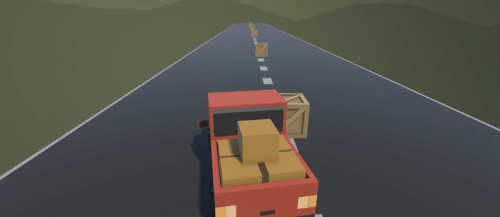
Add more obstacles
Duplicate the crate to create 4 or 5 more crates on the road
Position these new crates along the road.
In the hierarchy windows, do not forget to group all the obstacles
Chase camera
Last time, we put the camera in the coordinate system of the vacuum robot to create a chase camera effect. This time let’s do it with a script.
Add a script to the camera
Create a public variable player to link the script to a specific GameObject
In the Update() function, set the camera position:
The transform.position parameter should help
For this you need the transform.position of the vehicle
Add a vector3 to put the camera just behind and above the vehicle
Help in case nothing works
using UnityEngine;

public class cam : MonoBehaviour
{
        public GameObject player;

        void Start()
        {

        }

        void Update()
        {
                transform.position = player.transform.position + new Vector3(0, 5, -7);
        }
}
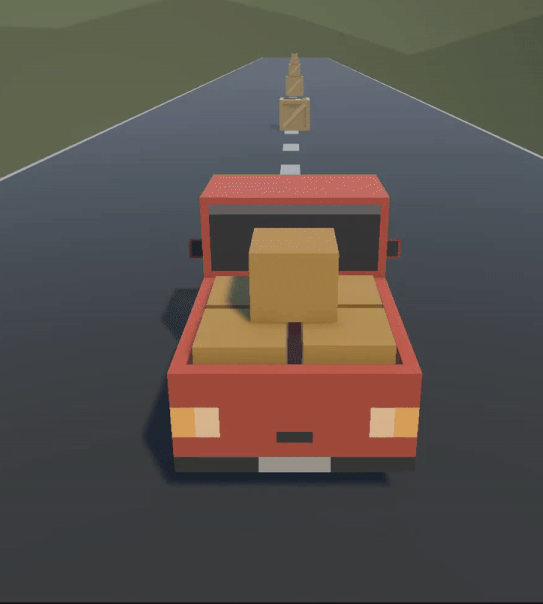
Sync problem
When you run the game, you may or not notice some jittering:
Avertissement
Why such erratic rendering when we’re using professional 3D software? This issue arises from the design of our scripts. We have one function that moves the car forward and another that positions the camera just behind it. There is a dependency between these two functions, but we don’t know which script executes first — it could be either one. If the camera script runs before the car script, the camera position won’t update relative to the previous frame. In the next frame, there will be a catch-up, resulting in the sudden leap effect.
To resolve this issue, we use the LateUpdate() function, which is similar to the Update() function, but Unity guarantees that LateUpdate() is called after all other update functions have terminated. This ensures that the car script finished before the camera script starts.
Use the LateUpdate() function
Keyboard bidings
From the top menu, click Edit > Project Settings
Select Input Manager in the left sidebar
Expand the Axes fold-out to explore the inputs
Select Fire1
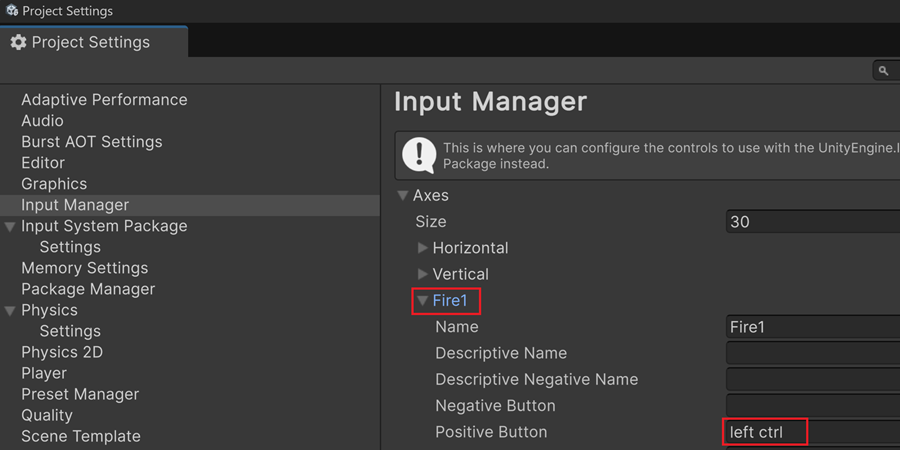
You notice that LEFT CTRL is mapped to Fire1
Move left & right
Edit the car script
Add a public float variable turnSpeed
This value will be used to adjust the intensity of the movement effect
Add a public float variable horizontalInput
This value will only be used for debug purpose (read only)
In the Update() function, add these two lines :
horizontalInput = Input.GetAxis("Horizontal");
transform.Translate(Vector3.right * Time.deltaTime * turnSpeed * horizontalInput);
Find a correct value for turnSpeed using test & try

Note
Vector3.right is a shorthand for writing Vector3(1, 0, 0). This vector is relative to the local coordinate system of the car, so this vector corresponds to the vector emerging from the right of the vehicle.
Speed
Add a public float variable speed in your script
This value is used to set the maximum speed
Set its default value to 20
Add a public float variable forwardInput
This value will only be used for debug purpose (read only)
In the same way, add these two lines to control car’s speed:
verticalInput = Input.GetAxis("Vertical");
transform.Translate(transform.forward * Time.deltaTime * speed * verticalInput);
Help in case nothing works
public float horizontalInput;
public float turnSpeed;

public float verticalInput;
public float speed;

void Update()
{
   horizontalInput = Input.GetAxis("Horizontal");
   transform.Translate(Vector3.right * Time.deltaTime * turnSpeed * horizontalInput);

   verticalInput = Input.GetAxis("Vertical");
   transform.Translate(Vector3.forward * Time.deltaTime * speed * verticalInput);
}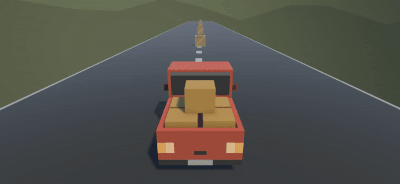
Let’s turn
We want to make our vehicle rotate instead of slide.
Remove the line: transform.Translate(Vector3.right * Time.deltaTime * turnSpeed * horizontalInput);
Write these ones:
transform.Rotate(Vector3.up, turnSpeed * horizontalInput );
Using Vector3.up, we rotate the car relative to the vertical axis
Find a correct value for turnSpeed
Note
As Vector3.forward is relative to the local coordinate system of the car, it always corresponds to a vector emerging from the front of the vehicule. So now the car is always going forward relative to its current direction.