Setup
Install Unity
The next 3 chapters are a condensed summary of the Unity Essentials tutorials.
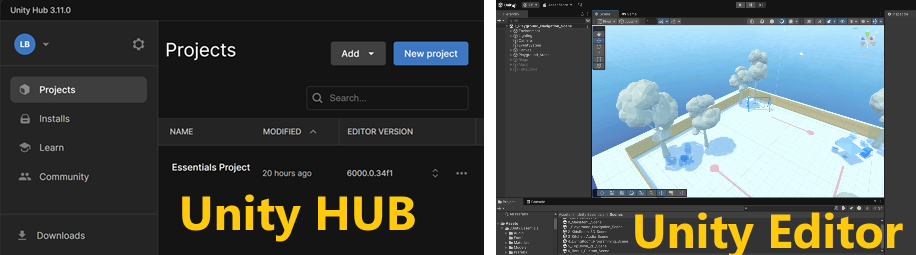
Unity Hub and Unity Editor
The Unity Hub is a standalone application that streamlines the way you navigate, download, and manage your Unity projects and installations. The Unity Editor is the application where you’ll build 3D or 2D worlds and create your interactive applications.
Note
Usually, you start a code editor like Visual Studio and then you open your project files. Here, it is the opposite: from the Unity Hub, you open a project which then launches the editor.
License
The Unity Personal Plan is a free offering from Unity Technologies designed for individual developers, students, and small teams. Here is a list of current plans and pricing.
Install
Go to Unity Download page: https://unity.com/download
Choose: download for Windows (or Mac)
Launch the UnityHubSetup installer
Ask to install Unity V6 LTS
Then, run Unity Hub
Select the Installs section on the left. Then, left click on the gear to select Add modules
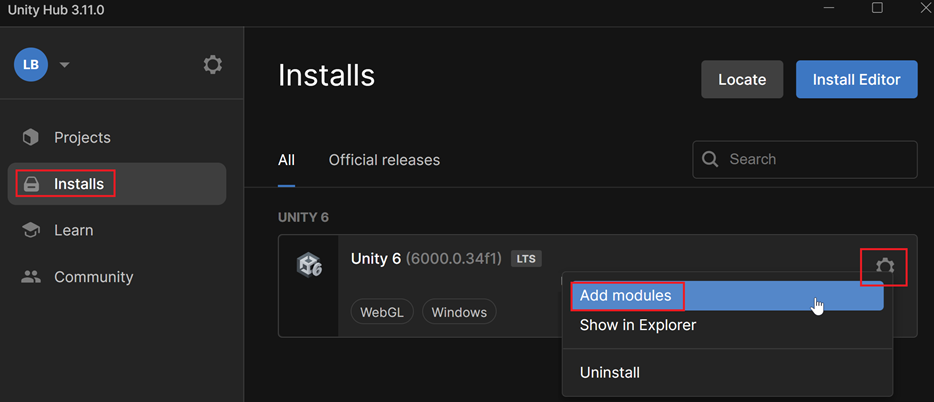
On the Add modules page, select the available options under DEV TOOLS:
On Windows, select Visual Studio
On Mac, select Visual Studio Code
Creating a blank project
Create a folder project on your desktop
Run Unity HUB
Click on New Project
From the new interface, choose:
Universal 3D
Project name
Project Folder
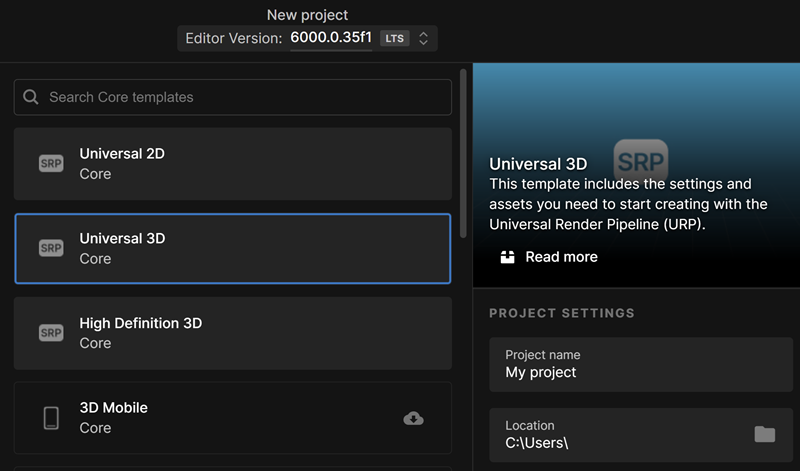
Click Create Project
Wait 5 minutes :)
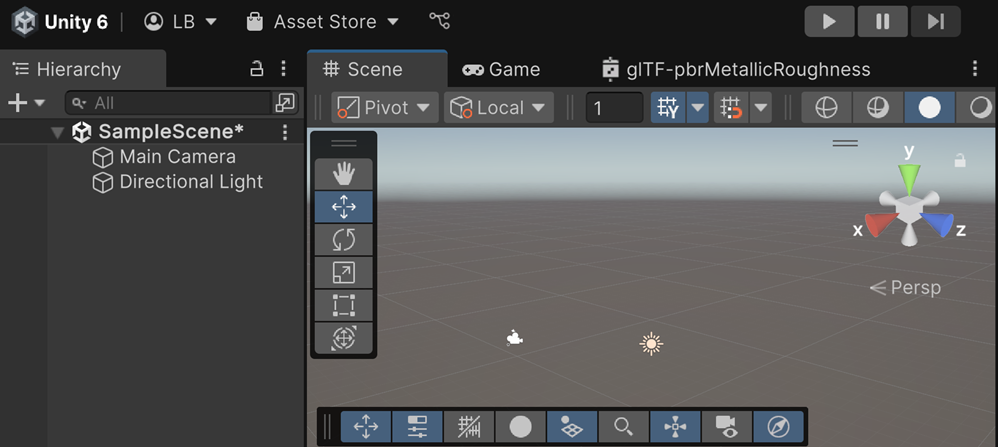
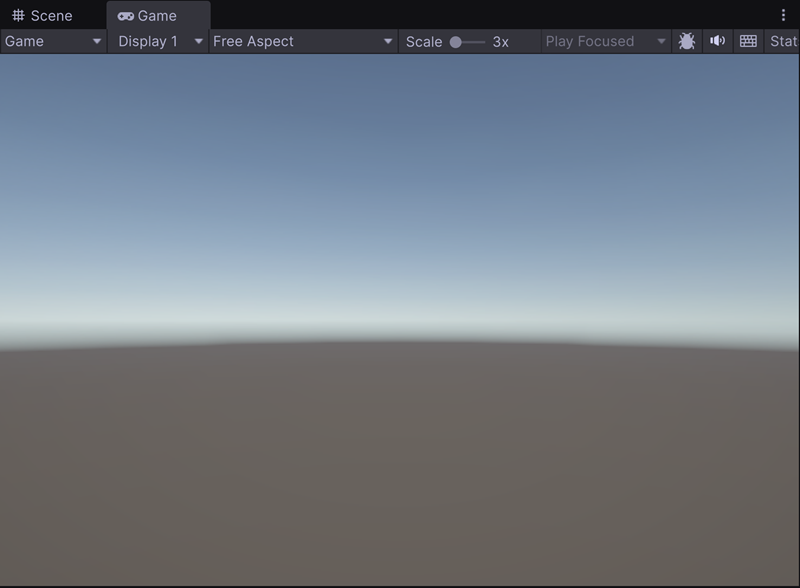
The interface opens with an empty project:
Play mode
Run a project
Notice that you are in a work area where people edit scene and objects.
Locate the Play button at the top of the interface:
Click on the Play button to run the game
Avertissement
The 3D view in Play mode is called the Game view, whereas in Edit mode, it is called the Scene view.
To exit Play mode, click on the stop button:

Play mode tint
Windows
To help you distinguish Play mode from the editor interface, it is possible to adapt Play mode background color.
From the main menu, select Edit > Preferences.
In the left menu, select Colors.
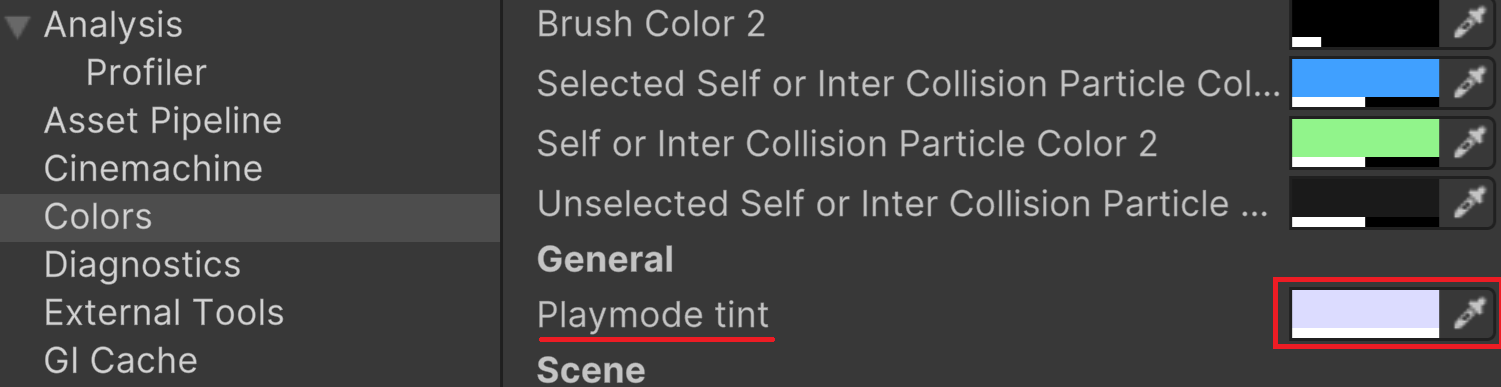
Change Playmode tint color.
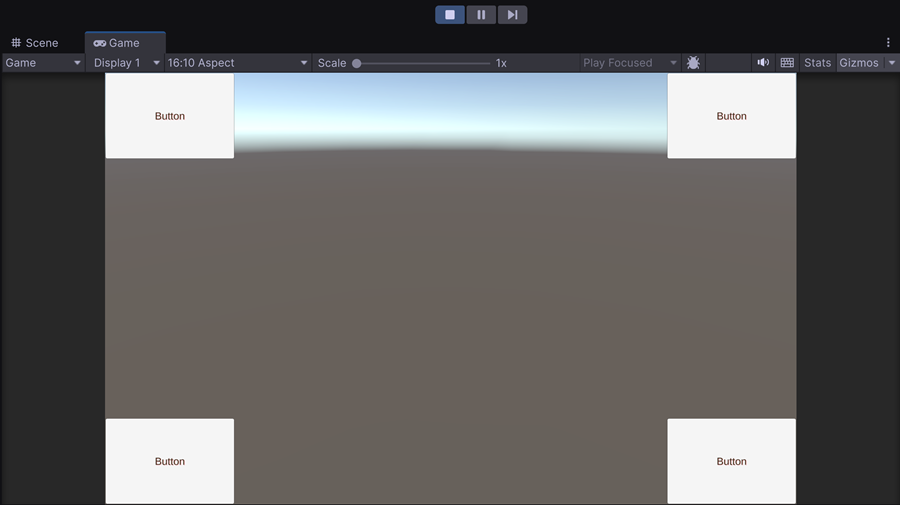
Enter Play mode to test the new tint:

Choose a color that is distinctive enough without reducing the legibility of the text.
Avertissement
It’s a tint, not a color: the tint color behaves like a plastic filter placed on top of the interface. So, choose a color close to white or this will darken the overall interface.
Mac
You should have look at this menu:
Edit > Preferences > Colors
Dev Tools for Windows
Visual Studio
Install Visual Studio Community 2022 (not Visual Studio Code which is a lightweight version of VS2022).
It can take 1 or 2 hours of download.
If already installed, go to: Help > Check for updates.
In your Windows Launchbar, type: « Visual Studio installer » and run the package manager of Visual Studio 2022.
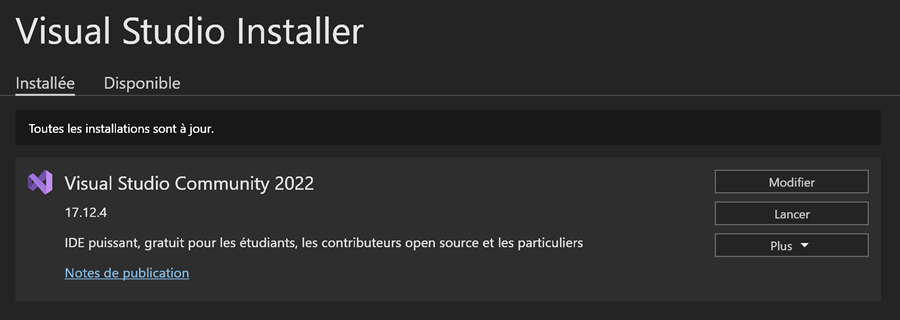
Click on Modify button.
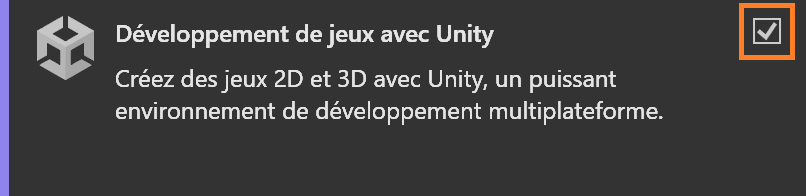
Find and select: « Game Development with Unity »
Then click on the Install/Modify button on the lower right.
Set Visual Studio as Unity’s default editor:
In Unity, go to Edit > Preferences | External Tools
Select Visual Studio as External Script Editor.
Unity
In Unity: open up Windows > Packages.
Set VS Code as Unity’s default editor:
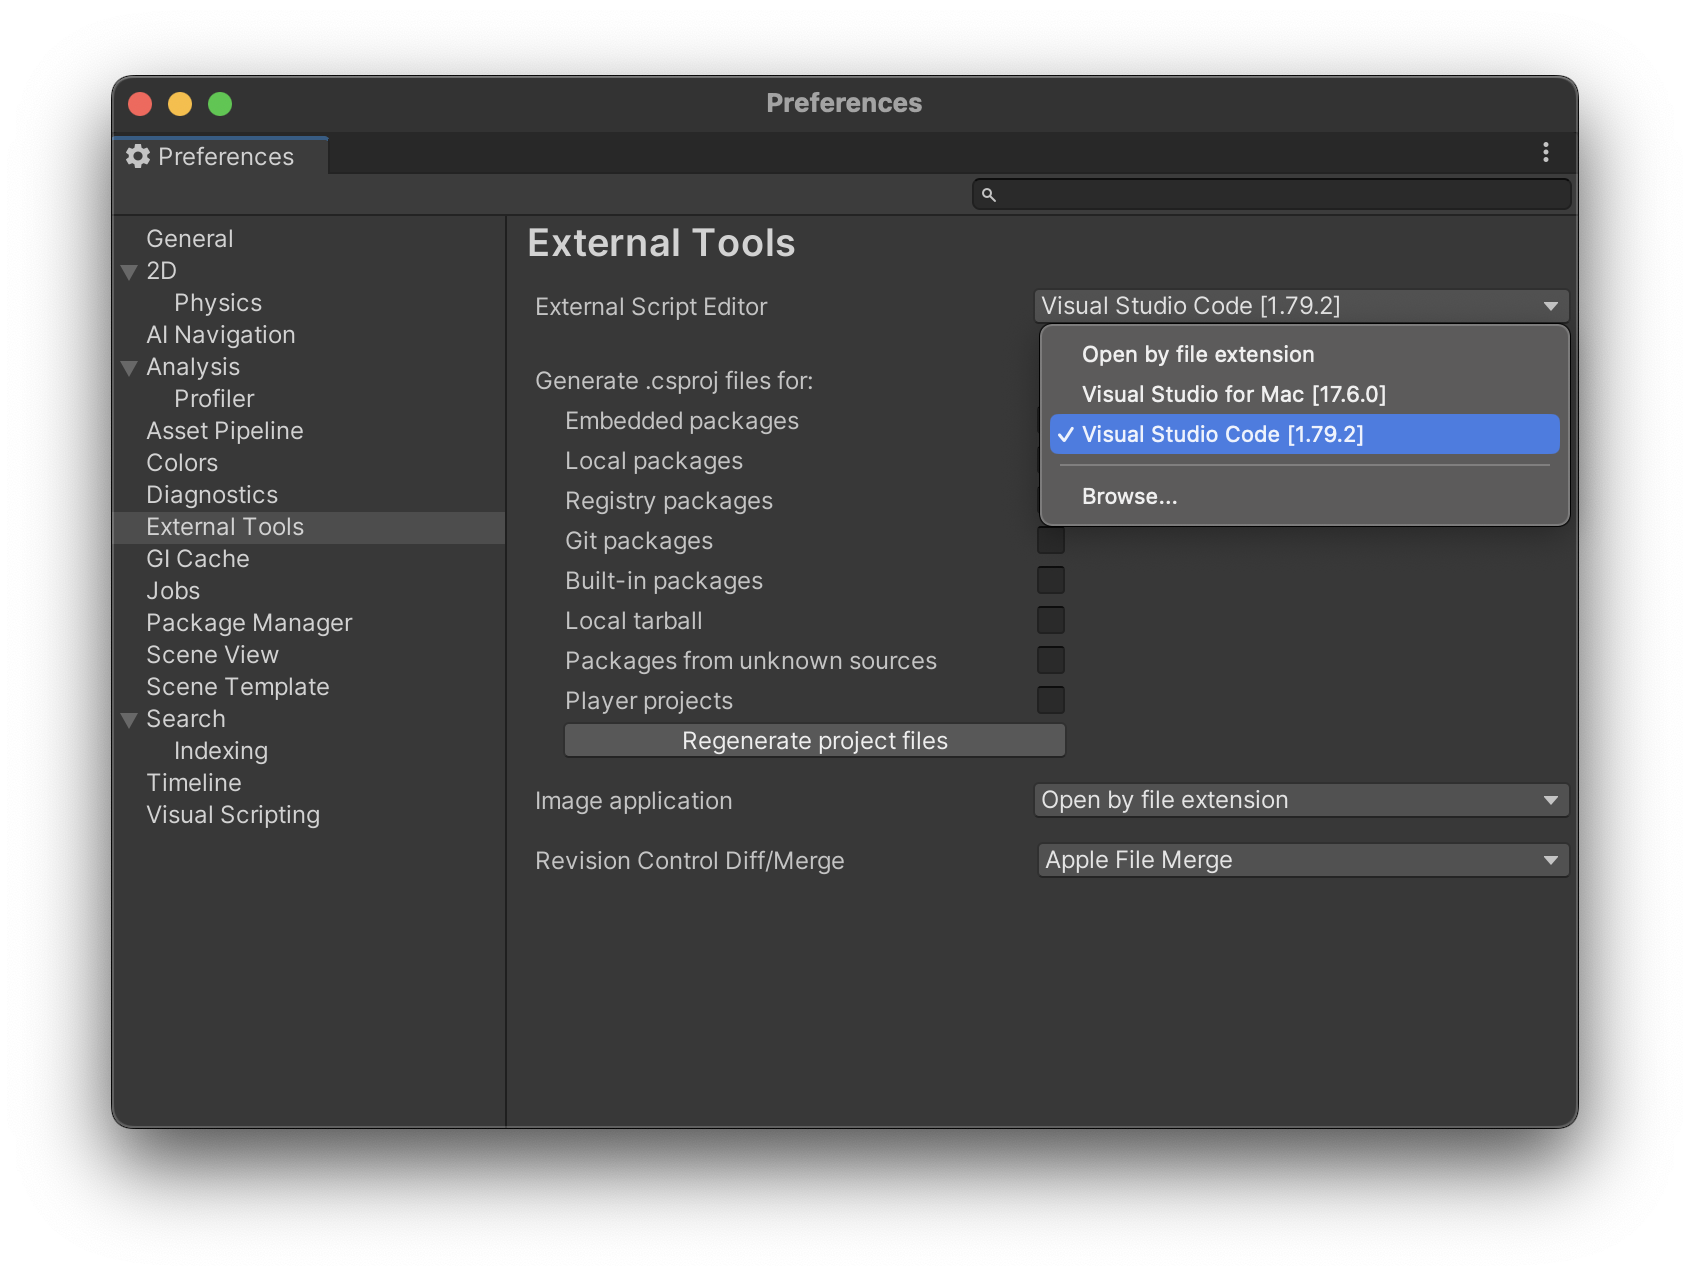
In Unity, go to Edit > Preferences | External Tools
Select Visual Studio Code as External Script Editor.
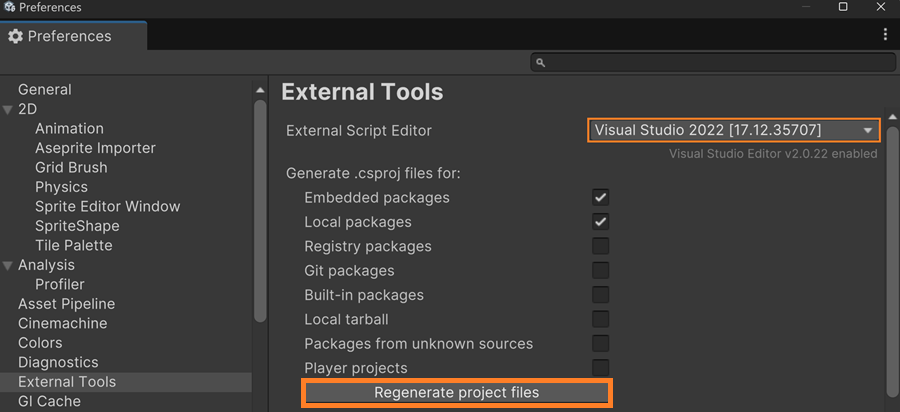
Click on the button « Regenerate Project Files » to generate useful extra information for VS.
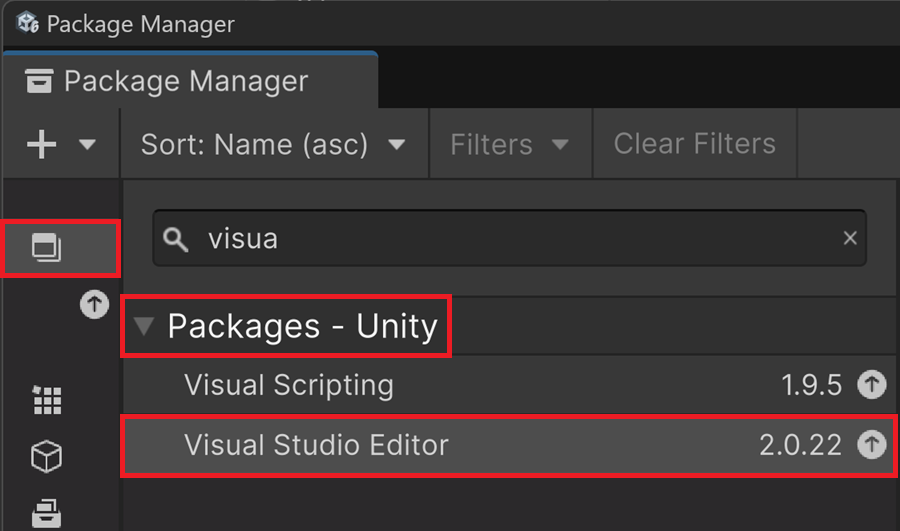
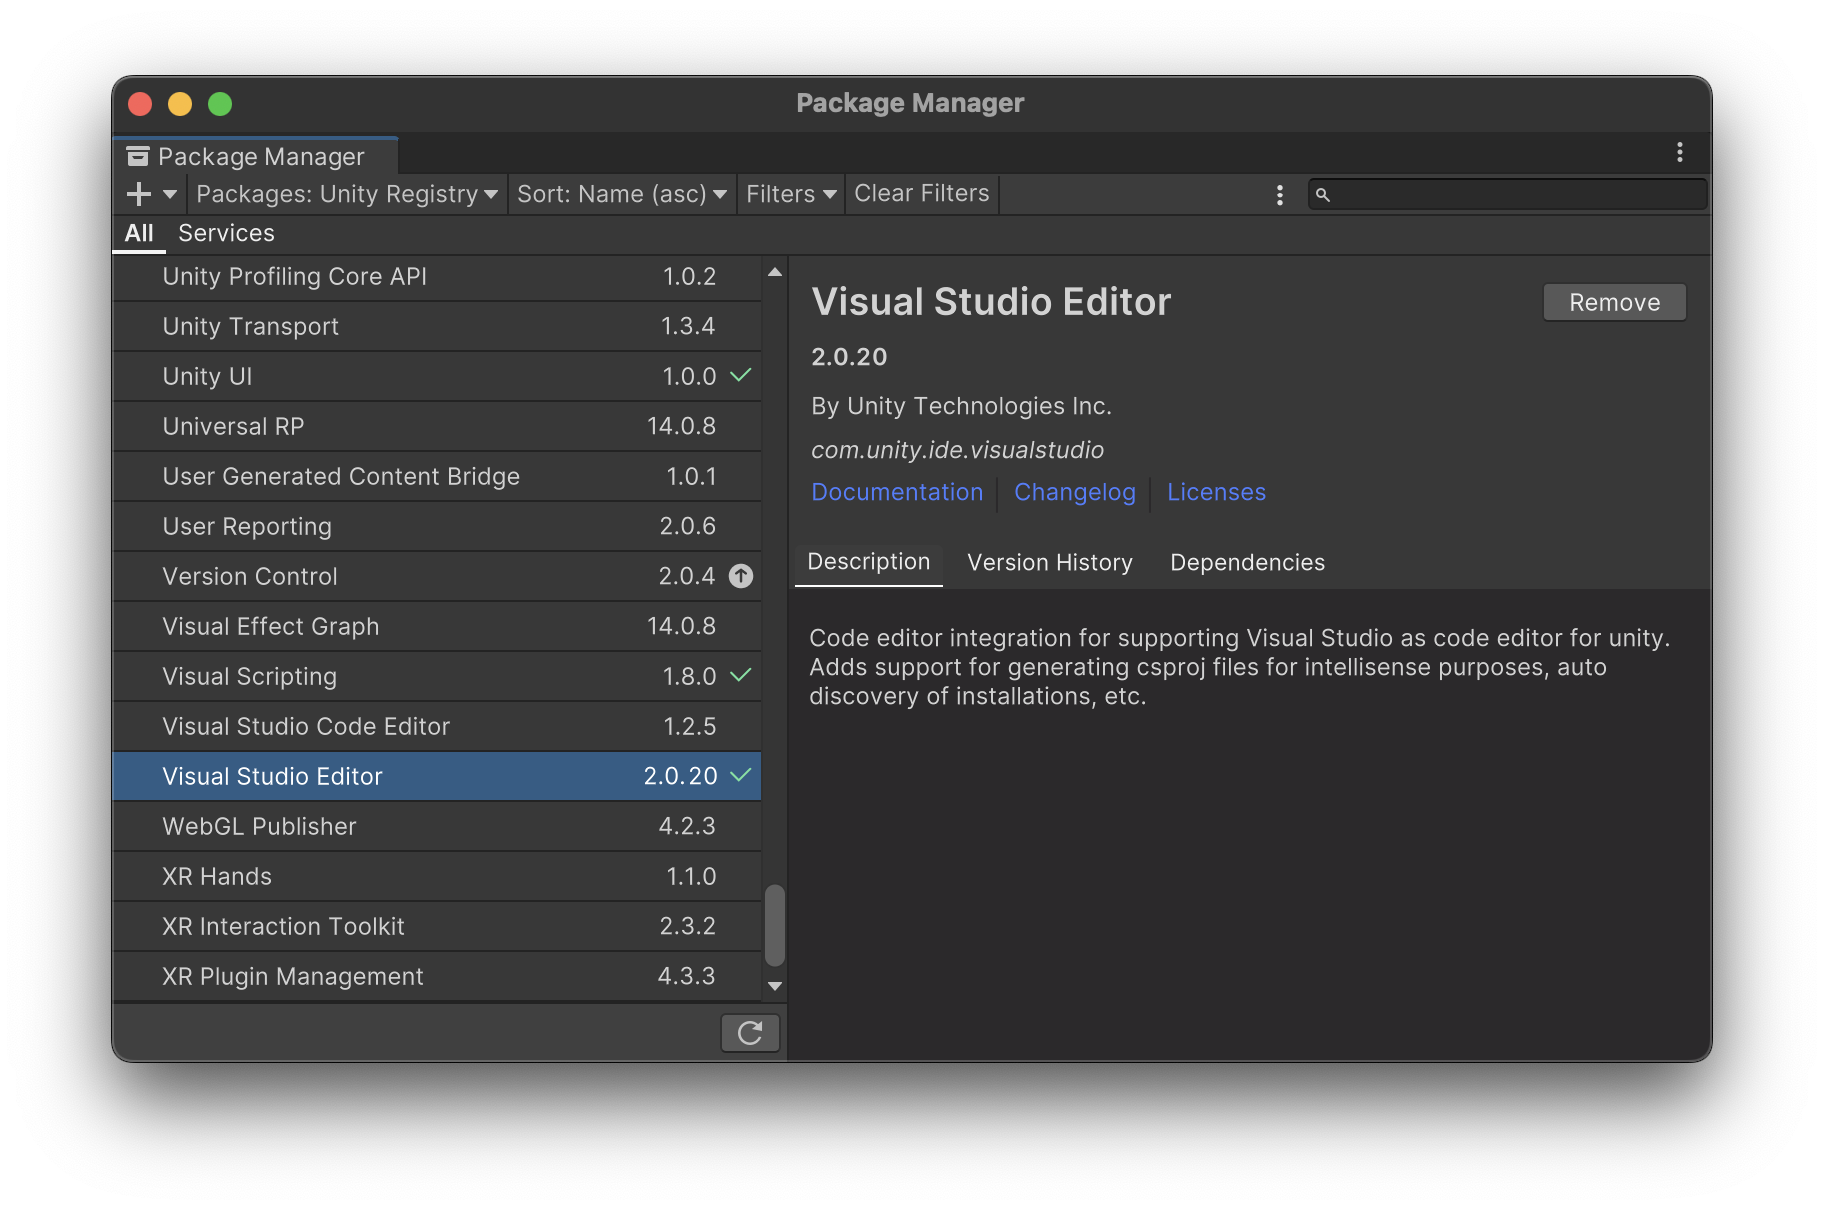
In Unity: open up Windows > Packages.
Make sure the Visual Studio Editor package is upgraded to 2.0.20 or above.
Check
Edit a script
At the bottom, in the Project Window, Navigate through: Assets > Scenes
Right click on Scenes icon:
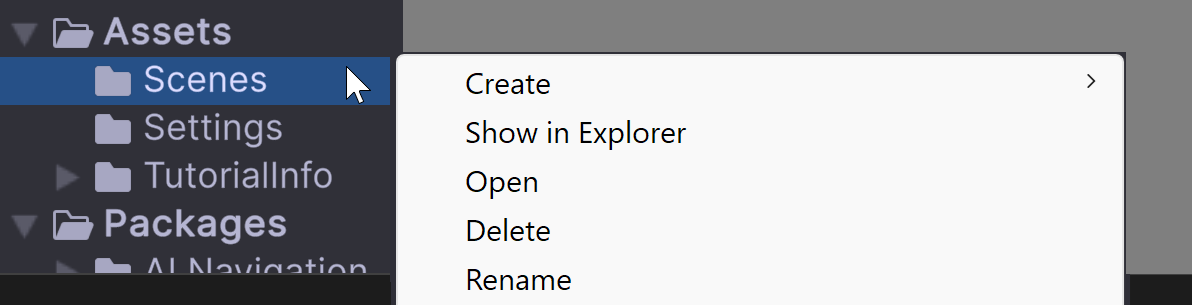
In the context window, select Create > Scripting > MonoBehaviour Script
Name the script Test (F2)

Double click the script icon to open it in Visual Studio
Project window
In Visual Studio, please check that the Project window has been populated:

Intellisense
- When starting to type, the editor should list different options:
List members functions
Parameter Info
Autocomplete Word
In the Update() function, type: « Debug. »
You should see intellisense hint:

Avertissement
If project window and intellisense do not work correctly, please ask for help because the pipeline between Unity and VS is not working correctly.
Dev Tools for MAC
Note
Visual Studio 2022 is no more available for Mac. You have to use VS Code instead, which is also a great code assistant but it does not offer Debug functionalities.
VScode
Install Visual Studio code (VS Code)
If already installed please check for update: Help > check for update
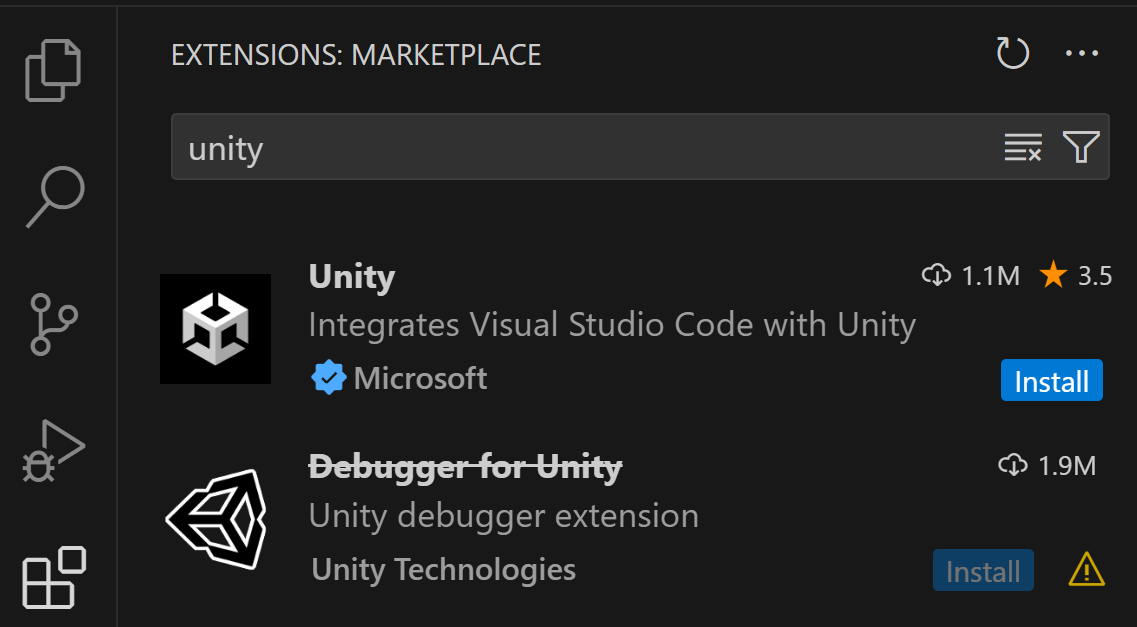
Install the Unity for VS Code extension from the Visual Studio Marketplace.
Run Visual Studio Code
Click on the Extensions Manager Button on the left:

Write « Unity » in the search bar and click on the « install » button.
Unity
In Unity: open up Windows > Packages.
Make sure the Visual Studio Editor package is upgraded to 2.0.20 or above.
Set VS Code as Unity’s default editor:
In Unity, go to Edit > Preferences | External Tools
Select Visual Studio Code as External Script Editor.
When you edit script, you have quick info when you move your cursor on Unity’s object:

Color management
In Unity, to give an object a color, you have to:
Create a material
Select the color of this material
Assign it to the object
We add a tool to Unity that creates 32 materials with the most common colors.
In the assets folder, right click and create a MonoBehaviour Script
Rename it « ColorMaterials »
Double-click on the script icon to open it in your script editor
Delete the code and copy paste the following code
using UnityEngine;
using UnityEditor;

public class GenerateMaterials
{
        [MenuItem("Tools/Generate 32 Materials")]
        public static void Go()
        {
                string folderPath = "Assets/SolidColorMaterials/";
                if (!AssetDatabase.IsValidFolder(folderPath))
                        AssetDatabase.CreateFolder("Assets", "SolidColorMaterials");

                string[] colorNames = new string[]
                {
                        "1Red", "1Cherry", "1Blush", "1Salmon", "1Peach",
                        "2Orange", "2Gold", "2Amber", "2Lemon", "2Khaki",
                        "3Green", "3Lime", "3Teal", "3Olive", "3Mint",
                        "4Blue", "4Aqua", "4Cyan", "4Sky", "4Navy",
                        "5Purple", "5Lilac", "5Fuschia", "5Plum", "5Indigo",
                        "6White", "6Black", "6Gray", "6Beige", "6Ivory", "6Silver", "6Slate"
                };

                string[] colorHexes = new string[]
                {
                        "#FF0000", "#DC143C", "#FF1493", "#FA8072", "#F08080",
                        "#FFA500", "#FFD700", "#FF8C00", "#FFFFE0", "#F0E68C",
                        "#008000", "#00FF00", "#008080", "#808000", "#98FB98",
                        "#0000FF", "#00FFFF", "#00CED1", "#87CEEB", "#000080",
                        "#800080", "#C8A2C8", "#FF00FF", "#EE82EE", "#4B0082",
                        "#FFFFFF", "#000000", "#808080", "#F5F5DC", "#FFFFF0", "#C0C0C0", "#708090"
                };

                Shader litShader = Shader.Find("Universal Render Pipeline/Lit");

                for (int i = 0; i < colorNames.Length; i++)
                {
                        Color color;
                        if (ColorUtility.TryParseHtmlString(colorHexes[i], out color))
                        {
                                Material mat = new Material(litShader);
                                mat.SetColor("_BaseColor", color);
                                AssetDatabase.CreateAsset(mat, folderPath + colorNames[i] + ".mat");
                        }
                 }

                AssetDatabase.SaveAssets();
                AssetDatabase.Refresh();
                Debug.Log("Materials have been generated in " + folderPath);
        }
}
Note
The directive [MenuItem(« Tools/Generate 32 Materials »)] adds a new entry to the Tools menu. The for loop iterates to create a material, assigns it a name and the corresponding color, and then adds it to the current assets folder.
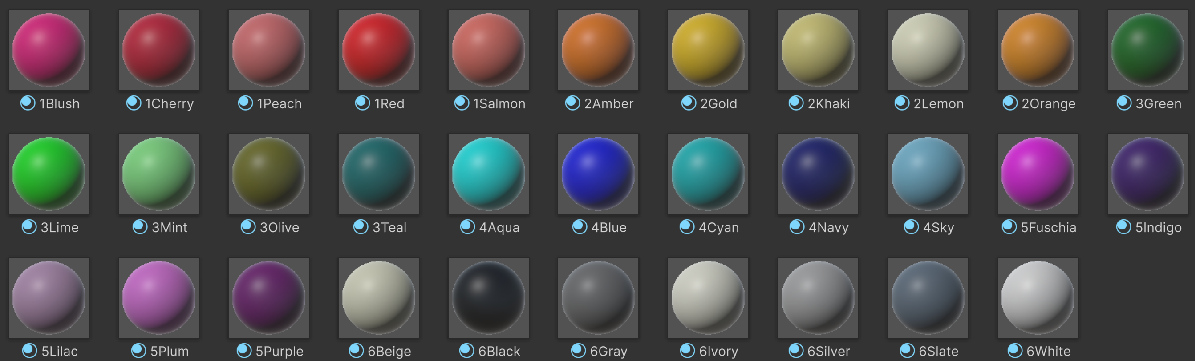
In the Project window, navigate to Assets > SolidColorMaterials
You should find a list of preconfigured materials organized by hue:
Desktop Manager (Win)
———- optional ———-
In order to keep your desktop organized, consider setting up a desktop manager. This way you can:
Have one background image per virtual desktop
Organize your icons differently on each desktop
Share all your apps between different desktops
This year, we test: Dexpot
After installation, you can find a small icon in the system tray (in the lower right, near the windows clock).
Right click on this icon to open configuration menu:
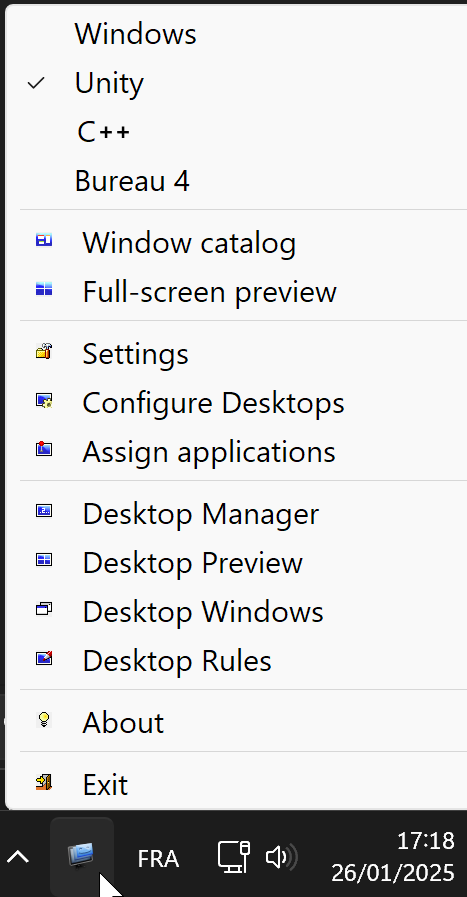
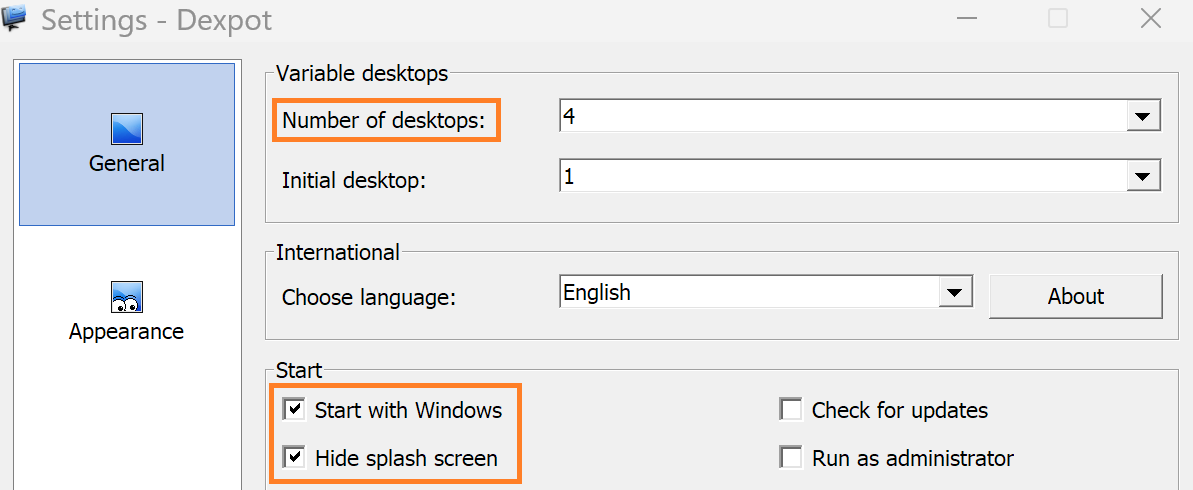
Select Settings > General
Select the number of desktops you want (3 or 4 may be sufficient)
Select
Start with Windows
Hide splash screen
Select Settings > General
Select Customize Desktop Icons
Select Customize Desktop Background
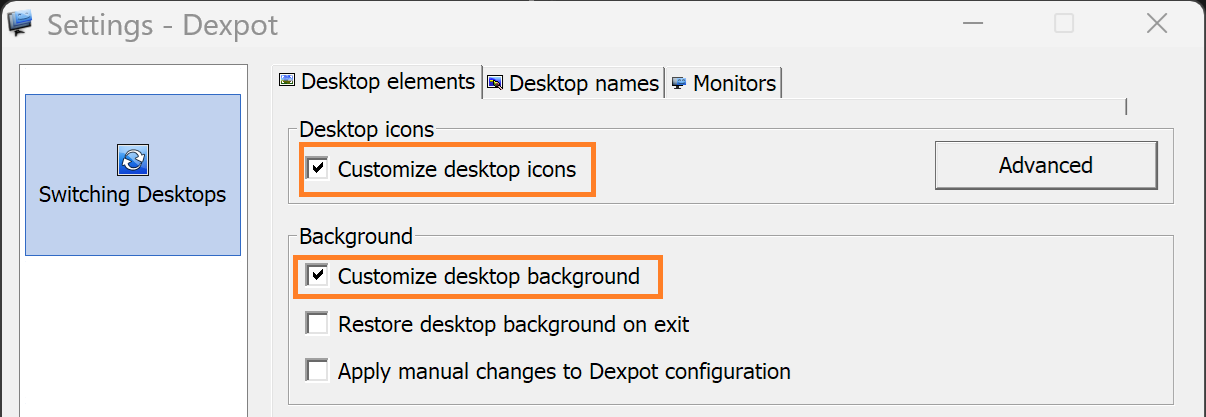
Click on the button : « Advanced »
Select : « Create a separate folder for each desktop »
Select : « Use original desktop folder for desktop 1 »
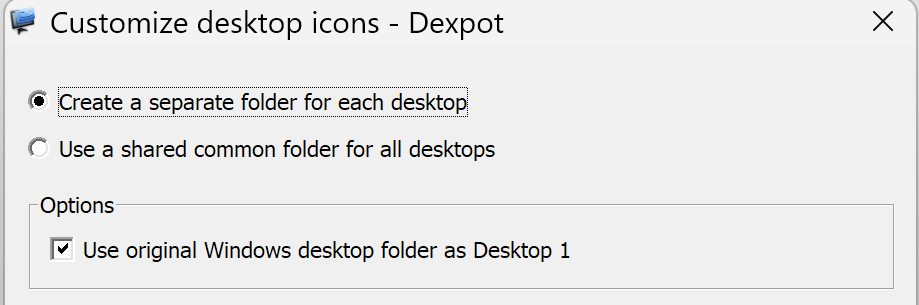
This way, if you decide to remove this app, desktop 1 will remain the main desktop.
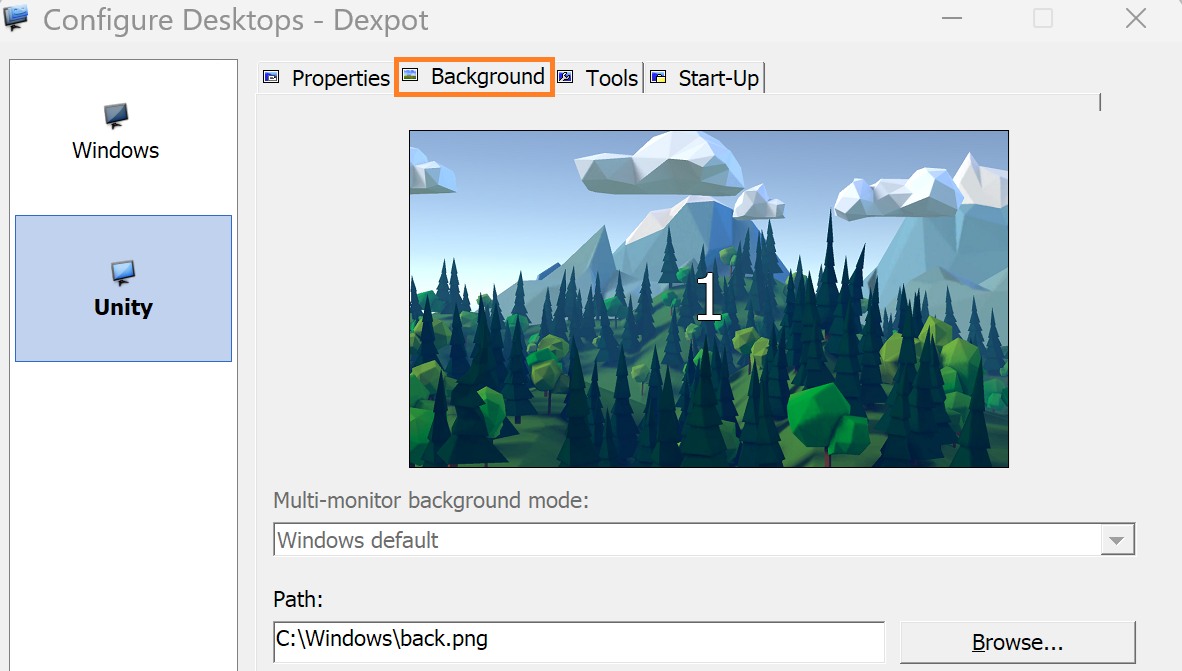
Now the desktop manager is working. You can configure different backgrounds if you want:
Select Configure desktops
To change desktop, just use : ALT+1, ALT+2…
Avertissement
After several months, we can say that this tool has been very helpful. However, it remains a bit buggy and sometimes forgets or reorganizes the locations of the desktop shortcuts.