Blender Essentials
LMB,MMB,RMB: left/middle/right mouse buttonMenu > Edit > Preferences | Input > Emulate Numpad
Camera
Orbit |
|
Front view |
|
|
Pan |
|
Right view |
|
|
Zoom in/out |
|
Top view |
|
|
Frame object |
|
Perspective |
|
|
Frame all |
|
Selection
Select all objects |
|
Unselect all objects |
|
Rectangular selection |
|
Brush selection |
|
Invert selection |
|
Misc
Create 3D Cube, Sphere… |
|
Delete selected |
|
Undo |
|
Redo |
|
Hide/Show selected |
|
Duplicate |
|
Duplicate + link |
|
Interface
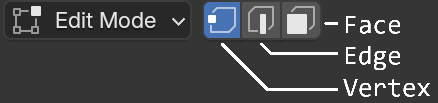
Object Mode / Edit Mode (vertex/edge/face) |
|
Show / hide Toolbar |
|
Change shading: Solid, Wireframe… |
|
Make the window under mouse pointer fullscreen / Back to previous |
|
Change view mode: wireframe / shaded |
|

Quick tools
Feature |
Quick Tools |
Tools (ToolBox) |
|---|---|---|
Access |
Hotkeys: G, R, S |
Toolbar |
Persistence |
Modal: active once, then disappears |
Permanent: remains active, reusable anytime |
Gizmos |
None |
RGB Gizmos |
Speed |
Very fast |
Slower, but more visual |
Custom settings |
Keyboard-based adjustments |
Tool options in UI |
Quick Move |
|
Quick Rotate |
|
Quick Scale |
|
Rotate along X |
|
Rotate by 5° steps |
|
Rotate using the local axis |
|
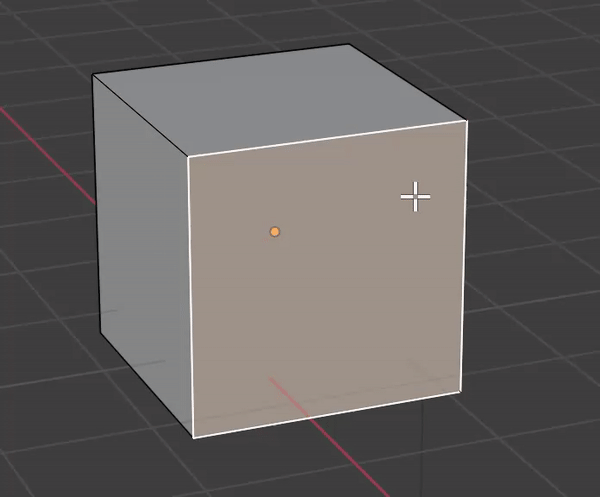
Edit mode
Standard tools
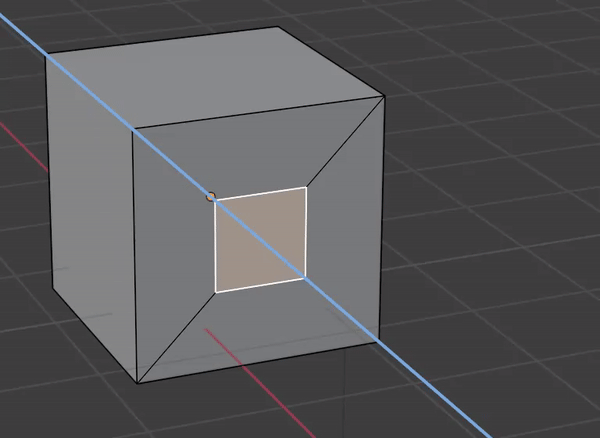
Inset |
|
|
|
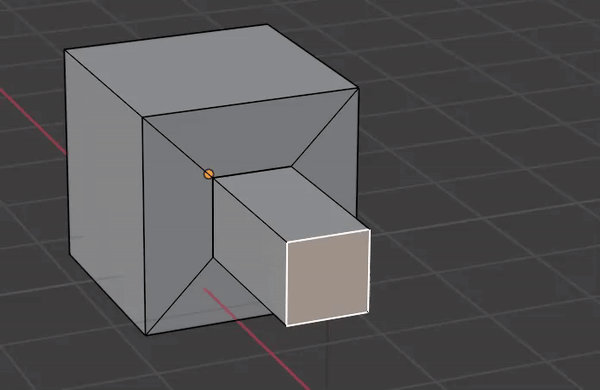
Extrusion |
|
|
|
Scale |
|
|
|
Loop cut |
|
|
|
Bevel |
|
|
|
Knife |
|
|
|


Specific tools
Delete |
|
Remove selected vertex/edge/face |
Create Face |
|
|
Merge |
|
|
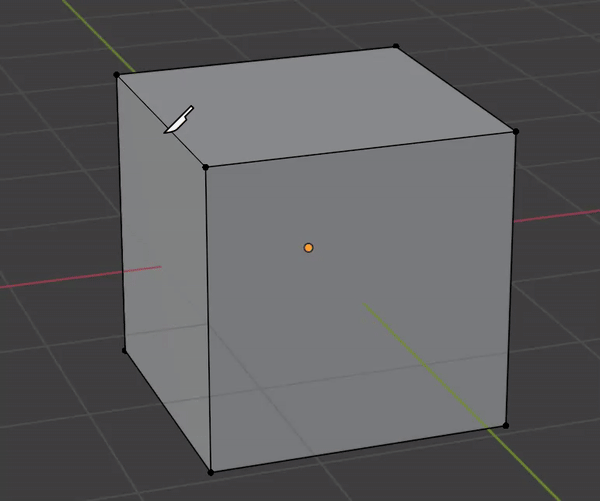
Select edge loop |
|
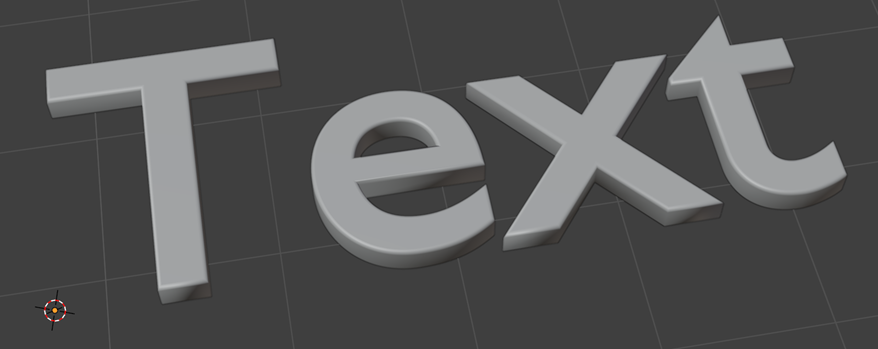
3D Text
Shift+A+ Text
Later, you can press
Tabto edit the text content againIn the Property editor, select the
aicon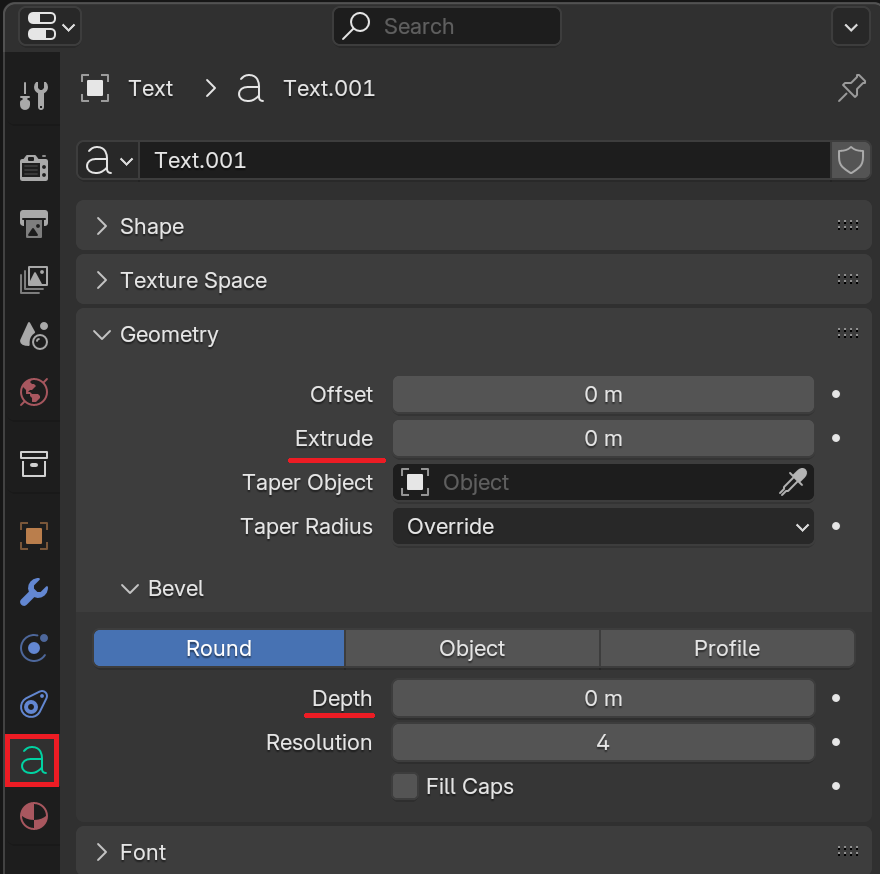
Increase the Extrude value to adjust the text depth
Change the Round > Depth value to round the edges of the text
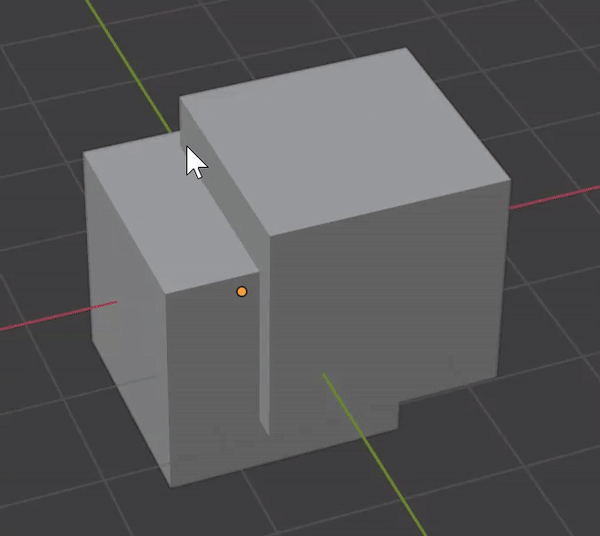
Boolean operation
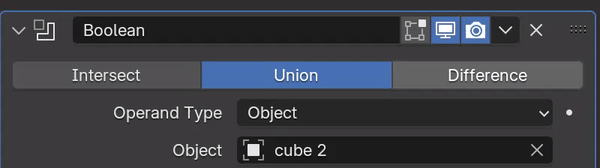
Union
Create two overlapping cubes
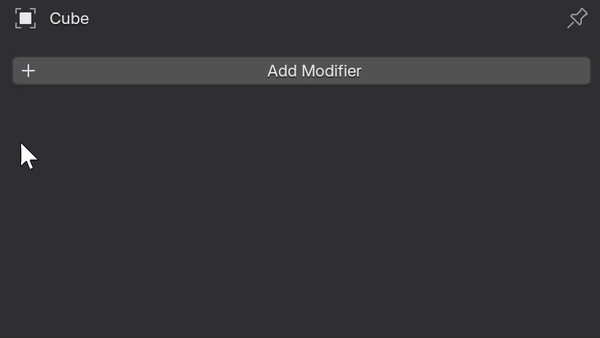
Select the main cube
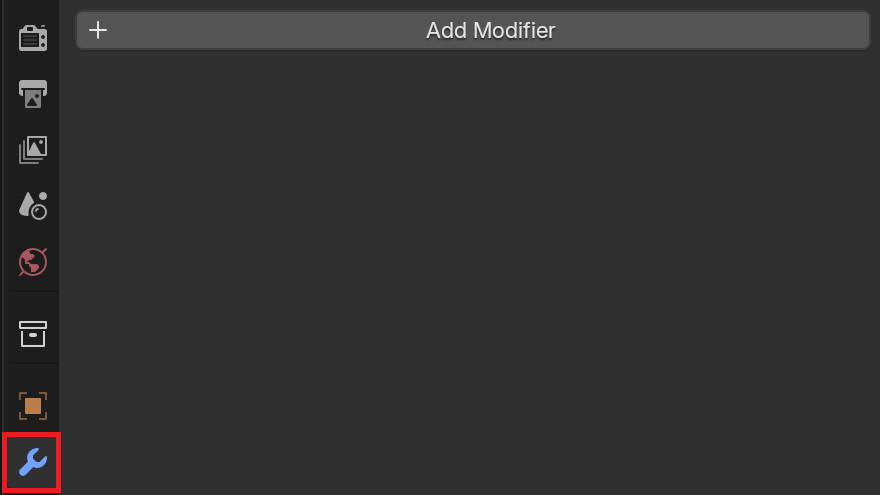
Click on the 🔧 wrench icon
Click on Add Modifier > Generate > Boolean
Set Operation to Union
Click on the field named Object and select the name of the second cube

Click Apply
Delete the second cube
Move the new volume
Difference
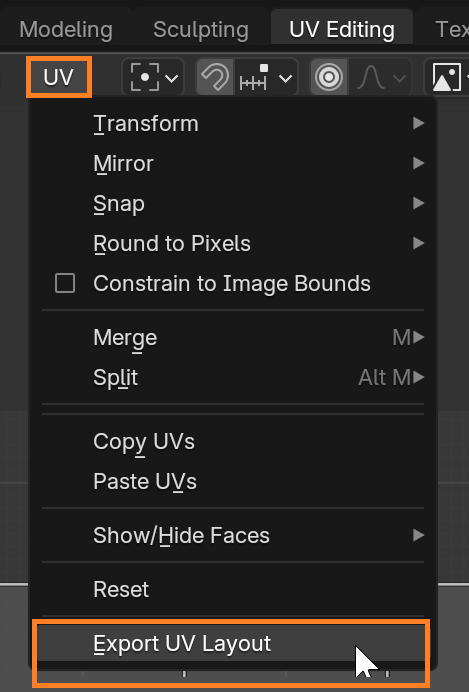
UV editor
Export UV layout
Shift+Aand create a 3D cubeSwitch to Object Mode (
Tab)Select your object
Switch to Edit Mode (
Tab)Press
Ato select everything
Open UV Editor window (Menu > UV Editing)
In the UV Editor, go to the top menu and select UV > Export UV Layout
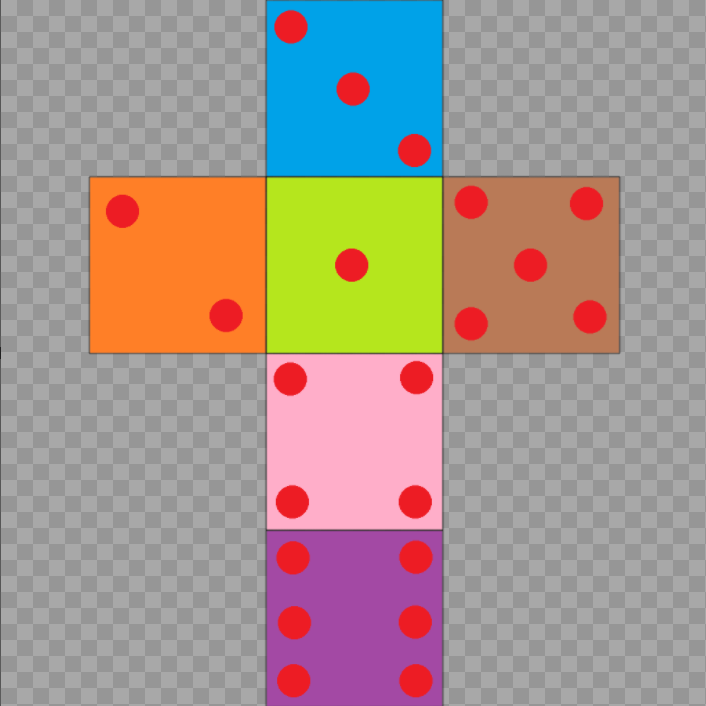
Open PNG image in mspaint
Decorate each face
Apply texture
Select the cube
Go to the Material Properties tab (red sphere icon in the right-hand panel)
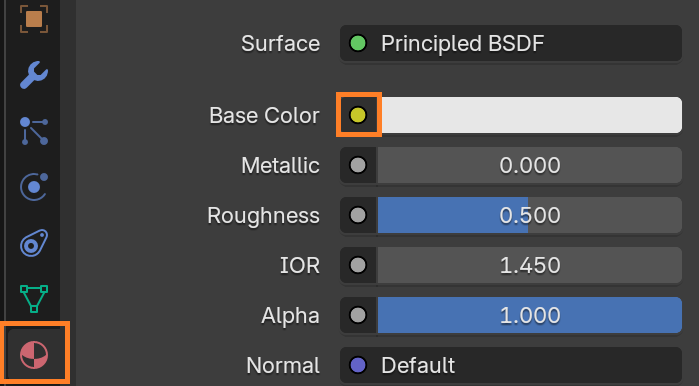
Click the yellow dot next to it
Choose Image Texture
Click the Open button, and select the painted image you created
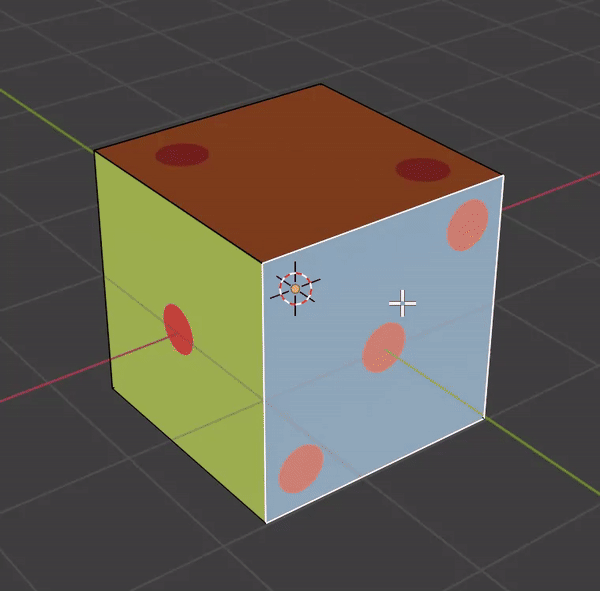
In the top right corner of the 3D view, activate shading:

Create Normal Map
More panels
Move the mouse in the top left corner on the bottom panel
Click and drag to create a new panel
In the top left corner, click on the round white icon
Select Image Editor for the left window
Select Shader for the right window
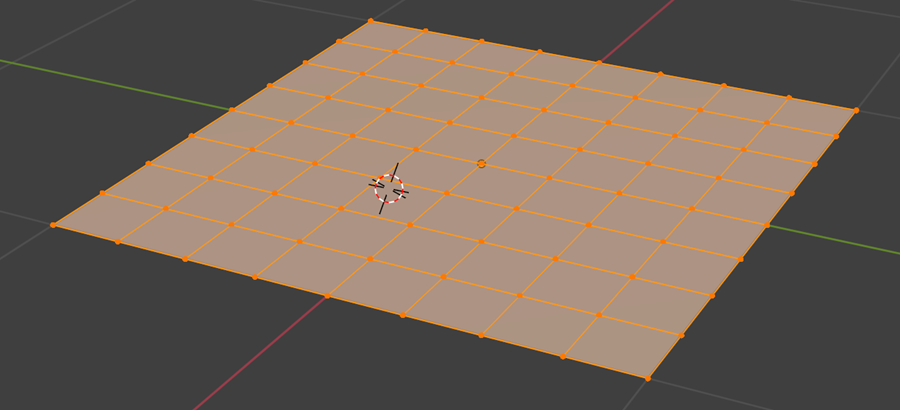
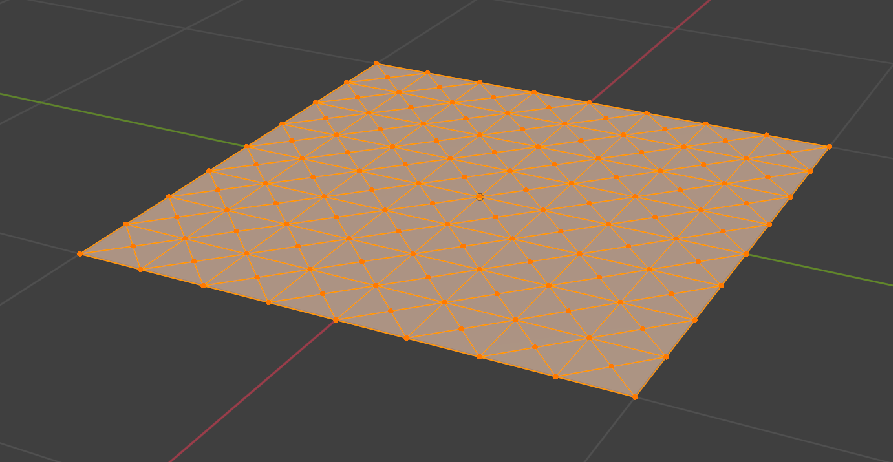
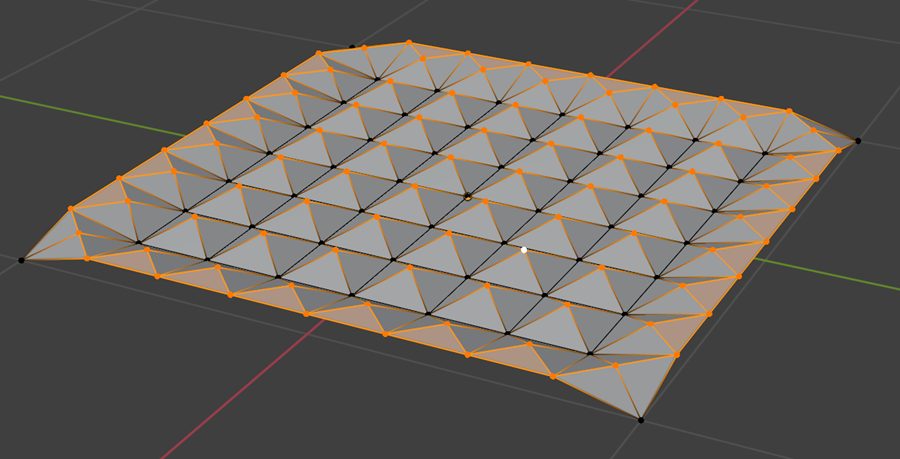
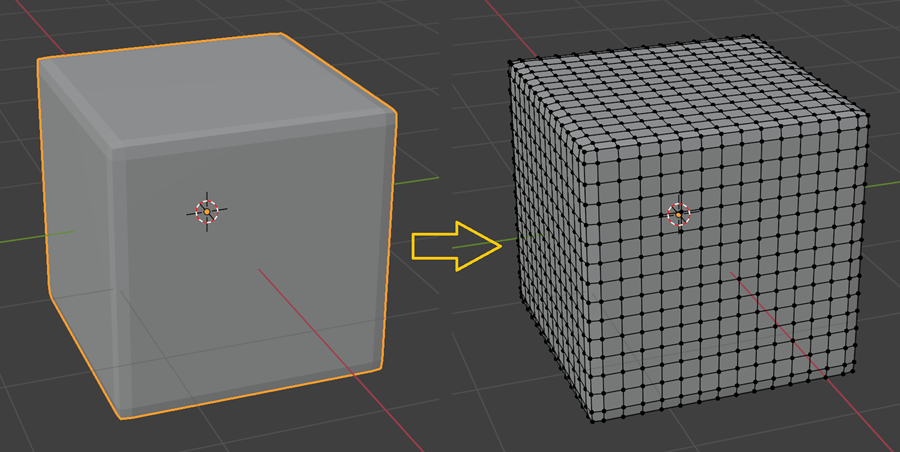
Spiky plane
Shift+Aand create a planeSwitch to Edit Mode (
Tab)Right click on the plane
Select Subdivide
Repeat twice
Submenu > Face > Poke Faces
Select a poked vertex
Shift-G> Amount of Adjacent FacesSelect Move tool and move vertices upwards
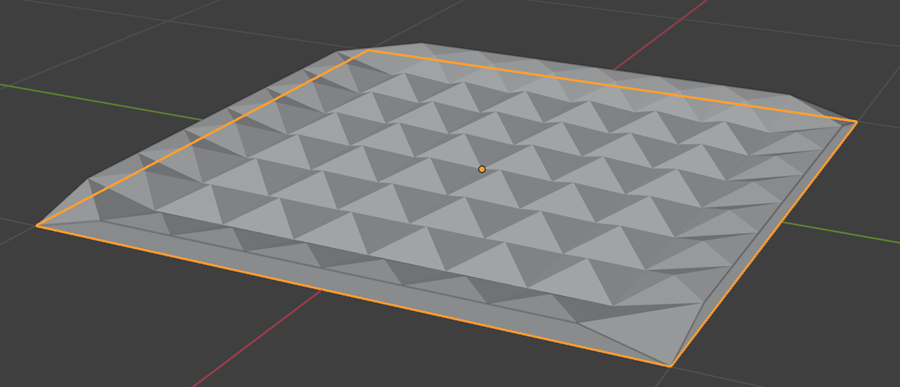
Flat plane
Shift+Aand create a 3D planeSet center to 0,0,0 ; the two objects must overlap
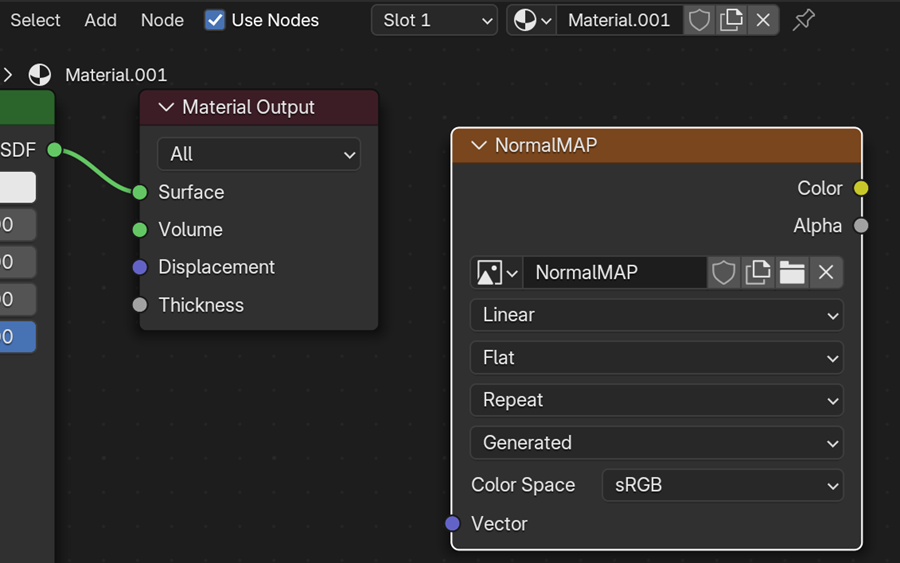
Output texture
Select the flat plane
In the shader window at the bottom, click on new to create a new material
In the shader window, press
Shift+A> Texture > Image Texture
Click on the New button
Name it NormalMap
Set its resolution
Click on New Image to validate
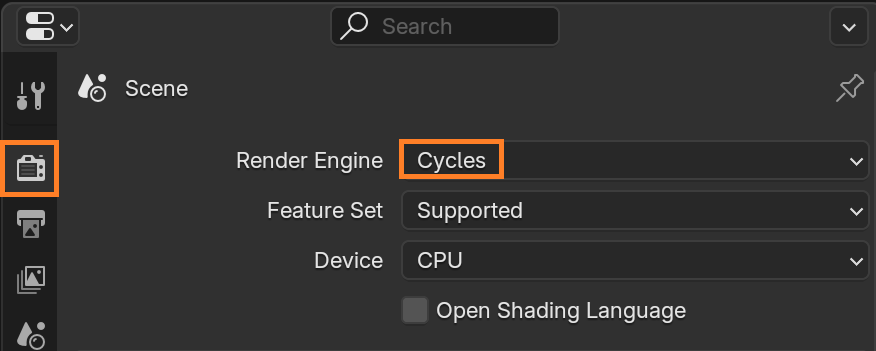
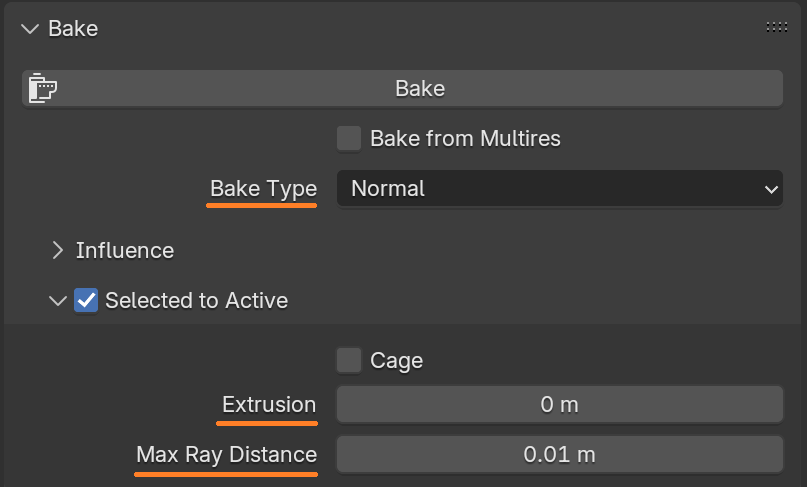
Baking setup
In the property Editor (right window), select the Render Property tab (camera icon)
Select Cycles as the Render Engine
Locate the Bake section
In the Bake Type field select “Normal”
Enable “Selected to Active” and deploy this section
Set Extrusion to 0.1
Set Max Ray Distance to a small value (e.g., 0.1)
Bake ready
Check that the image texture is selected in the shader window
Select your spiky plane first (highlighted in lighter orange)
Ctrl-select your flat plane
Click the “Bake” button in the Render Properties
Wait for the baking process to complete
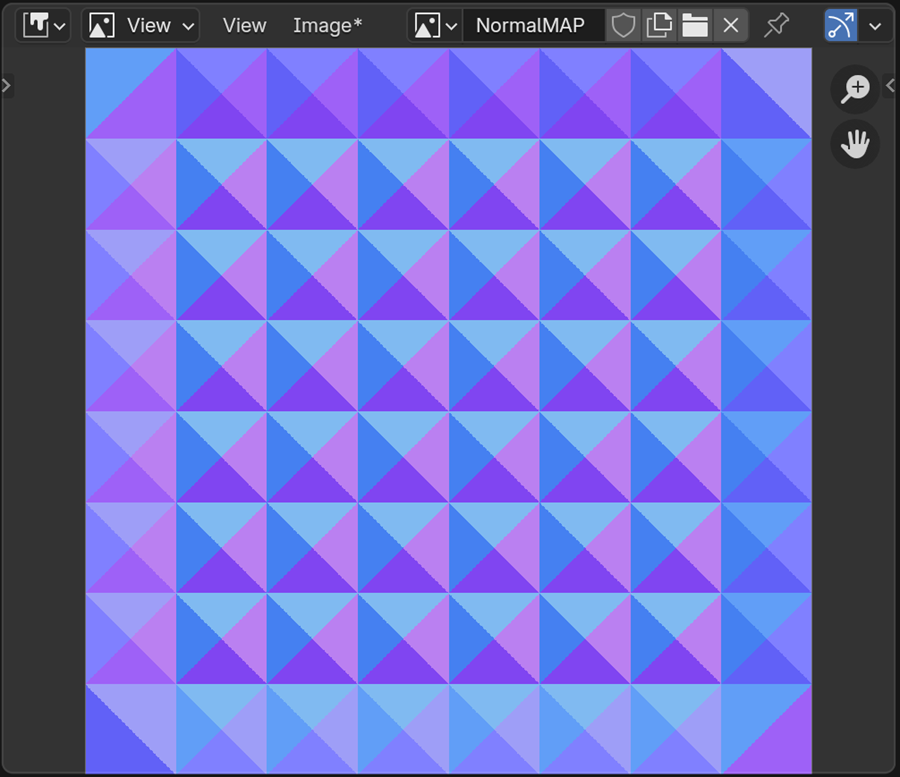
Export image to disk
Source
Remesh
Select the object to remesh
On the right, select the modifier panel (blue wrench icon)
Click on the Add Modifier Button
Select Generate > Remesh
For example, select the Smooth method
Check that you still are in object mode
Click on the apply icon (tick box)
Soon to come
Snap
Pivot