Export your game
A build refers to the process of packaging your application into a standalone file that can run on a specific platform or device.
Pre-Build
Before building an application, your project needs additional settings to work properly.
Exported scenes
One of the key steps in making a build is listing all the scenes that should be included in your final application:
Navigate to Menu > File > Build Profiles to open the Build Profiles window (Ctrl+Shift+B)
In the Build Profiles window, select Scene List from the left panel:
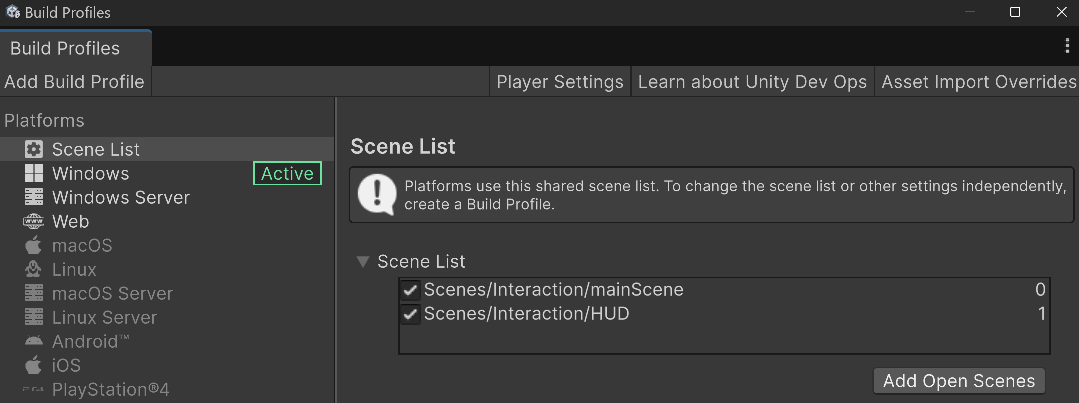
Drag and drop scenes you need from the assets/project folder
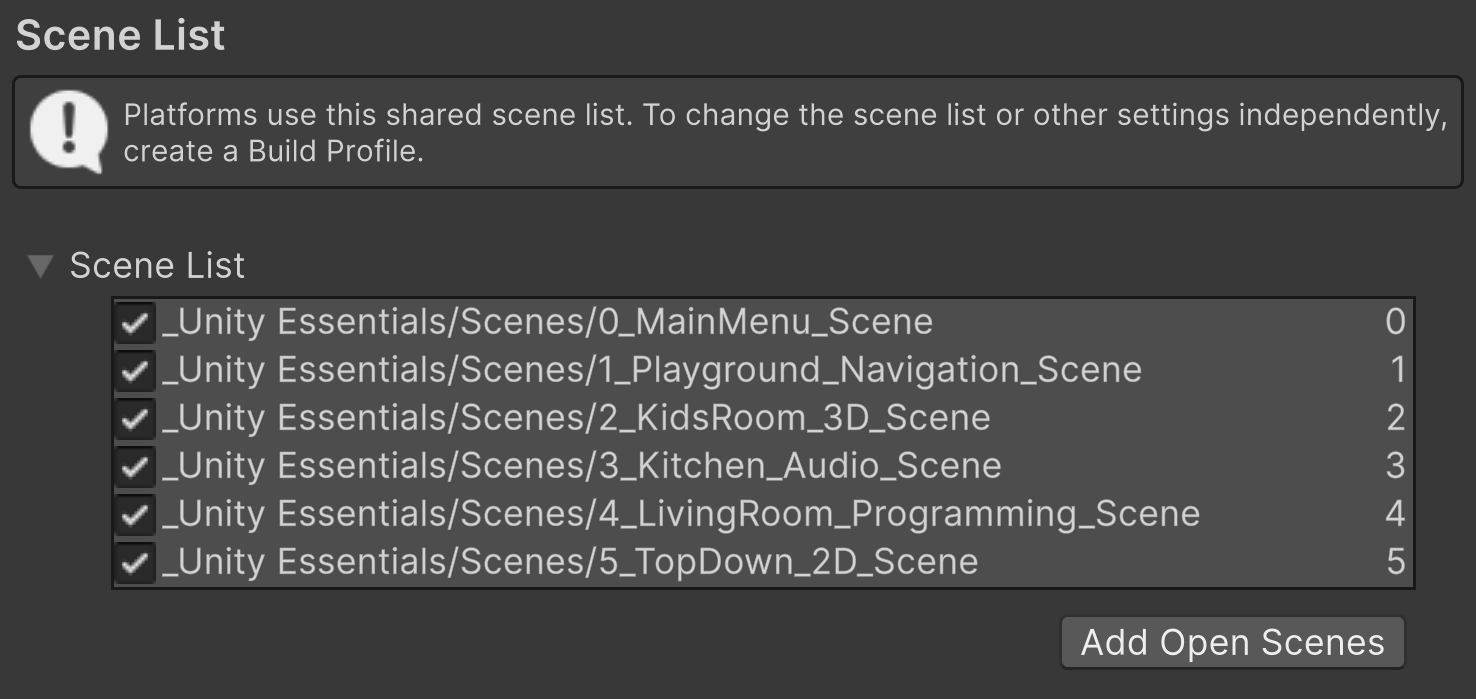
Notice that listed scenes are indexed by numbers
Player Settings
The Player Settings menu allows you to configure how your application behaves when the player launches your game. For example, we will choose the game’s icon and default resolution:
Navigate to Menu > File > Build Profiles to open the Build Profiles window (Ctrl+Shift+B)
Select the Player Settings button located at the top of the Build Profiles window

Set Company Name and Product Name :)
Click Select to choose an image as your default app’s icon
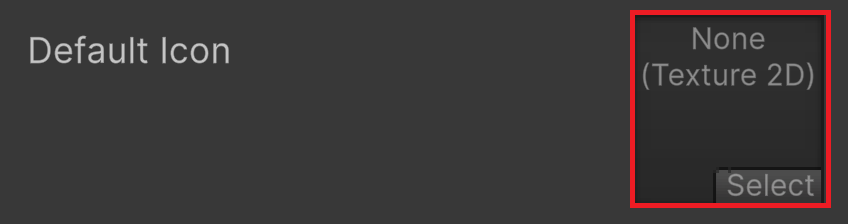
Select a square image from your assets files
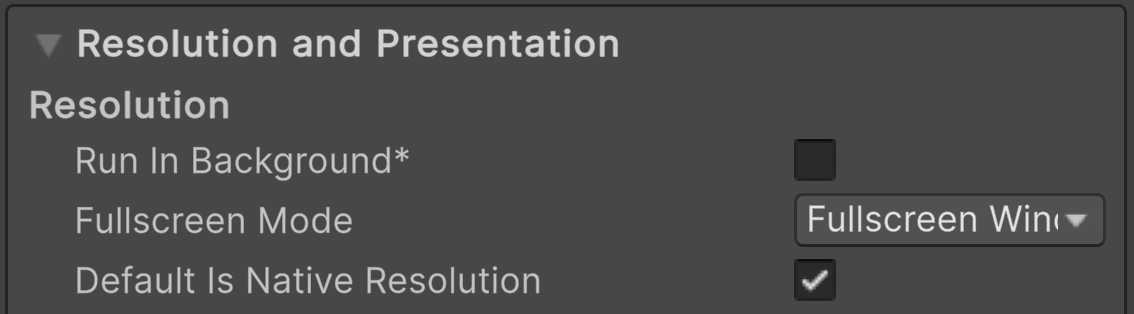
Open the Resolution and Presentation section at the bottom of the window
You can select full-screen by default or a fixed resolution like 1920x1080 or 1280x720
Close the Player Settings window, your settings will be saved automatically
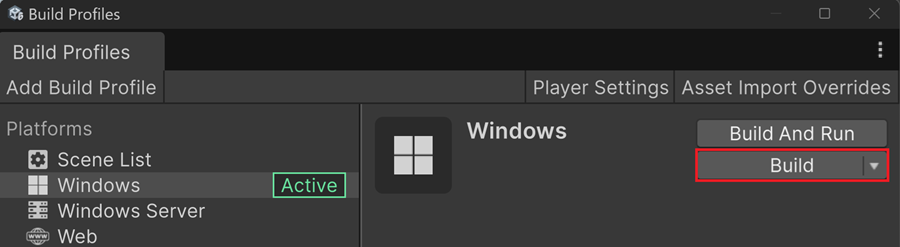
Windows Build
Navigate to Menu > File > Build Profiles to open the Build Profiles window (Ctrl+Shift+B)
In the Build Profiles window, select Windows from the left panel
Click on the Build button
Avertissement
Unity will compile all scripts present in the Assets folder, including old, unused scripts full of buggy code. To prevent issues, you should either quarantine these scripts in an external folder or comment them out.
Select an output folder
At this step, Unity build all the required files in the selected folders. You will find:
My Project.exe
UnityPlayer.dll
Extra Folders
You cannot build a single .exe file. Unity always exports additional DLLs and assets folders alongside your executable.
WebGl build
To easily and widely distribute your project across different platforms, publishing your projects as a web-based experience is definitely the way to go!
Navigate to Menu > File > Build Profiles to open the Build Profiles window (Ctrl+Shift+B)
Select Web from the left panel
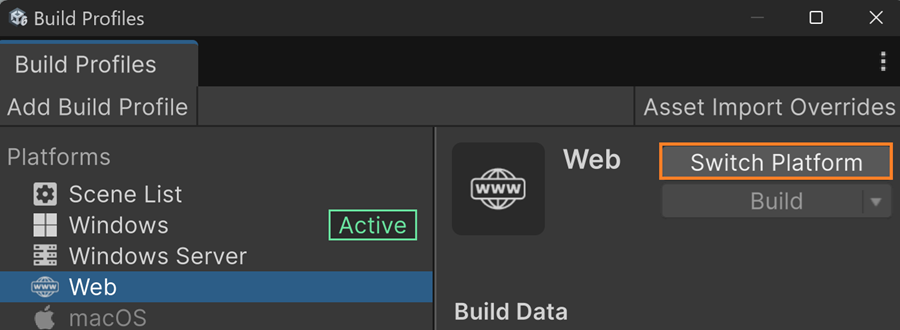
Click on the Switch Platform button
All scripts will be recompiled
Click on the Build and Run button
Select an output folder
Build takes several minutes
App automatically opens in your default web browser
Export to Unity Play
You will export your project on Unity Play, which is Unity’s free hosting online platform. Thus, you can easily share your creation with your friends!
First you need to install an add-on:
Navigate to Menu > Windows > Package Manager
Select the dotted icon on the left and search for webgl
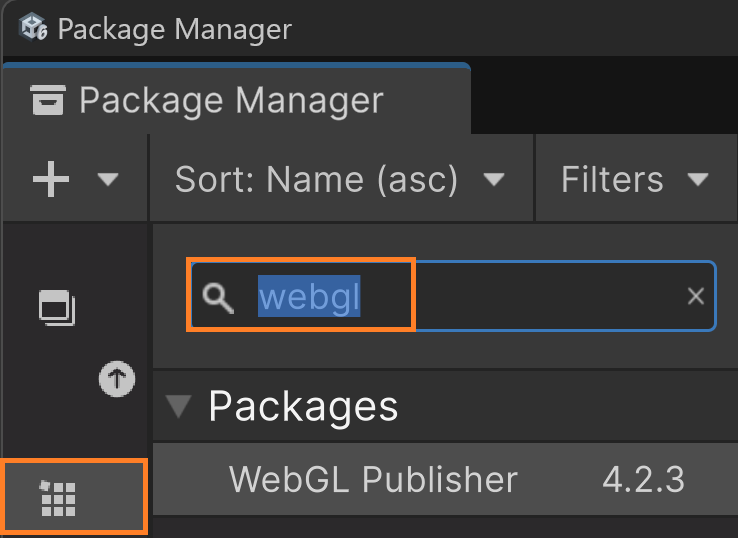
Install WebGL Publisher
Let’s export your project to Unity Play server:
From the top menu, select Publish > WebGL project
In the Publish window, select Build and Publish
Select a temporary output folder
After build is finished, your project is automatically uploaded to unity server
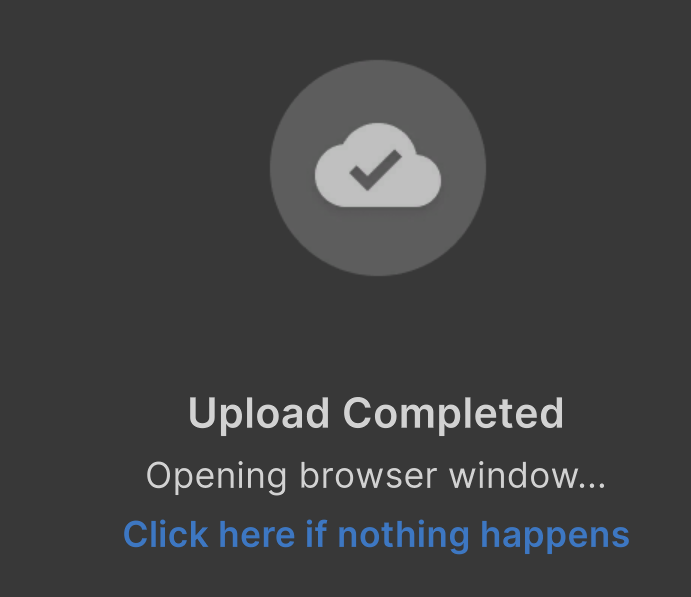
Select Done to continue
Unity opens the information page of this web project in your web browser
Please provide all the required information for the landing page used on social networks:
Title
Description
Thumbnail if you like
Click the Update button
Now you are on the official web page of your project
You can share this page on social media
If you want to test your app, click the Play button
