Interface
Note
An Asset corresponds to any file or resource that is used in your project: 3D model, 2D sprite, audio file, script, shader, texture, animation.
Main windows
Standard Layout
In the Unity HUB, select a blank project to open the Unity Editor.
Identify the main windows of the Unity Editor:

On the upper left, the Hierarchy window displays all the objects in the current scene
In the center, the Scene view allows us to edit and modify the current scene
On the right, the Inspector window lists all the information of the current selected object
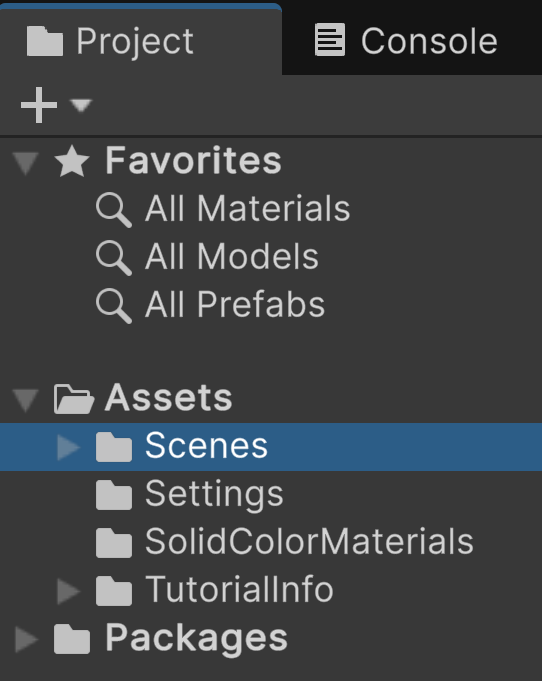
At the bottom, in the Project window, you can find all the assets of the project displayed in two modes:
On the left: as a tree structure
On the right: as a thumbnail view
Restoring the interface
While working in the interface, accidents may happen, such as closing an important window or panels disappearing. To solve such an issue, you can use the Layout manager to reset the interface:
Extend, move and close some windows randomly
In the top right corner of the main window, find the dropdown button
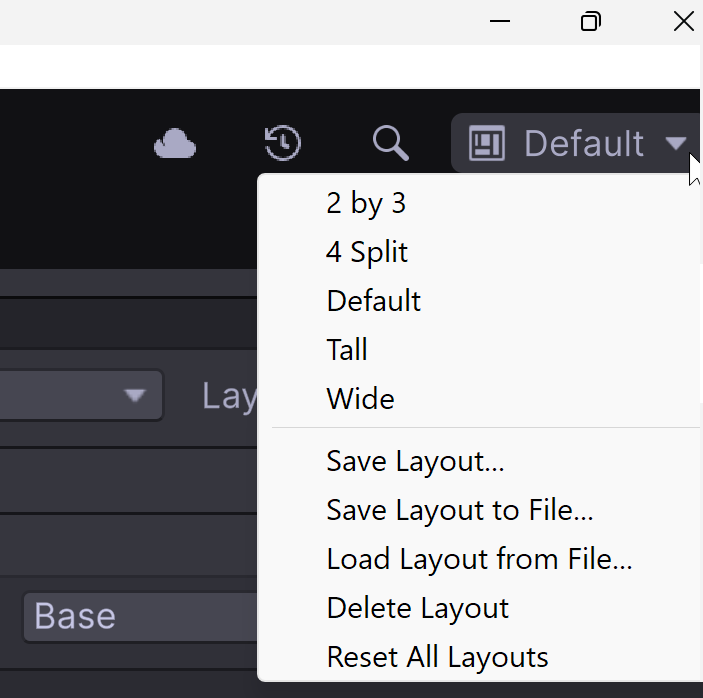
Click on this button and select « Default »
Project/Assets windows
Starting a New Scene
Avertissement
Unity developers usually organize files by type—like putting all scripts in a « Scripts » folder and all images in a « Textures » folder. But, for our needs, it’s easier to have one folder per project, with all the assets for that project stored inside it.
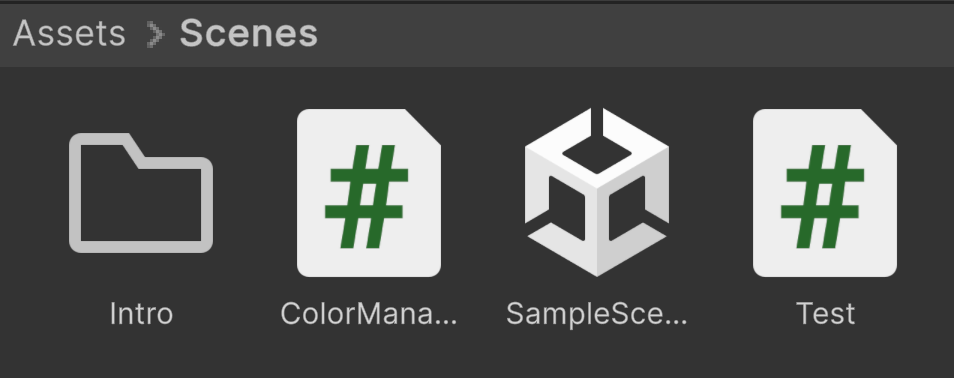
In the Project window, select the folder named Assets > Scenes
In the Assets window, in an empty area of the thumbnail view, right click to open the context menu
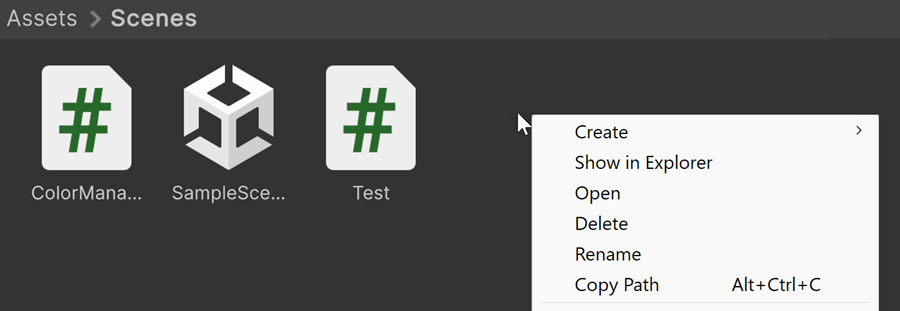
Select Create > folder
Name this folder Intro
Double-click on the Intro folder to open it

Right click to open the context menu
Select Create > Scene > Scene
Name it: IntroScene
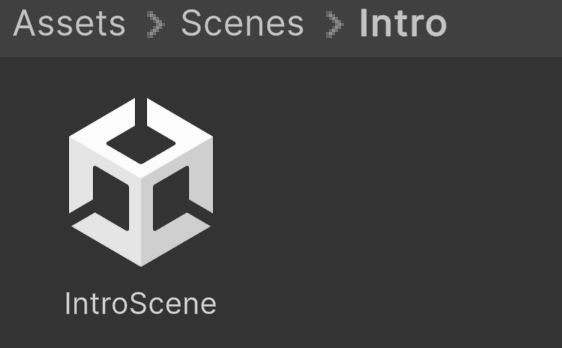
Double click on the scene icon to open it
In the Hierarchy window, check that the name at the top of the hierarchy matches the name of your file:
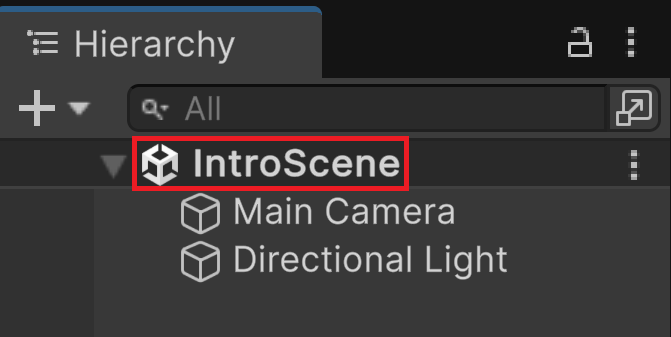
Hierarchy window
Creating objets
Basic 3D objects can be created through this window:
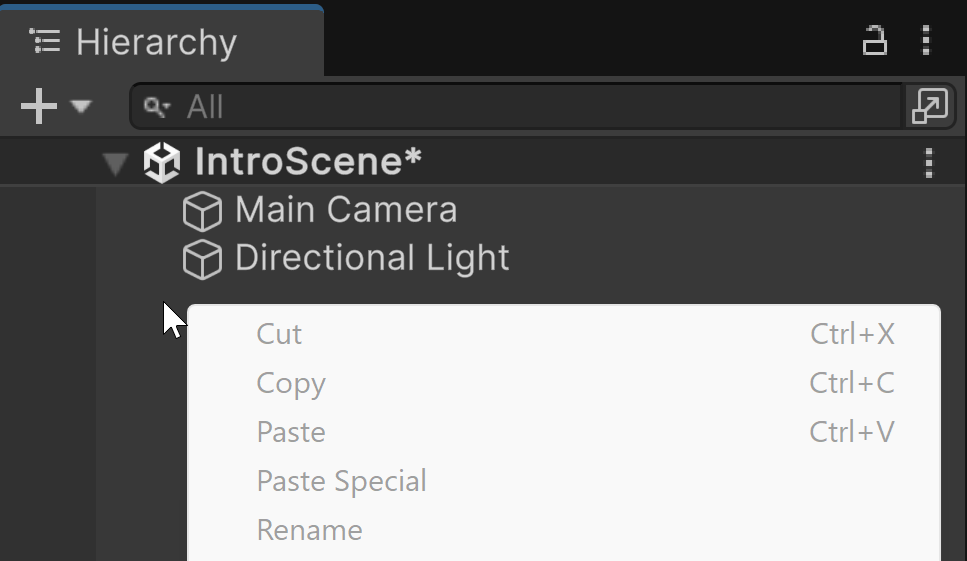
In the Hierarchy window, right click in an empty area to open the context menu
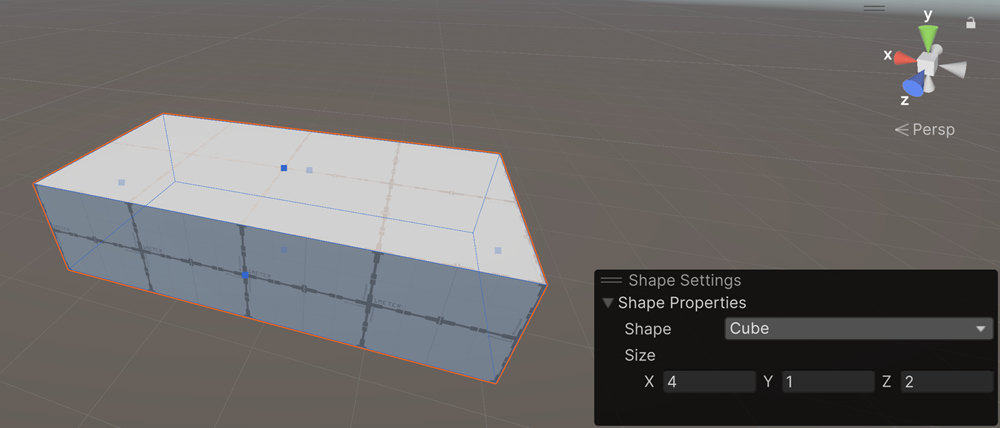
Select 3D object > Cube
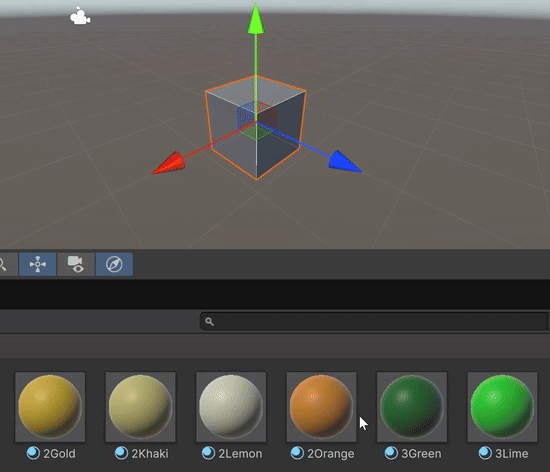
In the assets window, select the folder: Assets > SolidColorMaterials
Choose a color
Drag and drop this material onto the cube in the 3D scene
Hierarchy window
Notice that the cube has been added to the tree
Select this item in the Hierarchy
Press F2 and rename the object to « MyCube »
Entity-Component System

The entity-component model in Unity allows you to create complex objects in a flexible way by building an object from independent modules called components. Thus, any object in the scene is an instance of the GameObject class which mainly contains a dynamic list of components.
If you decided to create a separate class for every element in your game — one for a wizard, one for a barbarian, one for a tree, and so on — you’ll quickly end up with over a thousand classes. This is where the Entity-Component model shines: with a single base entity class and a set of modular components, you can create thousands of unique instances to represent all the elements in your game. Here are some key advantages of ECS:
Modularity: You can add or remove components independently, making your codebase more flexible and easier to manage.
Reusability: A single component can be reused across multiple objects. For example, the same movement script can be applied to players, enemies, or vehicles.
Simplicity: There’s no need to create a complex class hierarchy for every object type. Instead, you build behavior by attaching components to entities.
In conclusion, in the world of game development, the entity-component model is often favored because it emphasizes composition over inheritance, offering a more scalable and maintainable approach to building complex systems.
Most common components:
Transform: Always present on every GameObject. Controls position, rotation, and scale in the scene.
Mesh Renderer: Makes the object visible in the game view.
Collider: Manage collision detection. Used for detecting interactions, hits, or physics-based movement.
Rigidbody: Adds physics behavior (gravity, velocity, mass). Essential for realistic movement and interactions.
Script: Your custom logic written in C#.
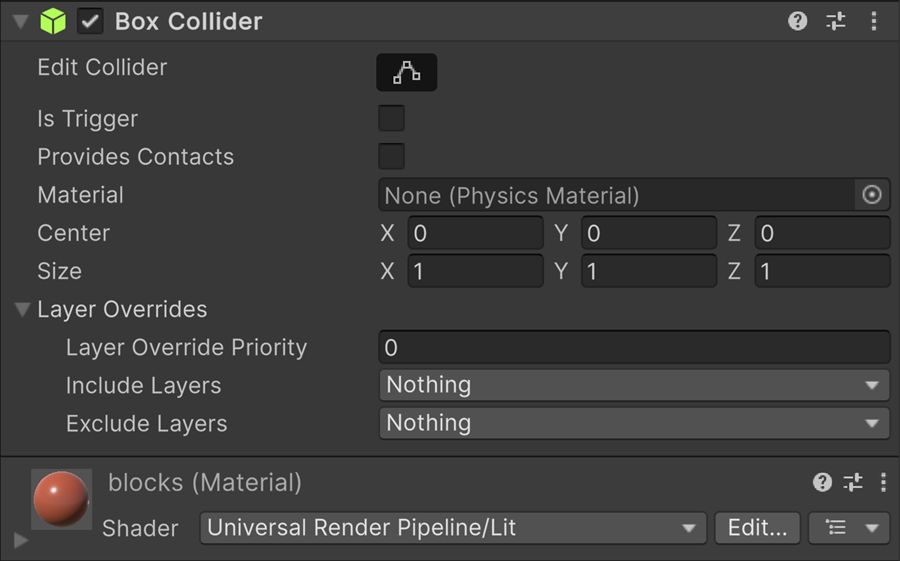
Inspector
The Inspector window is organized as a stack of expandable section, with one section for each component attached to the current gameObject. For a cube, you find:
Select « MyCube » in the Hierarchy window
At the top:
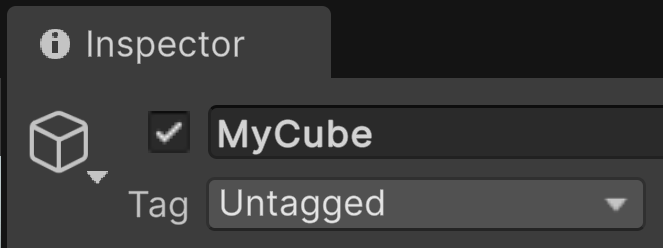
The name of the object: « MyCube »
A checkbox to enable or disable the object in the scene
A tag: using this tag, you can gather objects by category, like enemy or walls, for example
Check and uncheck the checkbox to disable and reactivate the cube
Transform
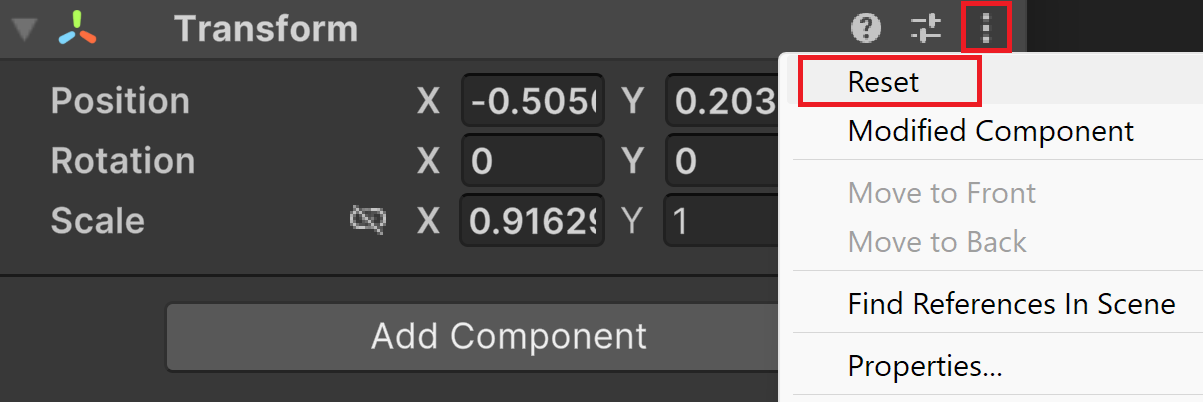
A transformation matrix that defines the translation, rotation and scale values relative to the parent object
Mesh filter: defines the 3D geometry

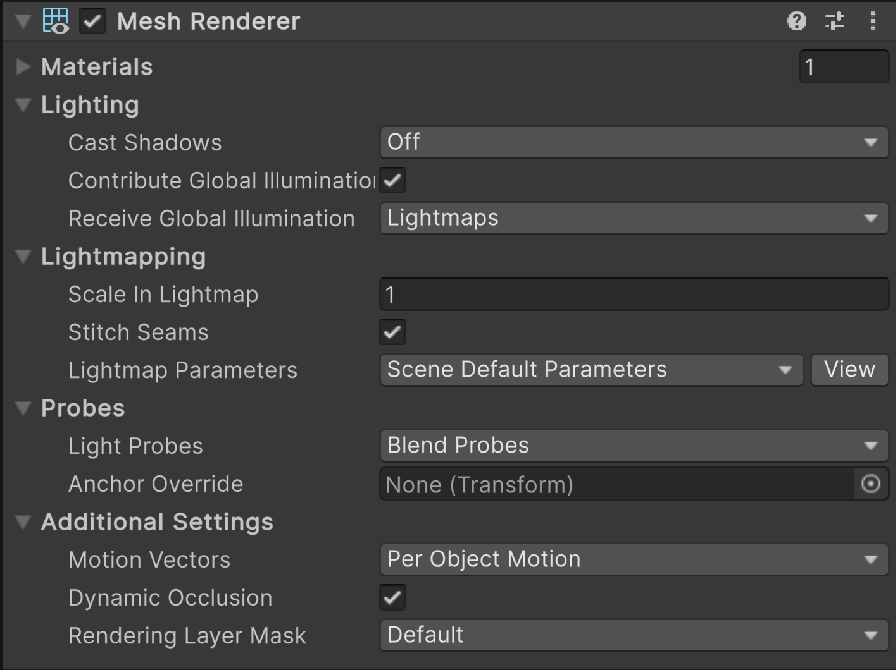
Mesh renderer: rendering information like material, shadows…
Collider: a geometric object that encloses the object and that is used to detect collisions with other objects while minimizing computations