Prefab
Indication
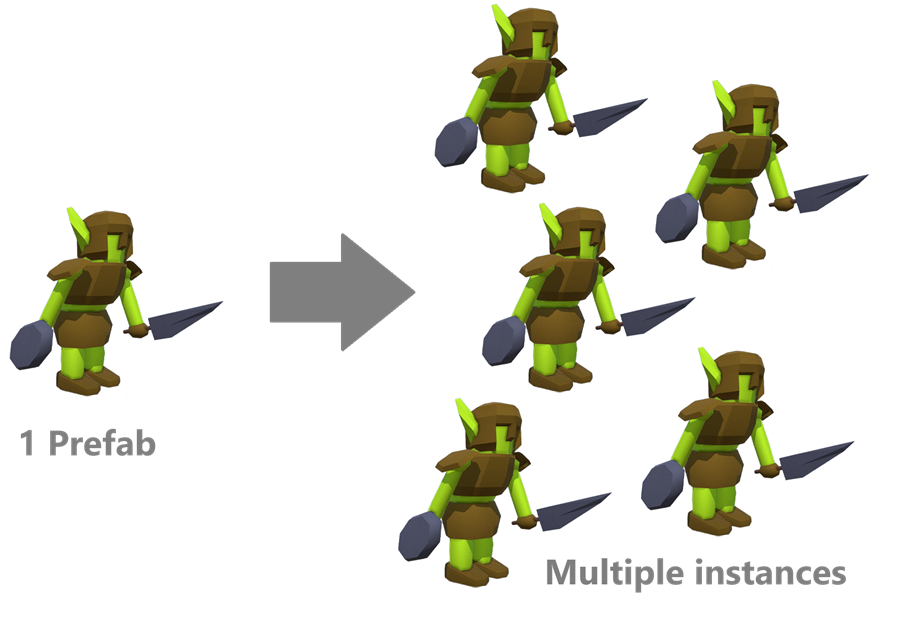
A prefab is a reusable asset corresponding to a pre-configured game object. When you transfer this asset to a scene, you create a prefab instance, which is a copy based on the original prefab. You can create a prefab instance in two different ways, each resulting in a copy with slightly different properties:
In the interface: the new copy is fully linked to its prefab: editing the prefab also updates the copy.
In a script: the new copy is mostly independent from its prefab because it still keeps references to the graphics data (mesh & texture) of its prefab to reduce memory usage.
Understanding Prefabs
Rather than creating a Goblin class and instantiating it by providing all the necessary arguments, Unity enforces a different approach: create a single Goblin with all its parameters (texture, animations, colliders, etc.) and keep it as a reference called a Prefab. So each time you need a Goblin in your game, clone this model.
Using Prefabs offers several benefits:
Reusability - The same prefab can be used multiple times across different scenes
Optimization - Prefabs help reduce memory load by avoiding redundant information
Customization - You can override specific parameters for each instance (health, color, AI) while benefiting from memory optimization
Easy coding - Only one line of code is used to dynamically instantiate a fully functional Goblin
Project organization – Prefabs help structure a project by isolating reusable elements and making them more modular
Scene setup
For a Domino run, we first need to create our scene:
Navigate to Assets > Scenes
Create a new folder named « PrefabTest »
Inside this folder, create a new scene called « DominoRun »
Double click to open it
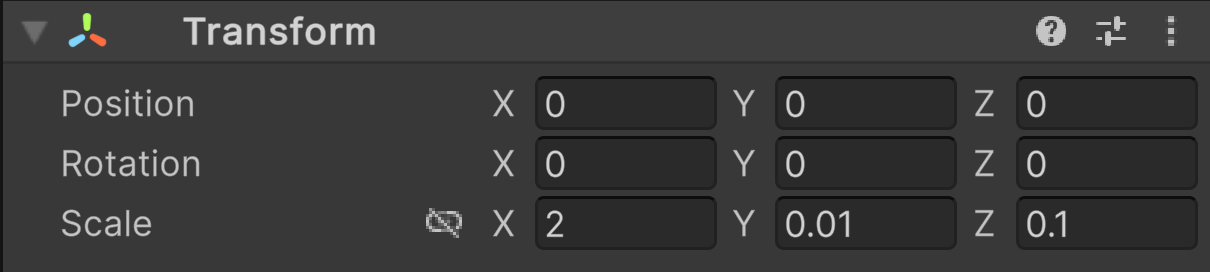
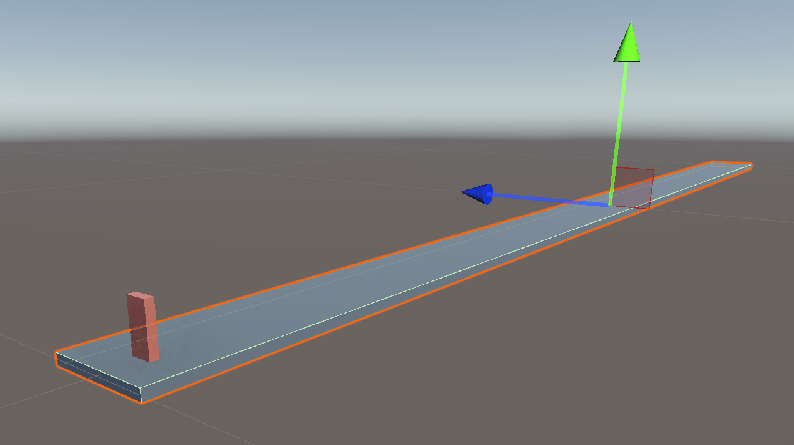
Create a ground using a cube
Dimensions: 2m x 10cm x 1cm
The X,Y,Z Transform Position must be equal to (0,0,0)
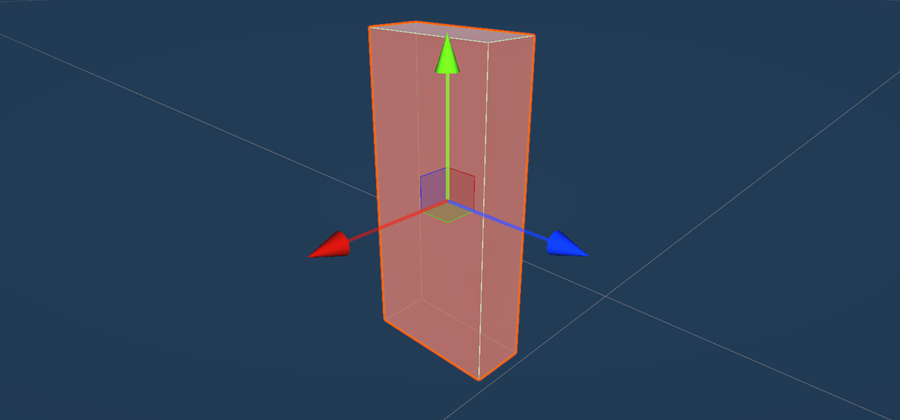
Create your first domino
Size: 4.5cm × 2cm × 0.8cm
Rename it to « Domino »
Associate a solid color to this domino
In the Inspector, click the Add Component button and add a RigidBody to this domino
Set the mass to 0.01kg
Snap it to the ground
Prefab Creation
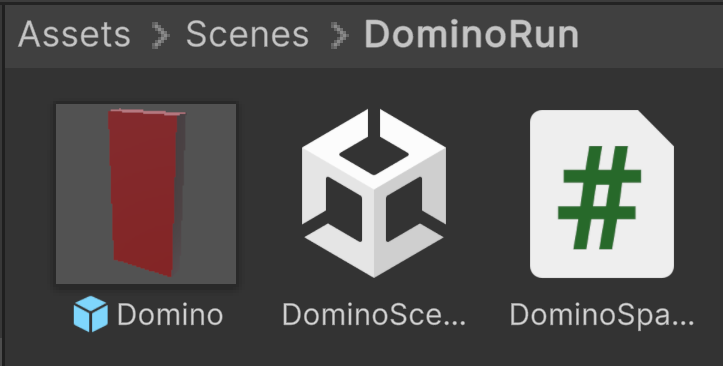
Navigate to Assets > Scenes > DominoRun
In the Hierarchy, select the domino
Click and drag the domino in the Assets folder
In the Assets folder, you’ll notice that the prefab appears as a thumbnail
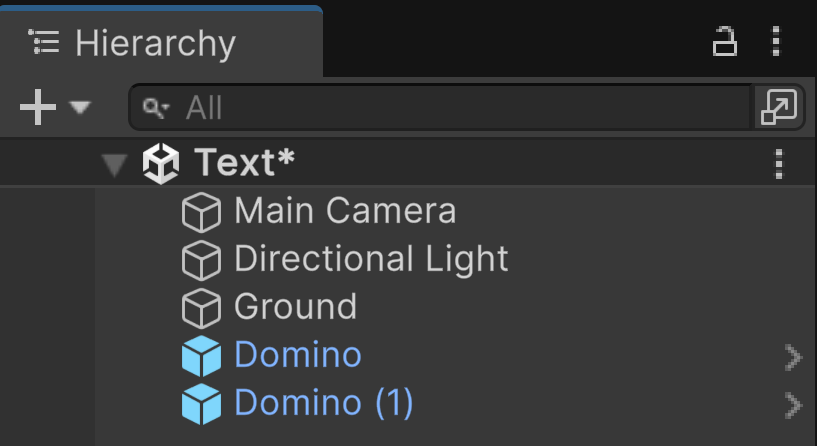
In the Hierarchy, the blue cube means the this object is an instance of a prefab
Manual instantiation
Avertissement
There are two ways to instantiate a prefab: manually or through the Instantiate() function. Strangely, these two approaches are different; we will see how.
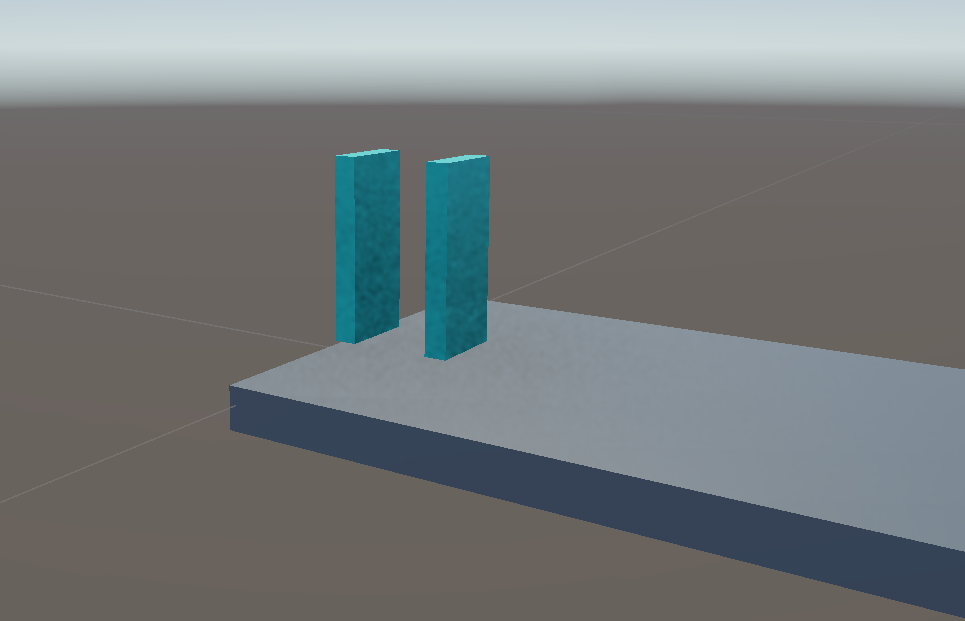
Drag and drop the Prefab thumbnail into the scene to create a new domino
Note
This way, we create a new domino that is an exact copy of the prefab. The prefab acts as a template!
In the Hierarchy, we now have two blue cubes, indicating that we are using two « manual » instances of the domino prefab
In manual instantiation:
Any change made to the prefab is propagated to all instances
All instances remain linked to the original prefab
Testing:
Navigate to Assets > Scenes > DominoRun
Double click on the domino Prefab
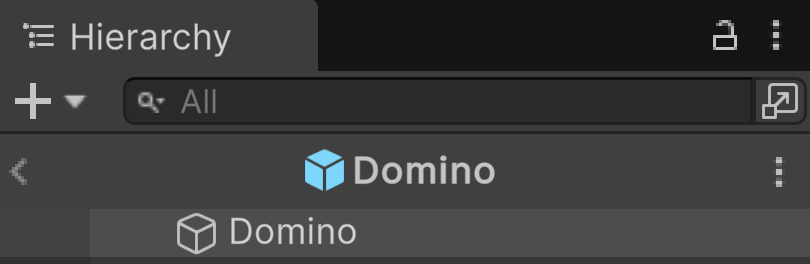
We enter the Prefab Editing mode with a blue background
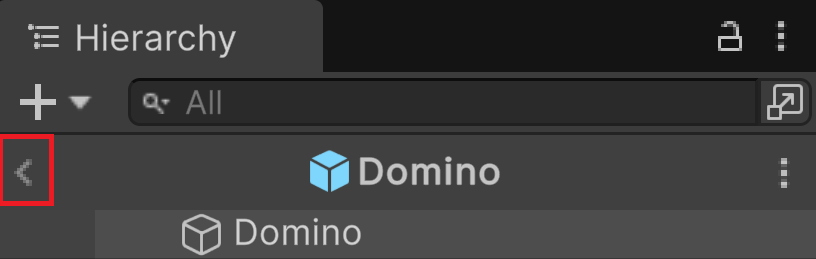
Notice that in Prefab Editing mode, the Hierarchy takes the name of the prefab:
Select the domino
Change the color of the domino prefab
To exit Prefab Edit mode, click on the arrow in the Hierarchy:
Back in Edit mode, all the dominos should have changed their color
Instantiate function
When you instantiate your goblin prefab, you want to obtain a goblin that is independent of its parent so it can perform its actions freely. However, for memory optimization, you also want this instance to share graphical resources with its prefab. To achieve this, Unity performs a « lightweight » instantiation by creating new variables to ensure the object independence from its prefab while maintaining references to the prefab’s graphical assets.
Here is a table summarizing the situation:
Element |
Shared (Common) |
Unique (Independent) |
|---|---|---|
Mesh |
✅ |
❌ |
Material (sharedMaterial) |
✅ |
❌ |
Textures |
✅ |
❌ |
Animator Controller |
✅ |
❌ |
Transform (Position, Rotation, Scale) |
❌ |
✅ |
GameObject (Unique ID) |
❌ |
✅ |
Rigidbody (Physics) |
❌ |
✅ |
Collider (Triggers, Contact events) |
❌ |
✅ |
Script Variables (MonoBehaviour) |
❌ |
✅ |
As you can see, these choices are made logically to limit memory usage.
Now, we want to populate the circuit with dominos, but doing it by hand is not really an option! Let’s do it using a script.
Remove all dominos from your scene
In your current Assets folder, right click and select: Create > Scripting > Empty C# script
Rename it to « DominoPlacer »
Double click to open the script in your favorite editor
Copy paste this code
using UnityEngine;
using UnityEditor;
public class DominoPlacer : EditorWindow
{
        [MenuItem("Tools/Domino Placer Helper")]
        public static void Go()
        {
                GameObject dominoPrefab = AssetDatabase.LoadAssetAtPath<GameObject>("Assets/Scenes/DominoRun/Domino.prefab");

                float X = 0;
                int nb = 1;
                float spacing = 2.5f;

                while (X < 200)
                {
                        GameObject domino = Instantiate(dominoPrefab);

                        X += spacing;
                        domino.transform.position =  new Vector3(X, 0, 0);
                        domino.name = $"Domino_{nb:000}";
                        nb++;
                }
        }
}
Run the script through: Menu > Tools > Domino Placer Helper
Note
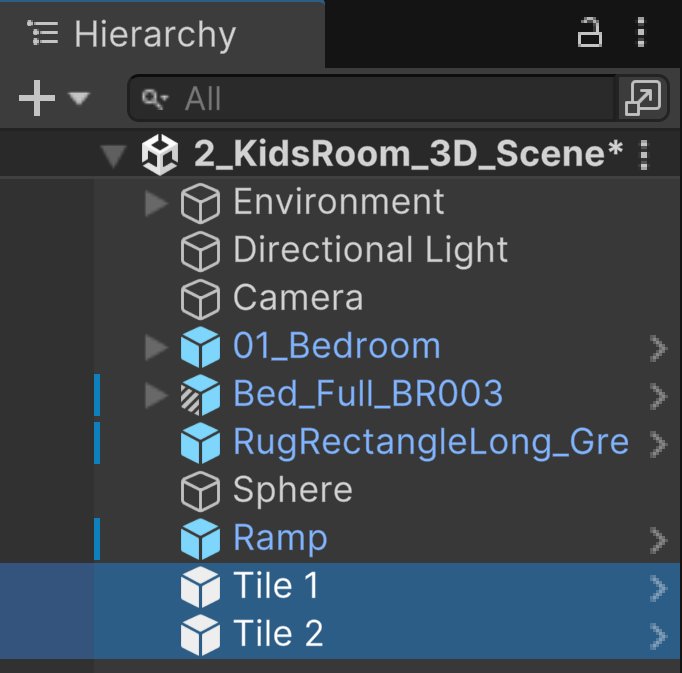
In the Hierarchy, notice that all instances have a gray cube icon next to them; they are not linked to their prefab.
In the Hierarchy, select all dominos using (SHIFT + select)
Right click and select: Create Empty Parent
Rename the group as: Dominos
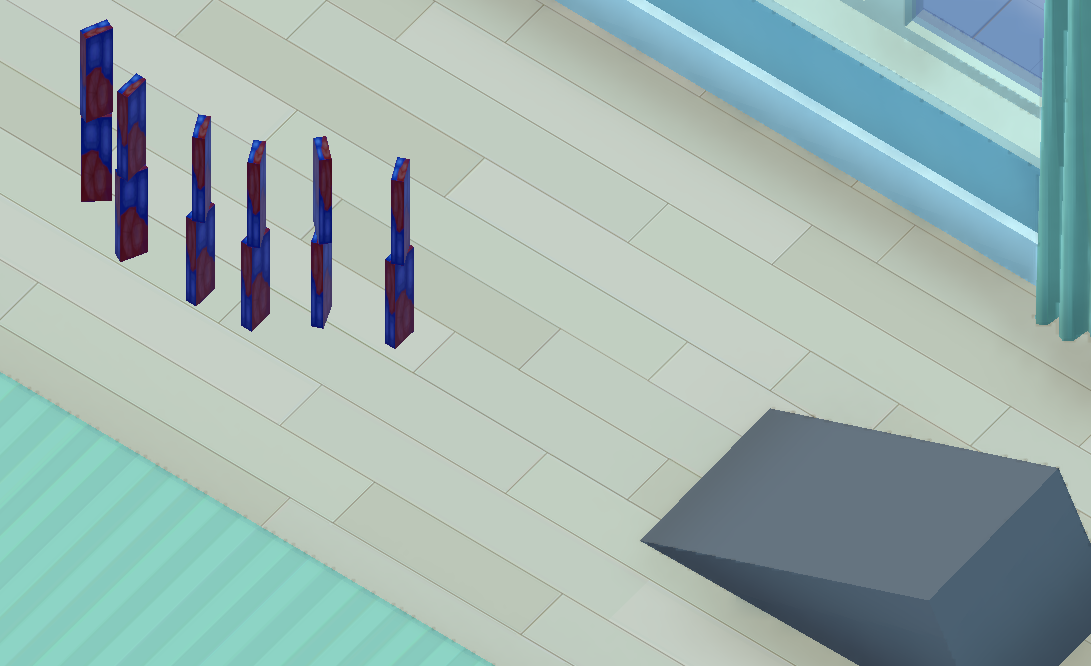
Select the Move Tool and move the group to put the dominos on the floor
Editing Prefab
We check that modifying a parameter of the prefab does not affect the instances.
Navigate to Assets > Scenes > DominoRun
Double click on the domino Prefab
We enter the Prefab Editing mode with a blue background
Select the domino
Change its color
To exit Prefab Edit mode, click on the arrow in the Hierarchy:
Back in Edit mode, notice that all the dominos have kept their color
Look at the prefab icon in the asset folder; it, however, has changed its color:
Test
Lift the first domino and tilt it slightly so that it naturally falls onto the second one
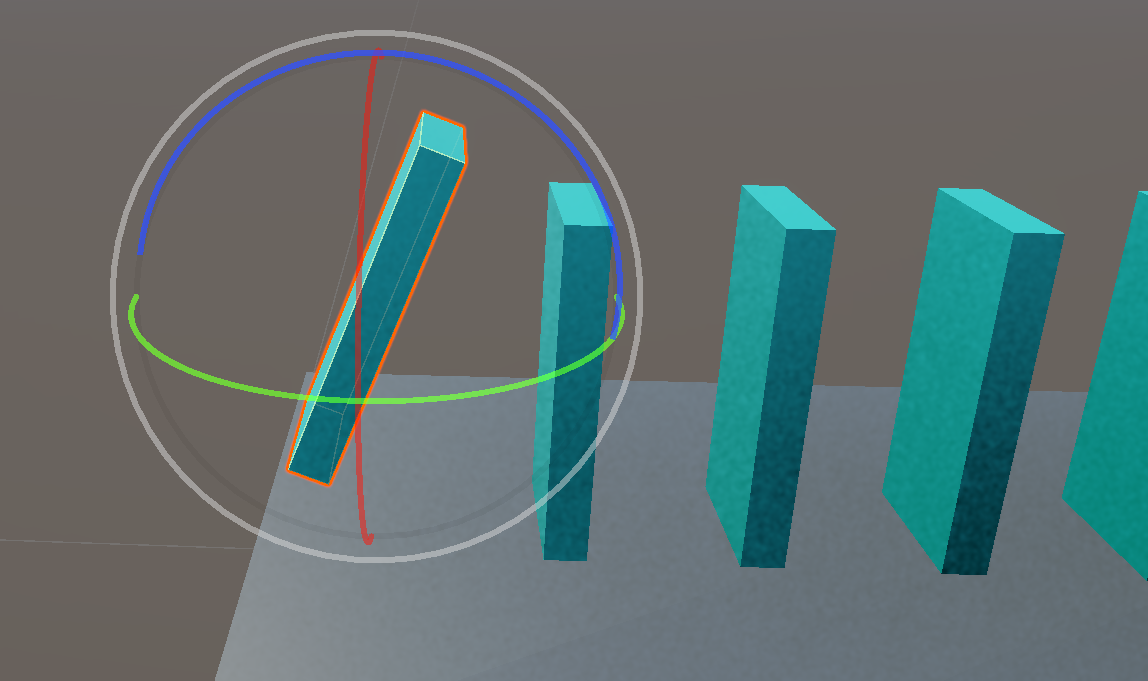
Enter Play mode to see simulation
As you see, dominos suddenly stops falling! What’s happening? Difficult to explain. But we have to reminder that a 3D game engine is designed to simulate cars or characters. So, an object of some mm shouldn’t be able to stop the player’s movement. Following this logic, a 3D engine must ignore small objects and small movements by freezing their simulations for example. So in our case, dominos goes into sleep mode.
Problem-Solving
Increase size
When you have:
small-sized objects (some mm)
small values in your scale transform (0.001)
You can design the dominos at a scale of 100, making them as tall as a human body!

Ok, it works, but as you can see, it’s slow. So, if you want to be more realistic, this is not a good option.
Patch
Create a script named « Patch »
In the Update() function, write:
void Update()
{
        Rigidbody body = GetComponent<Rigidbody>();
        body.WakeUp();
}
Run the simulation again
It works very well and it looks like a real domino run. But our patch is not optimized and force the engine to consider all dominos as active which can be computational intensive !