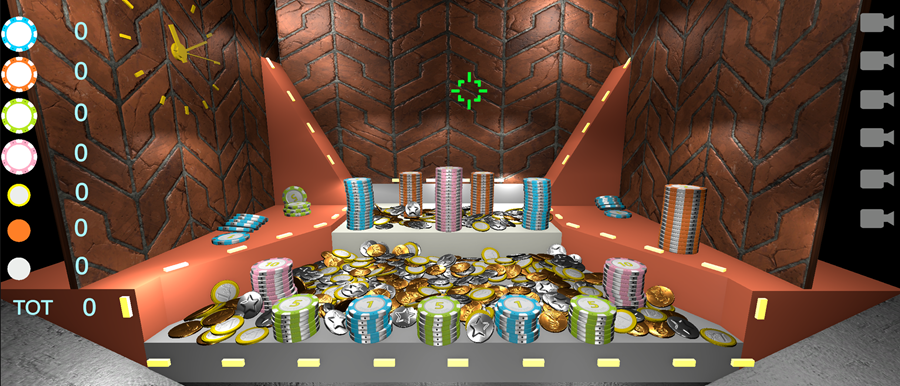
Coin Pusher Casino is a virtual arcade game where you drop coins onto a moving platform, aiming to push others over the edge and into the tray at the bottom.
Coins that fall in the tray are automatically collected and added to your total.
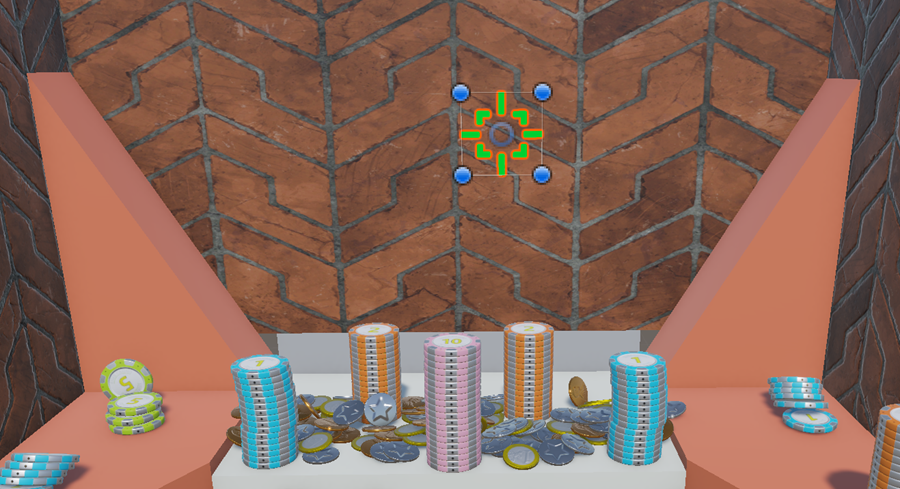
Player drop coins, one at a time, by clicking on the back wall
The click location determines where the coin is dropped from
Platforms are already filled with coins
Some platforms slowly slides back and forth
When your coin lands, it might:
Push other coins closer
Trigger a chain reaction
Knock coins or special prizes into the tray below
Coins that drop into the tray count as your winnings
In the game interface, the bottom tray isn’t really visible.
So consider that any coin that falls all the way down is automatically collected.
Insite this folder, create a new scene called POC and open it
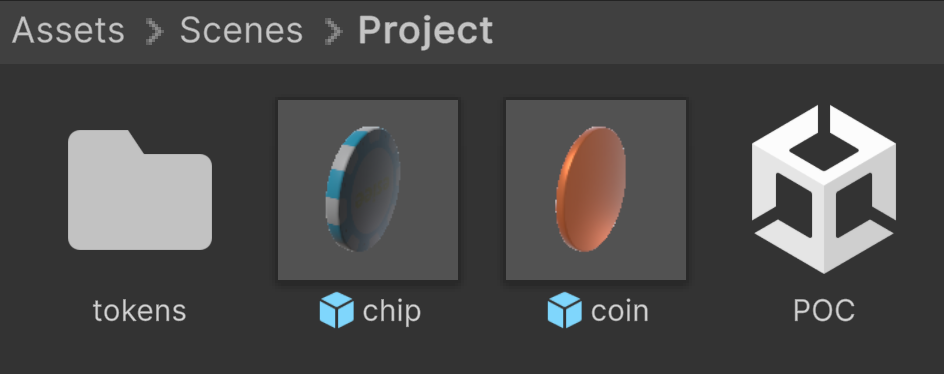
Create a subfolder named Tokens in the Project folder
At the beginning, we will only use two elements:
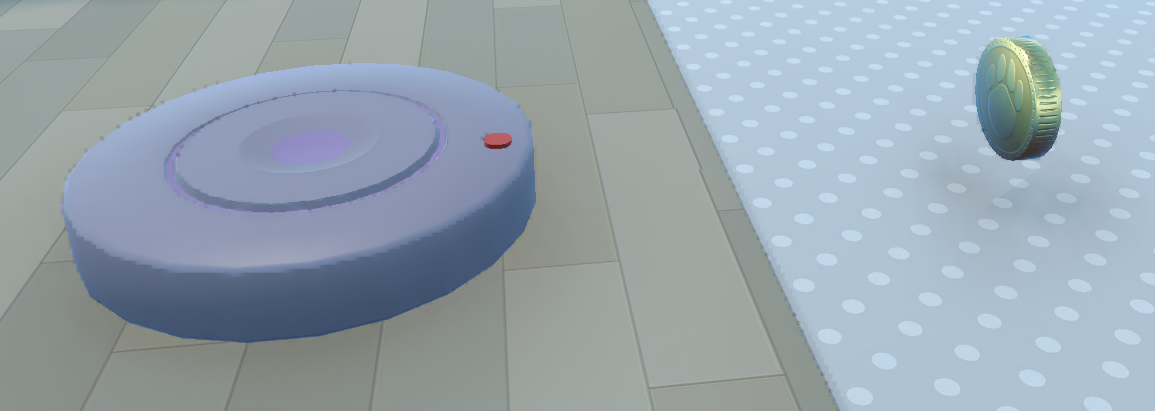
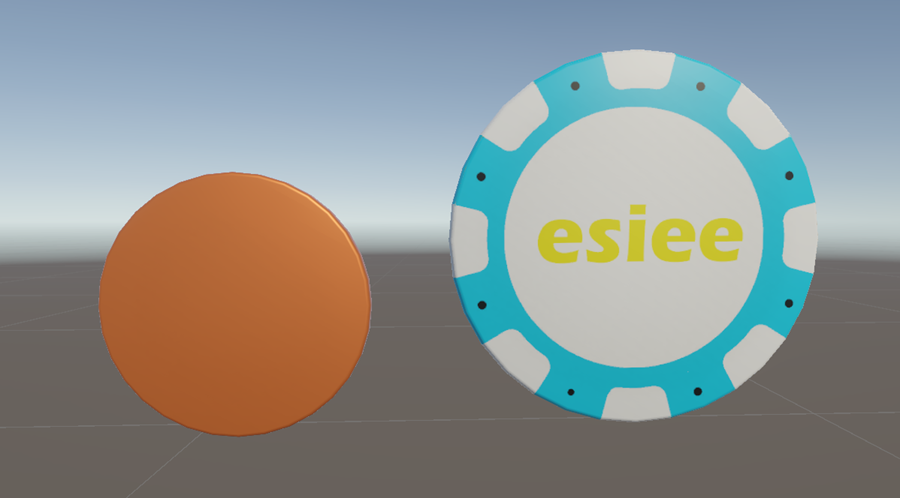
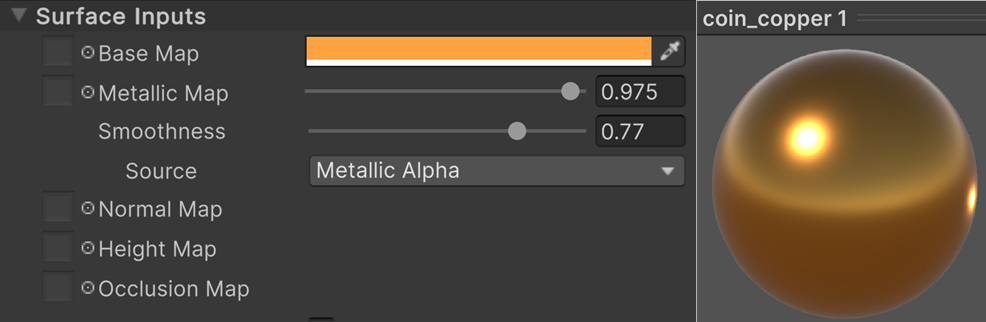
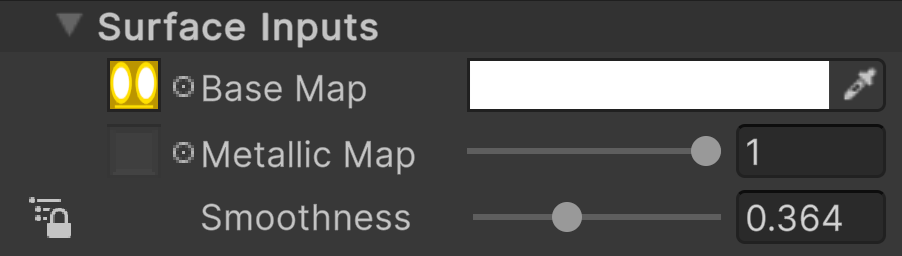
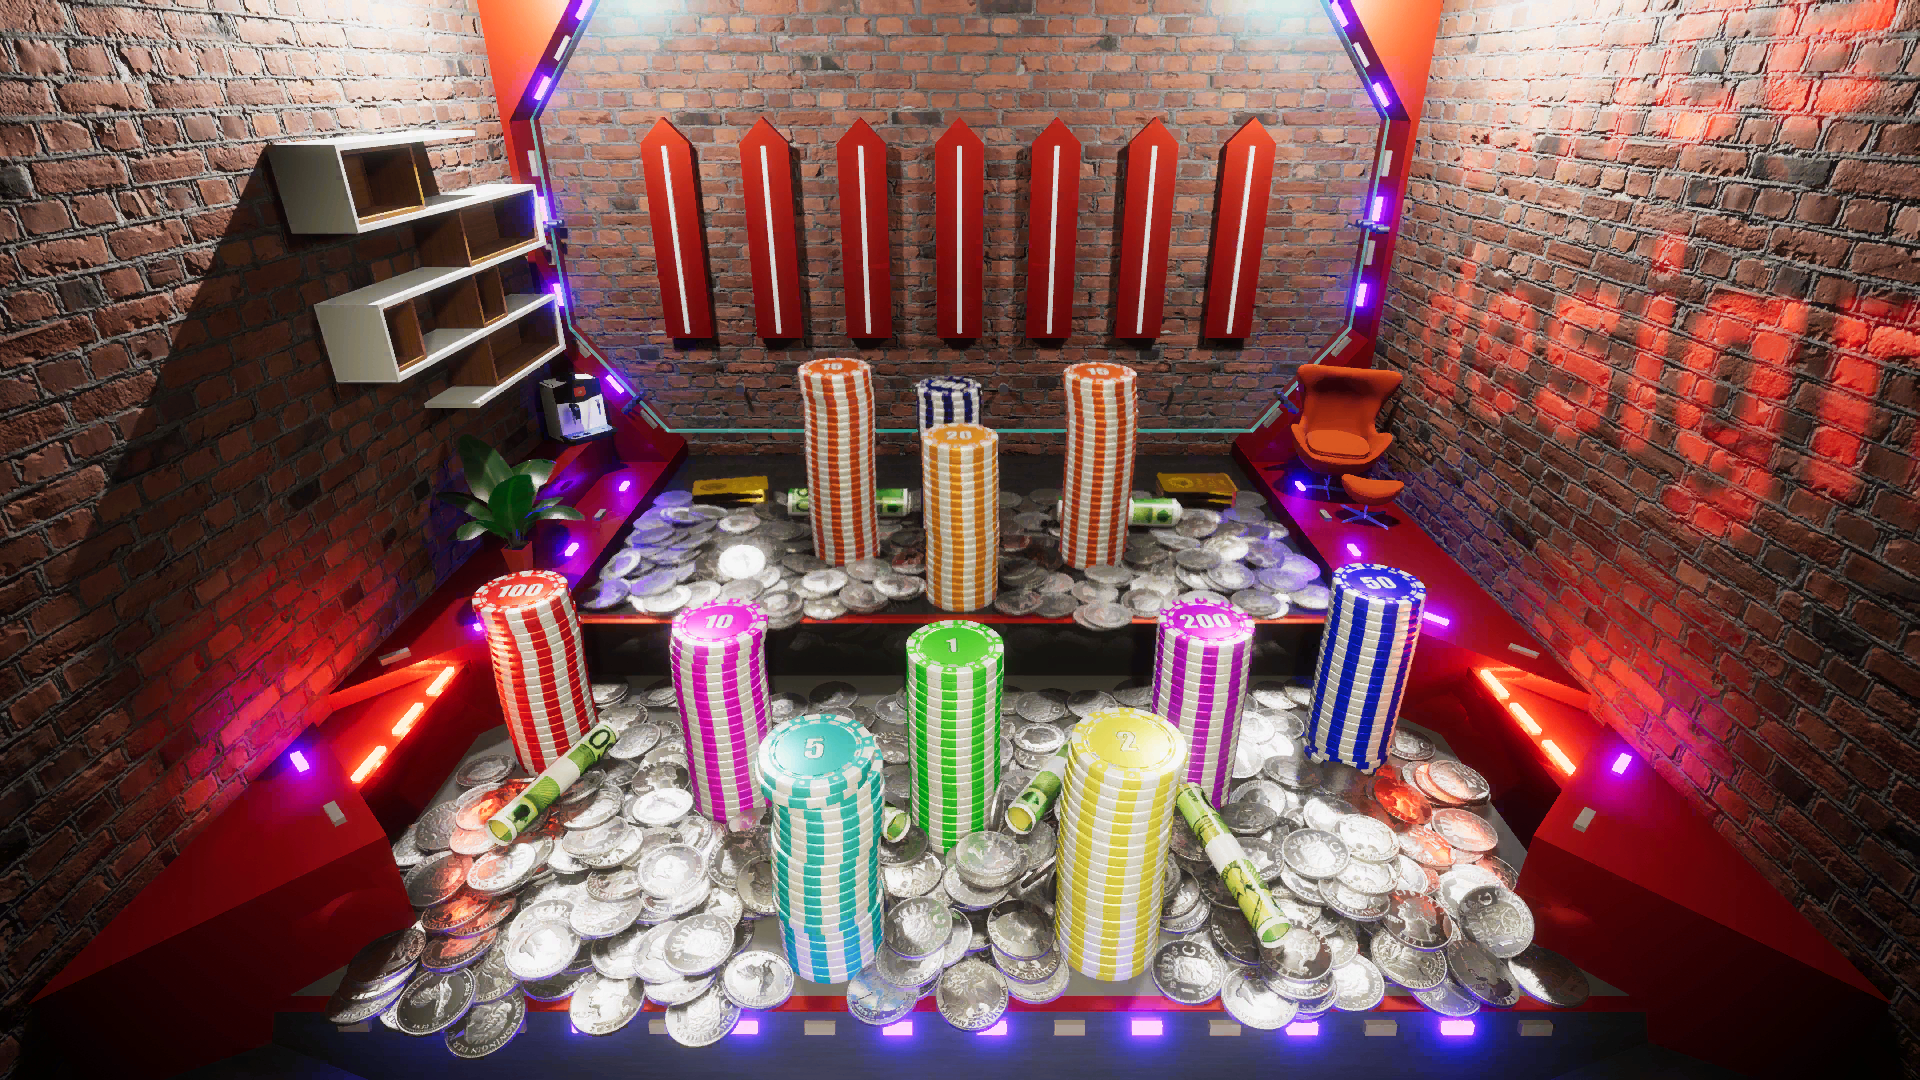
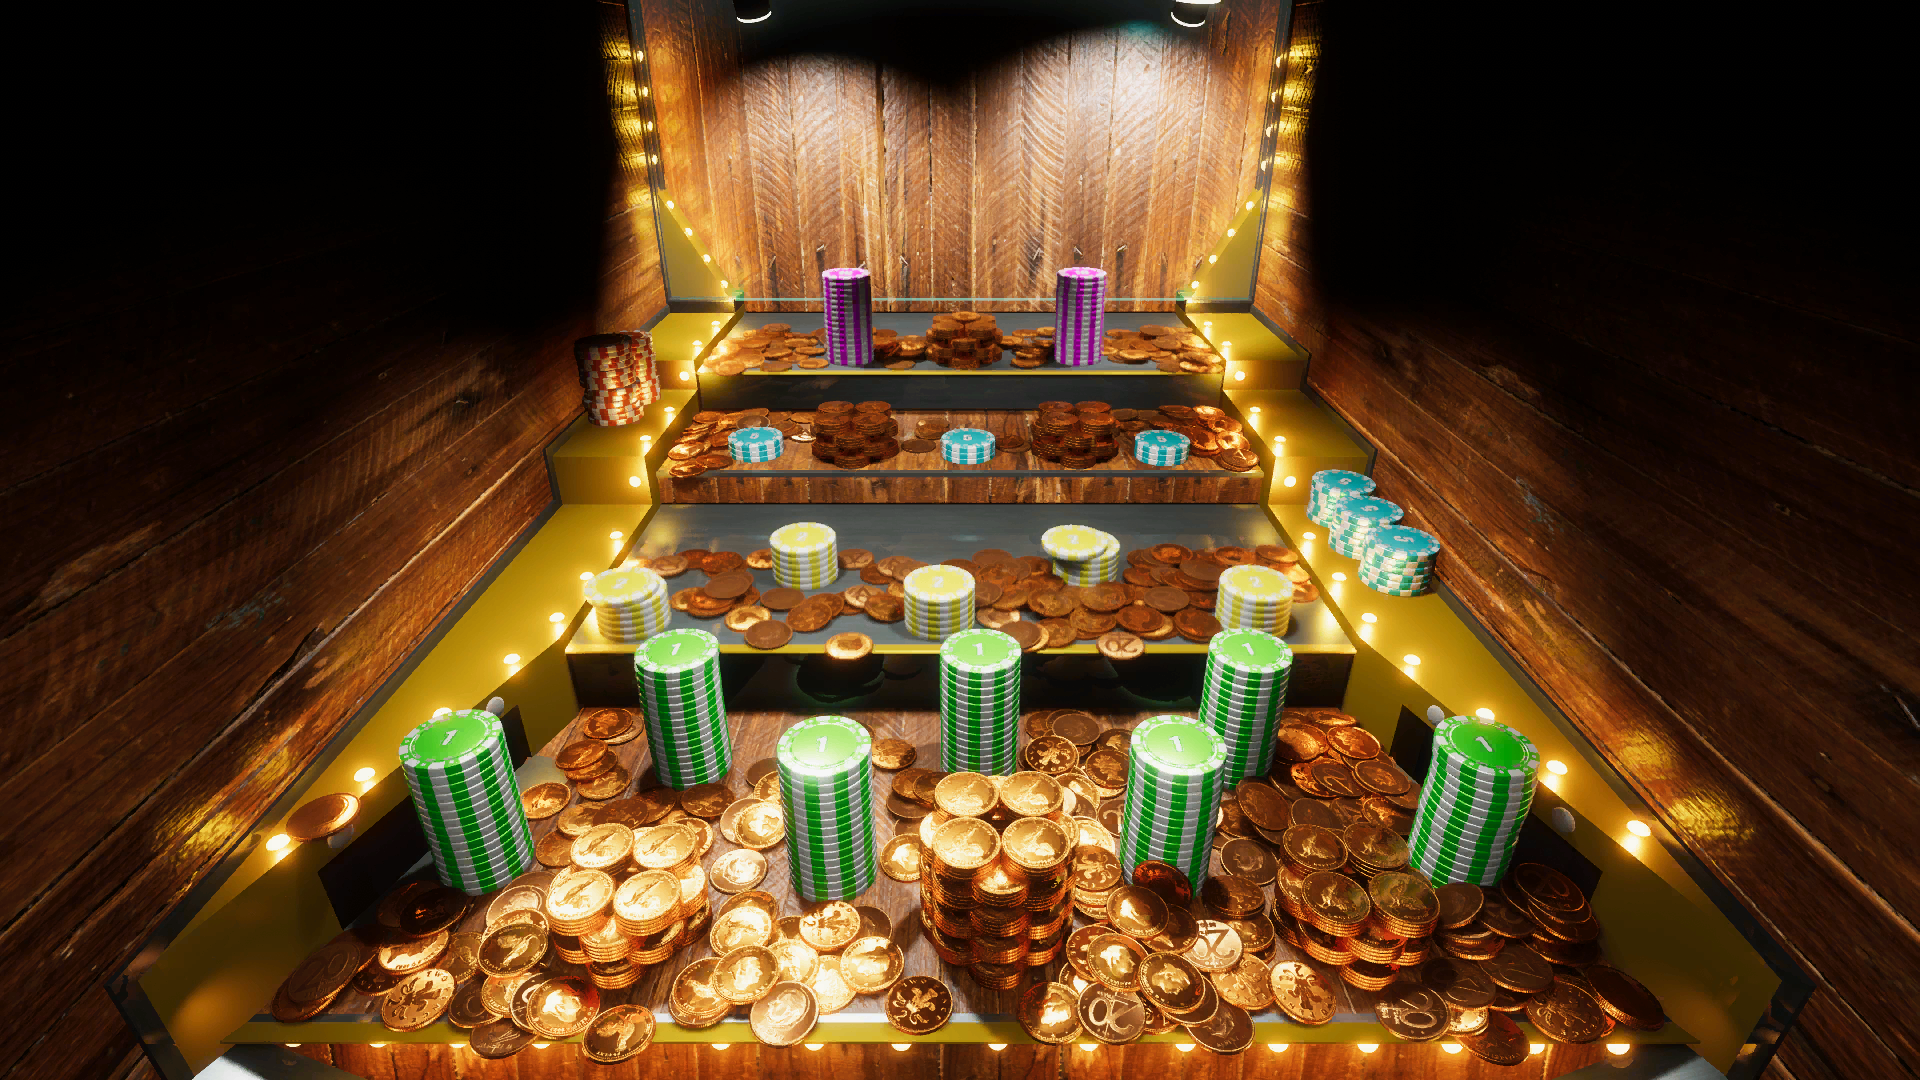
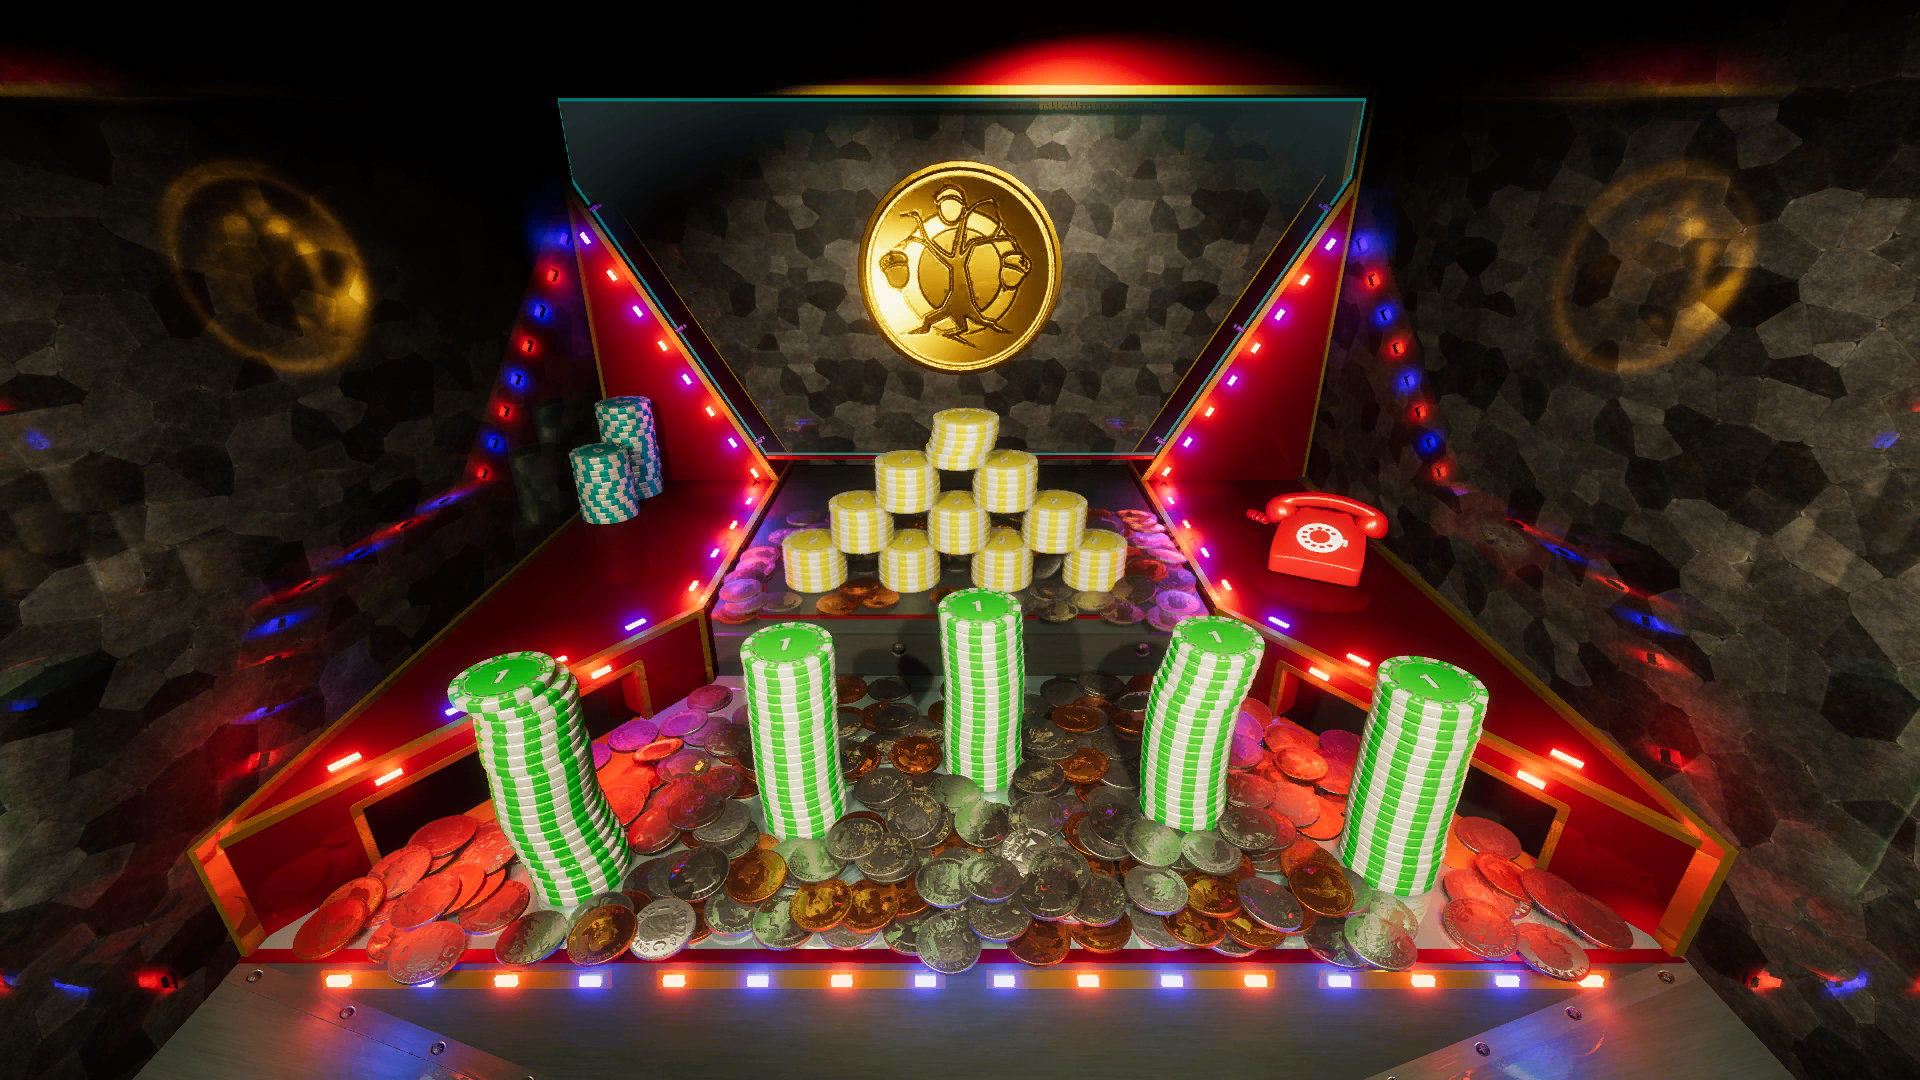
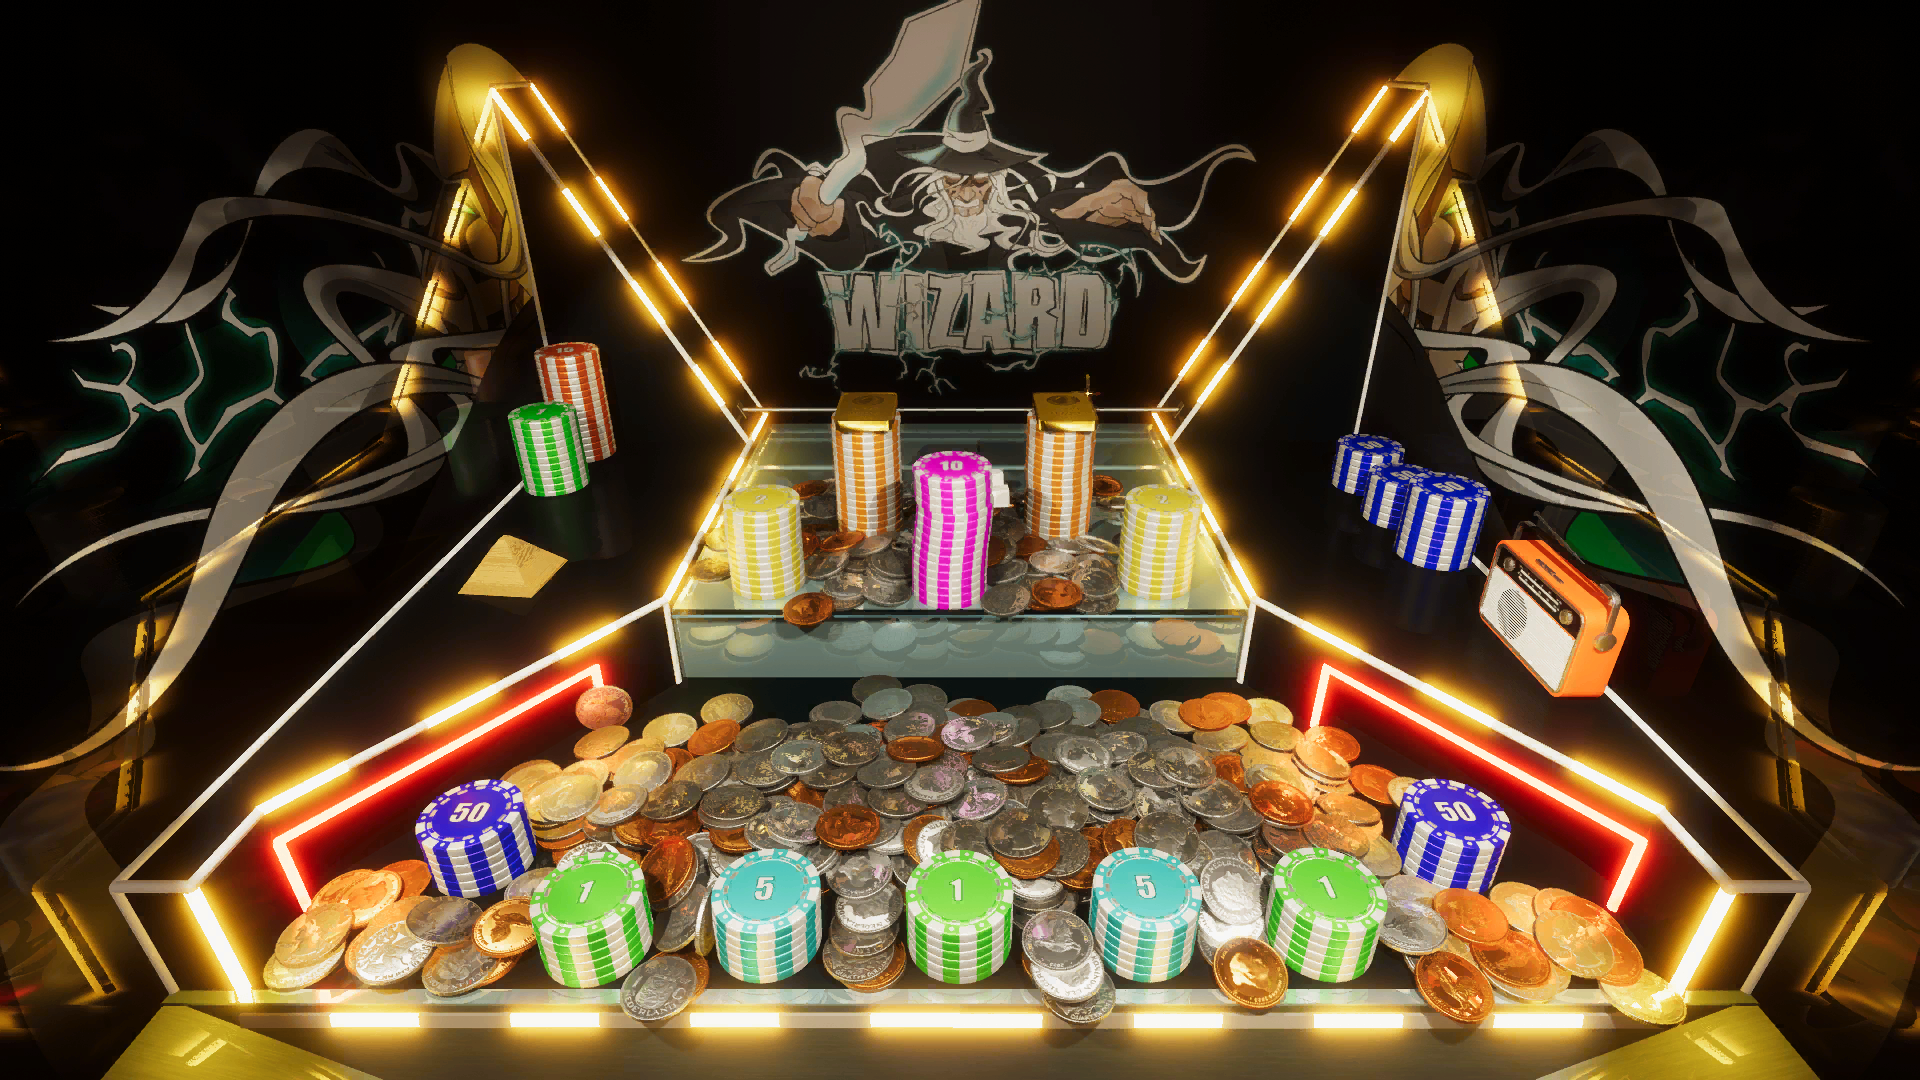
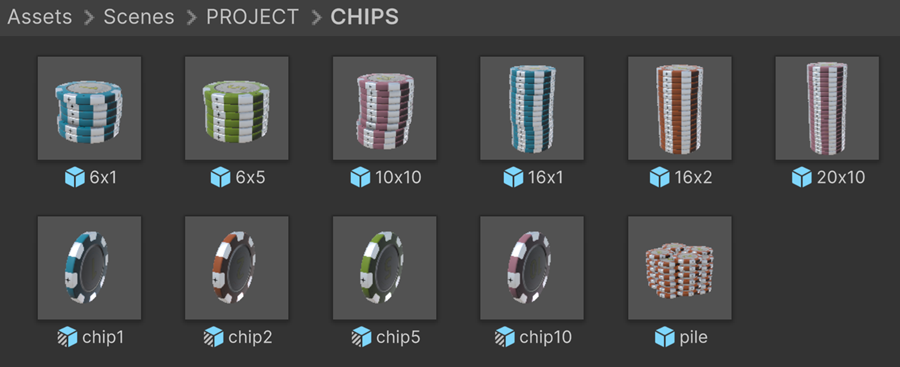
The coins, which represents the falling coins and the coins already on the platform
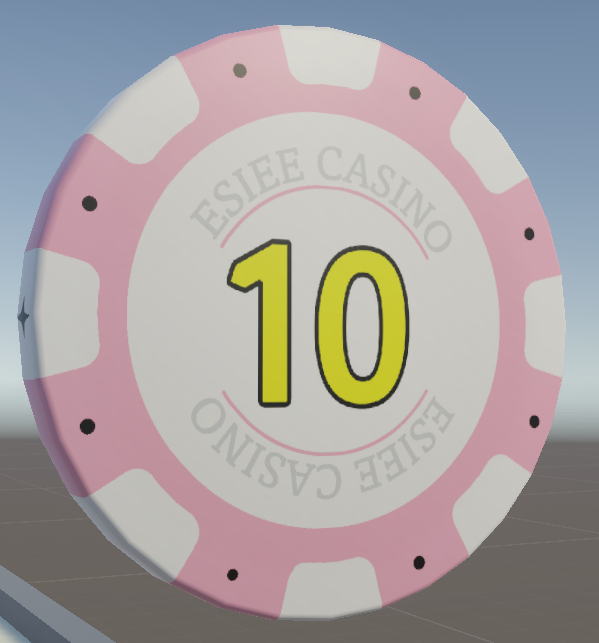
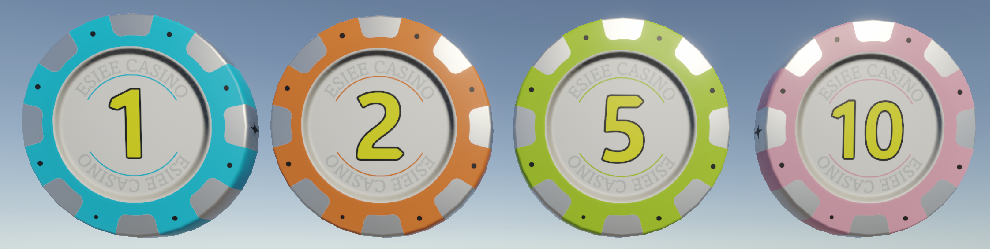
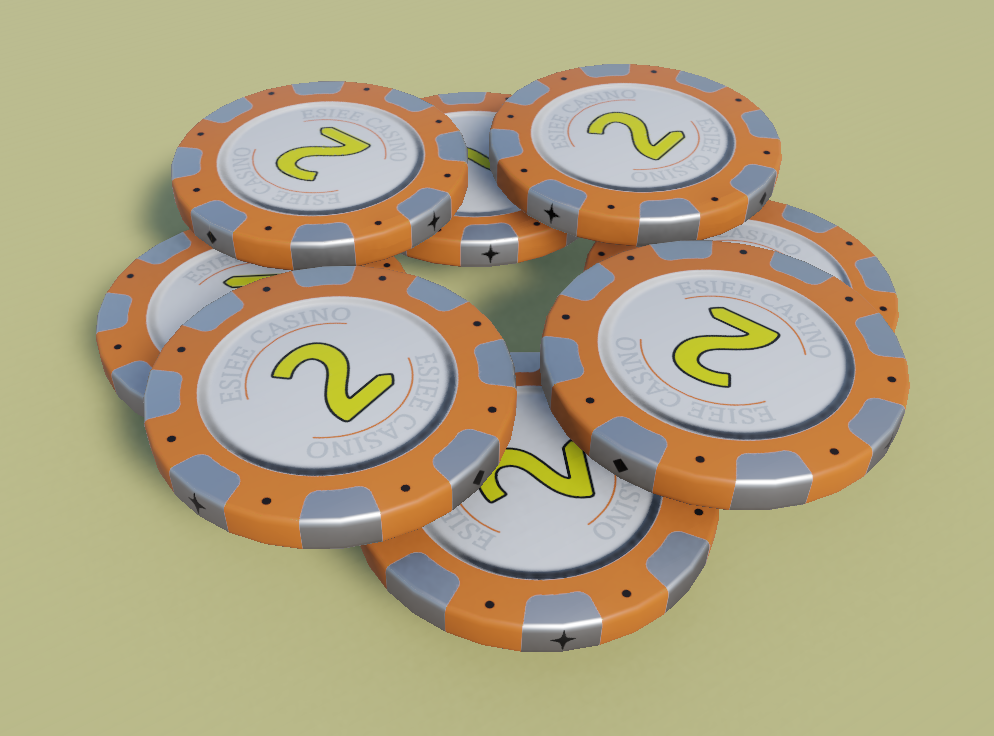
The casino chips, which are larger, colored and often stacked in columns
Chips look like classic casino chips, with values like $5 or $10 written on them.
When they fall into the tray, their value is added to the player’s total.
Coins, on the other hand, are just for pushing — they don’t award any money.
Its movement is not affected by objects it collides with
By default, a Rigidbody reacts to forces and other objects in the scene. Fortunately, Unity provides an option called Kinematic which allows an object to behave like a pusher:
Ignores physics forces – The object won’t be affected by gravity or collisions
Doesn’t move automatically – It won’t react to physics; you must move it via a script
Still detects collisions – It can trigger collision events, but won’t be pushed or bounce
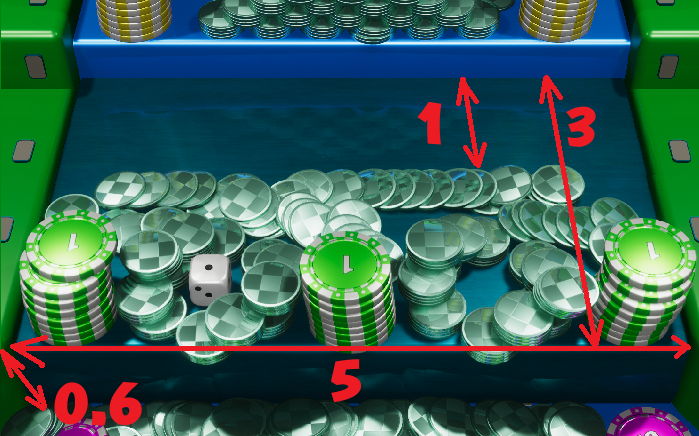
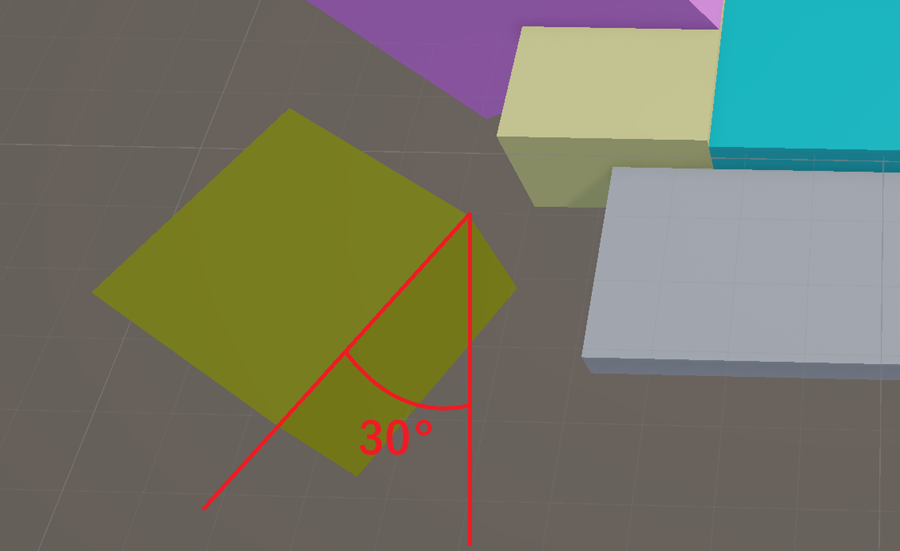
As the pusher moves back and forth over a distance of 1, we know that \(K = 1\)
The period lasts 5 seconds, so you can deduce the value of \(\omega\)
The last step is to determine \(z_0\) from the environment you’ve built
Avertissement
In order to make the physics engine work correctly:
Moving platform must have its Kinematic enabled
To change its position, DO NOT MODIFY its location using transfrom.position but instead apply update directly on the Rigidbody using: rb.MovePosition(…)
Do not use Update() in your script, but FixedUpdate() instead
Vector3pos=transform.position;pos.z=...rb.MovePosition(pos);// command the rigidbody
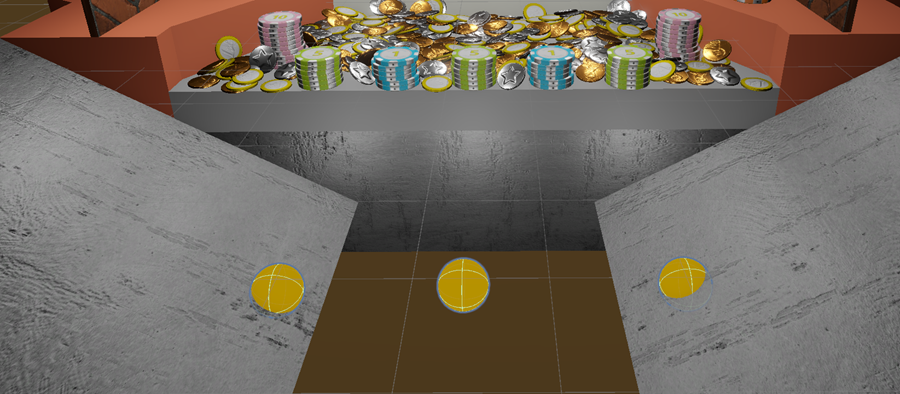
Before spending hours on production, we’ll quickly set up a POC.
If it’s too complex for Unity’s physics engine, there’s no point in going further.
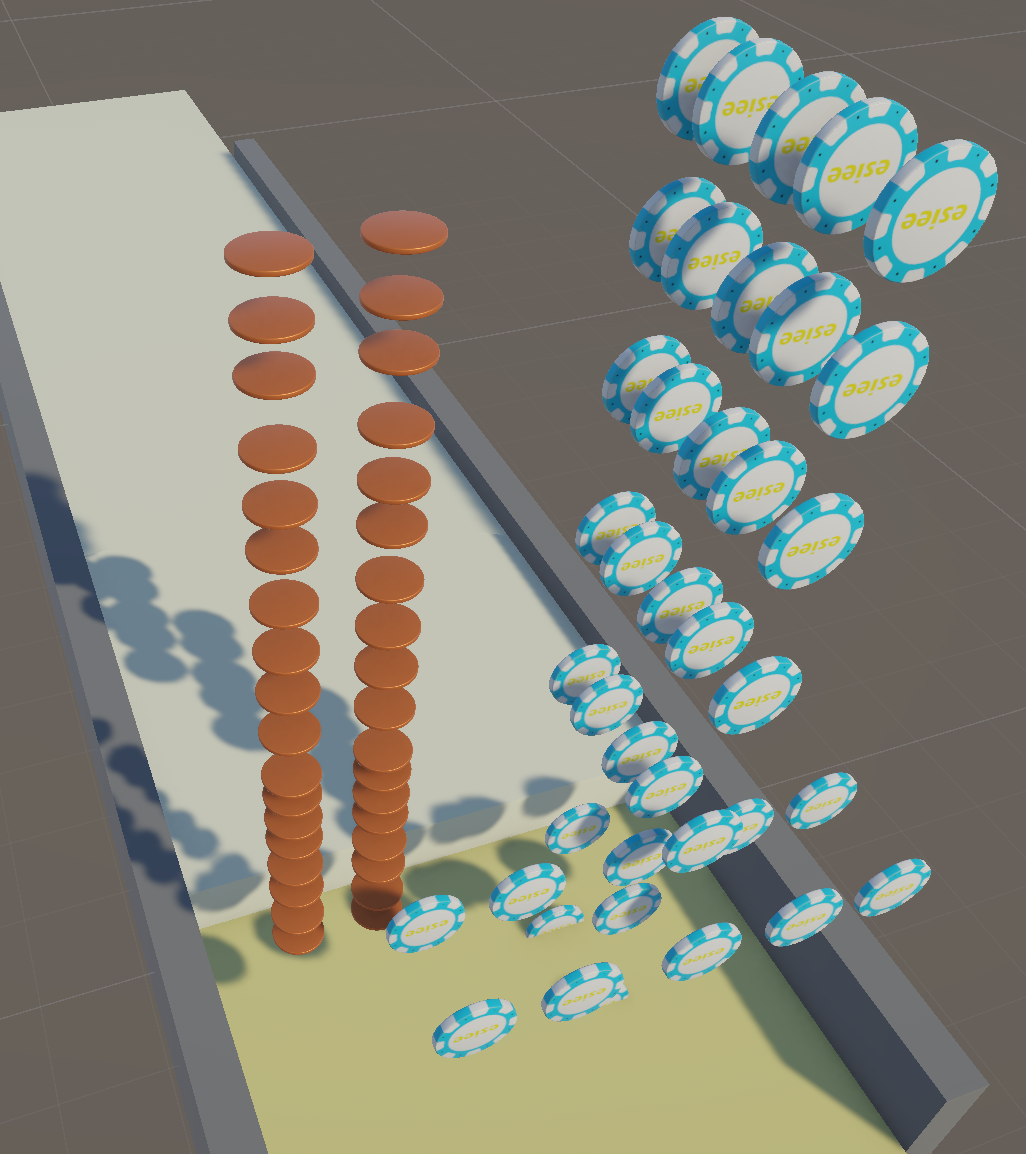
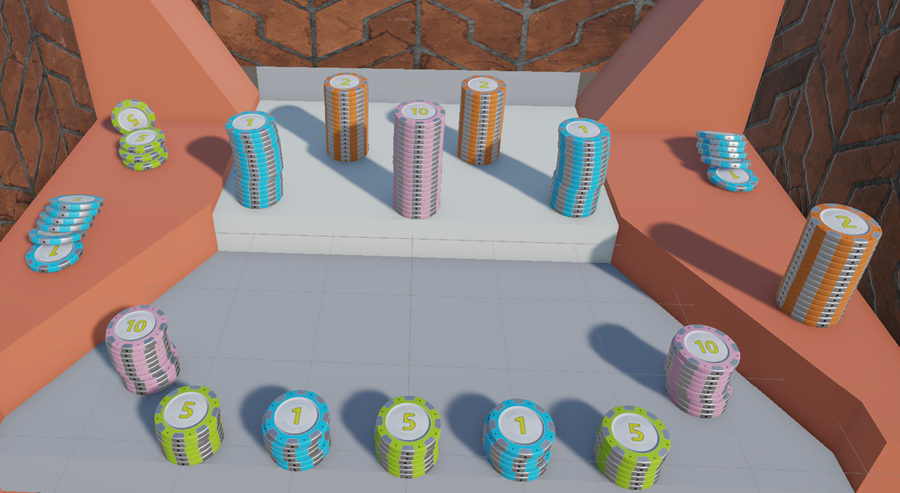
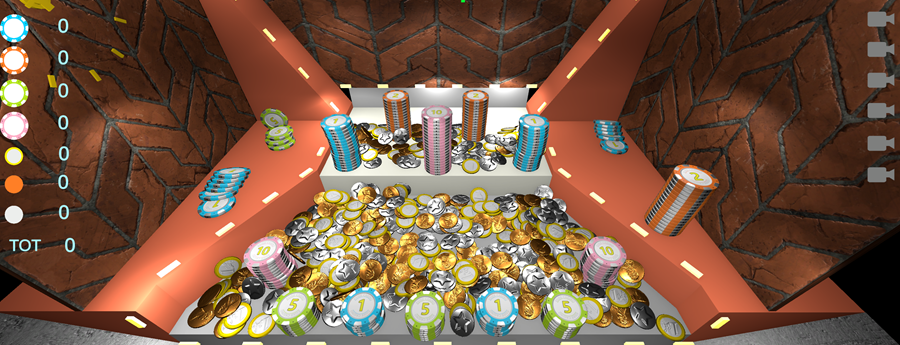
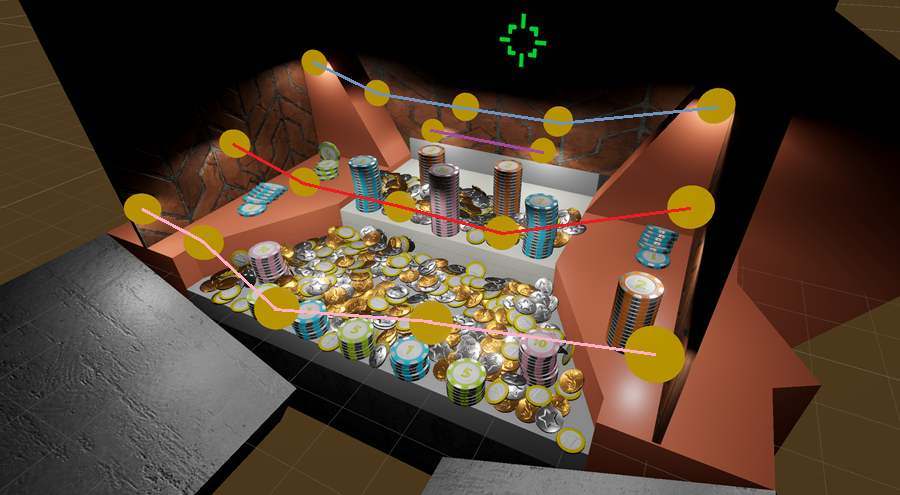
Everything is ready — create multiple coins and chips flying through the air.
This way, they’ll fall like a waterfall, and we’ll be able to see if that works correctly!
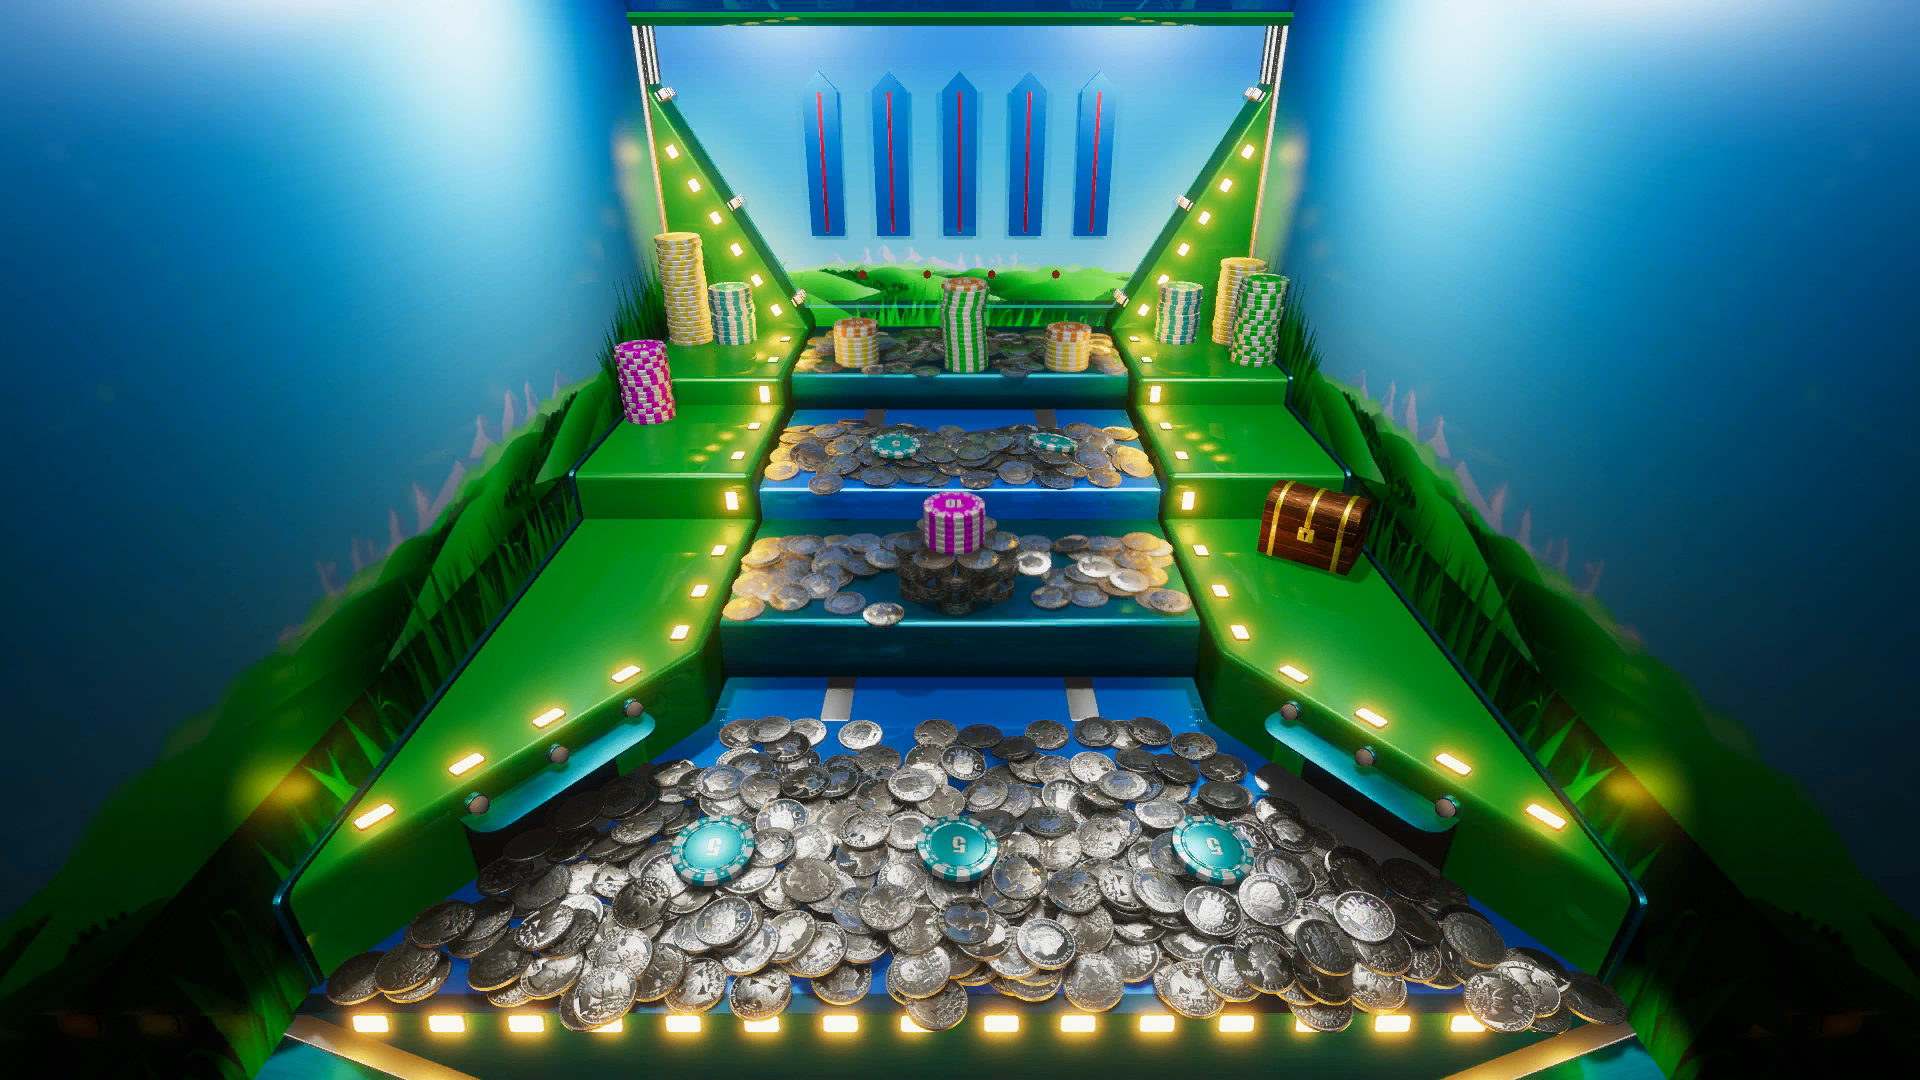
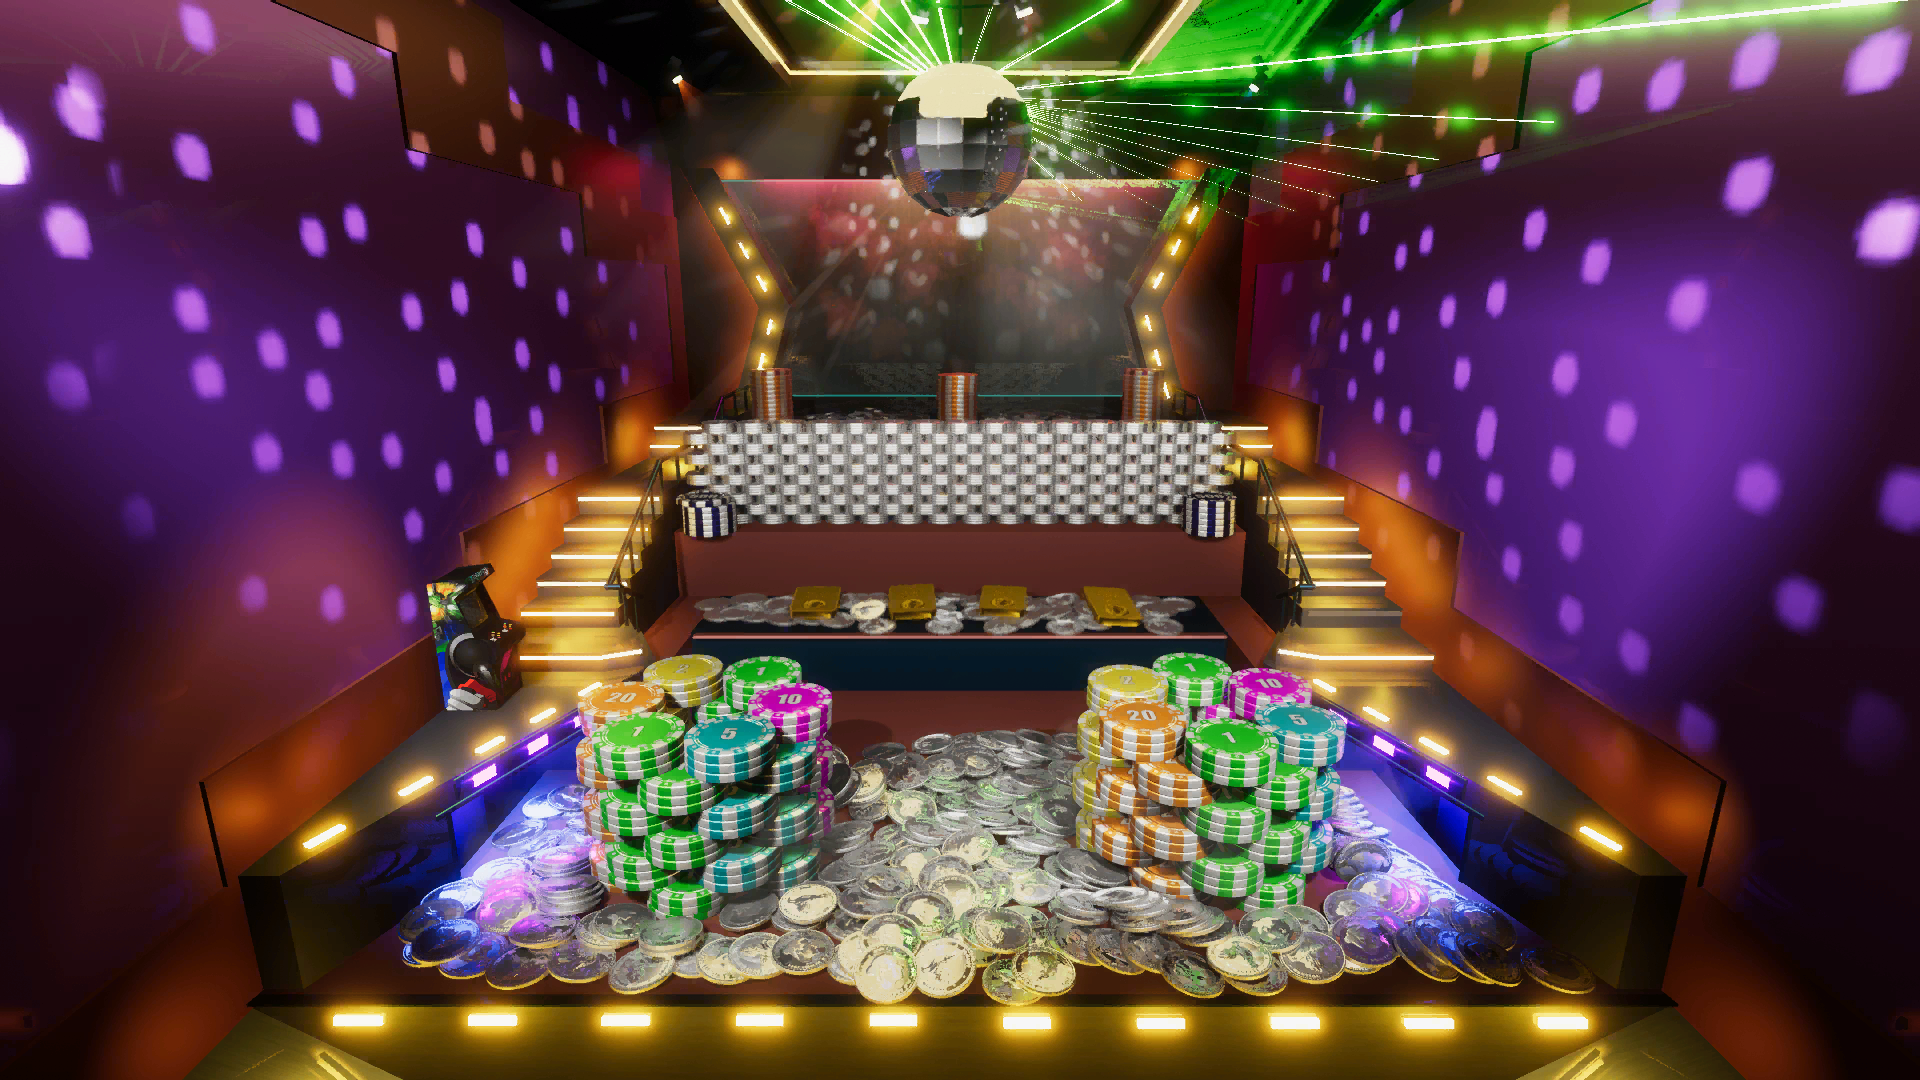
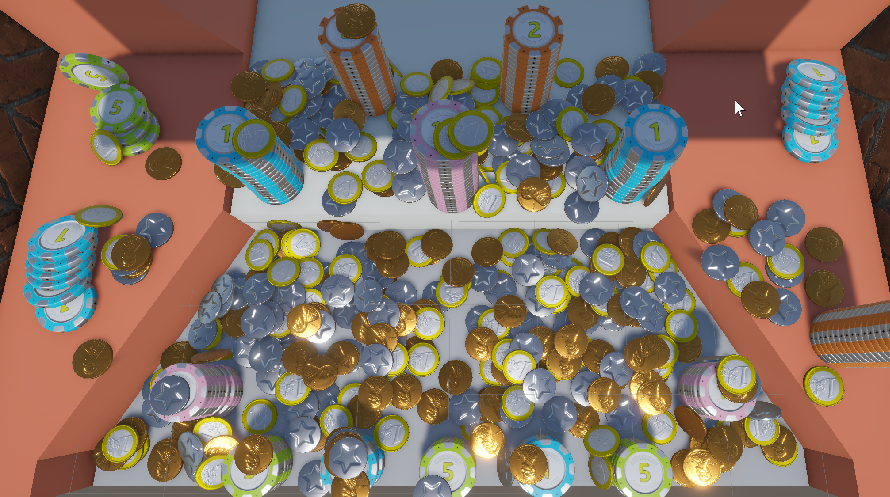
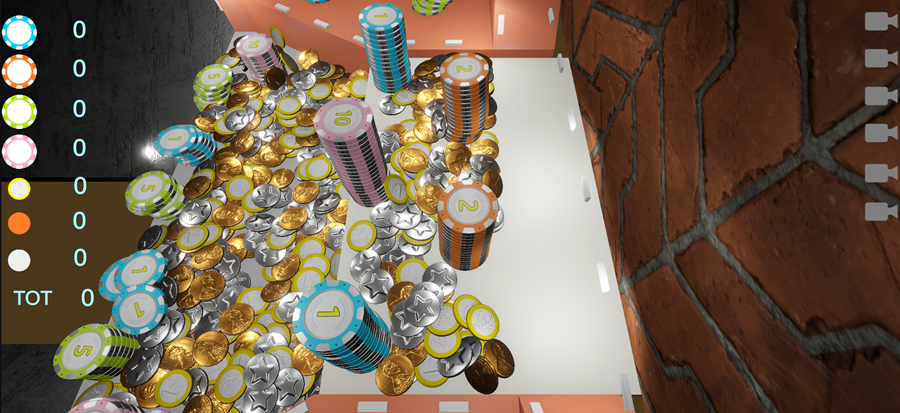
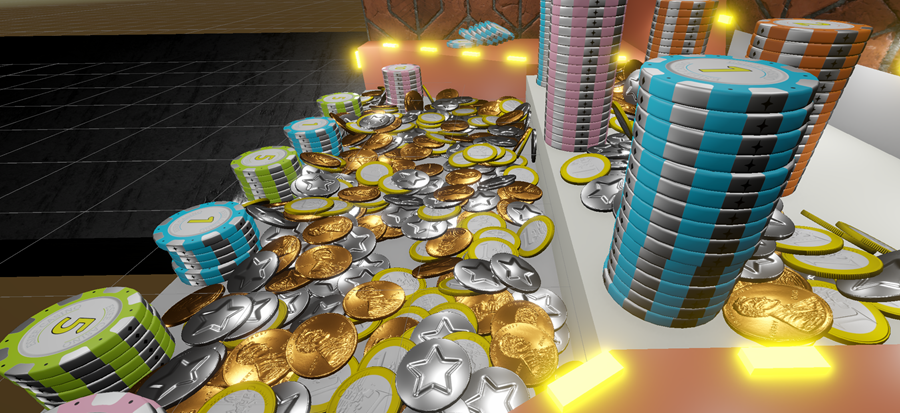
Here is our result:
For a first attempt, it’s really not bad at all!
The coins and chips fall as expected
They bounce realistically off the floor
The pusher moves the tokens forward
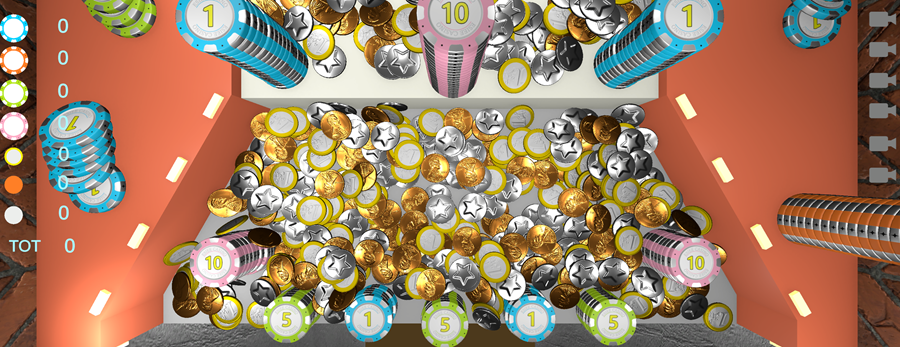
But there are still a few annoying issues:
Some tokens keep shaking and sliding around
Some tokens partially sink into the floor
Let’s be honest: you can tweak Rigidbody settings all you want, but it won’t fix the real issue.
We’re overloading the physics engine with too many coins, all in constant contact.
This is pretty much a nightmare scenario for physics, way more complex than simulating a car driving on a road.
But the 3D engine almost manages to handle it — it just seems to lack precision.
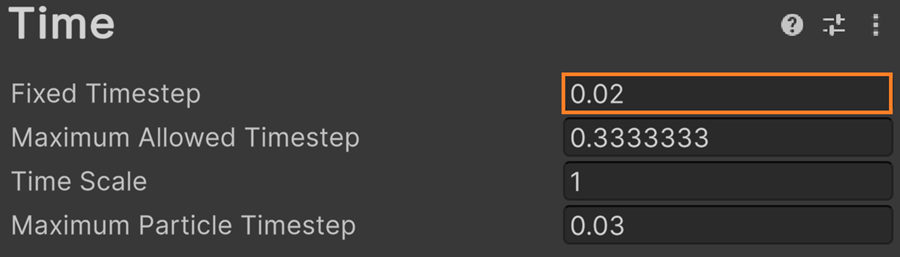
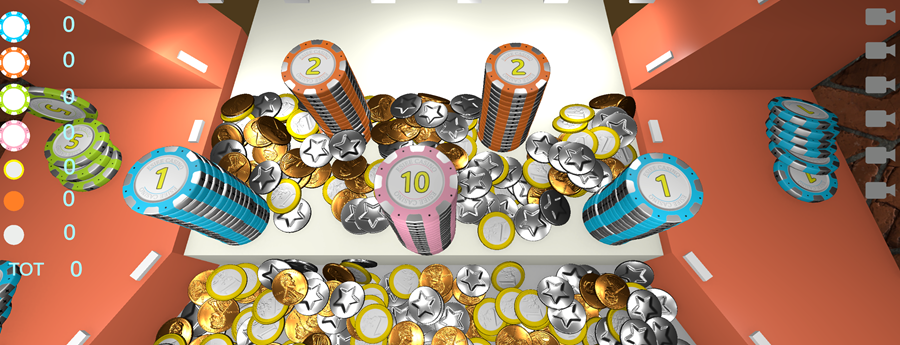
As a reminder, physics is simulated by discretizing time into fixed steps, which are set to 0.05 second by default.
That timestep is still too large for our fast-falling, bouncing coins.
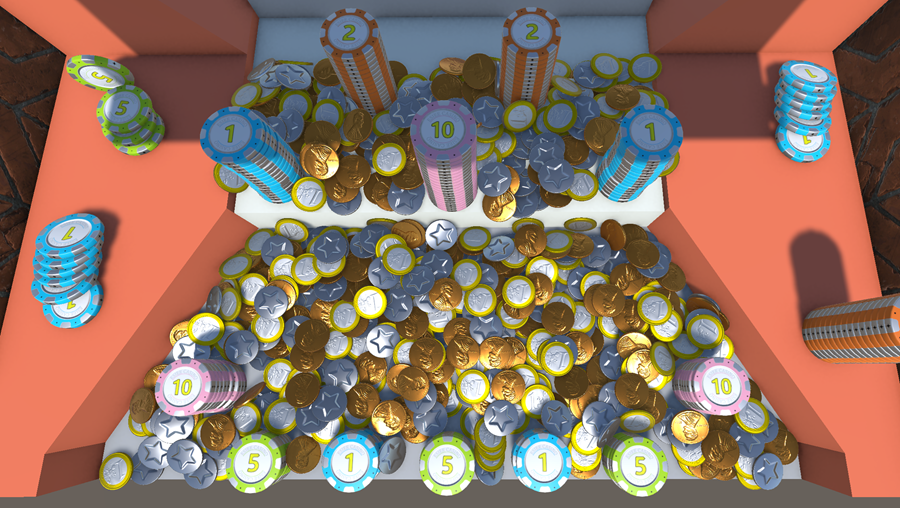
Let’s reduce it by a factor of 10 and see how the engine reacts:
Navigate to: Menu > Edit > Project Settings > Time
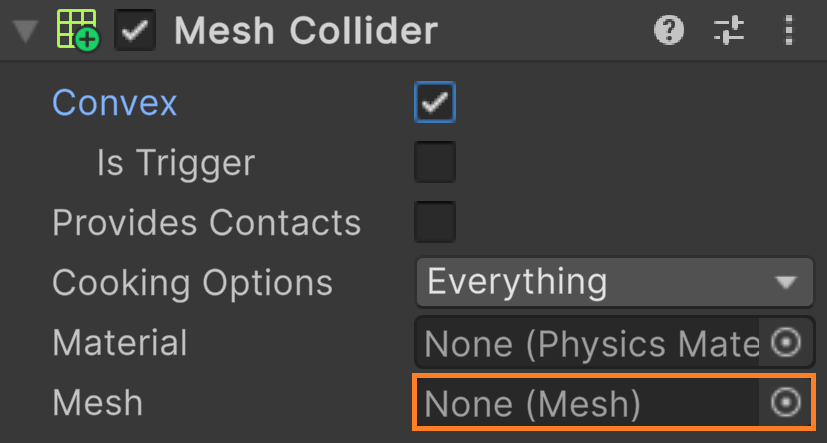
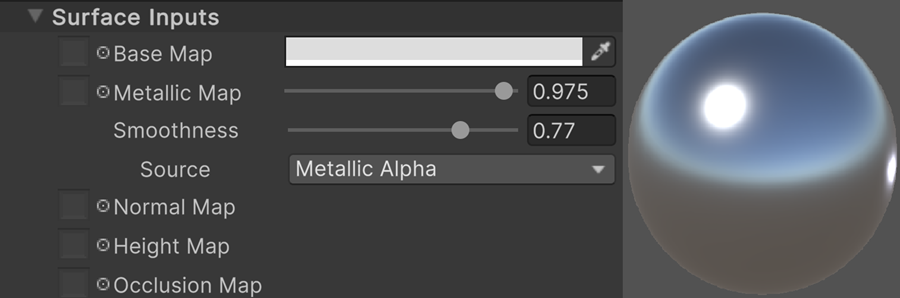
Geometrically speaking, a coin is essentially a flat surface.
To model fine details accurately, we would need to add million of vertices.
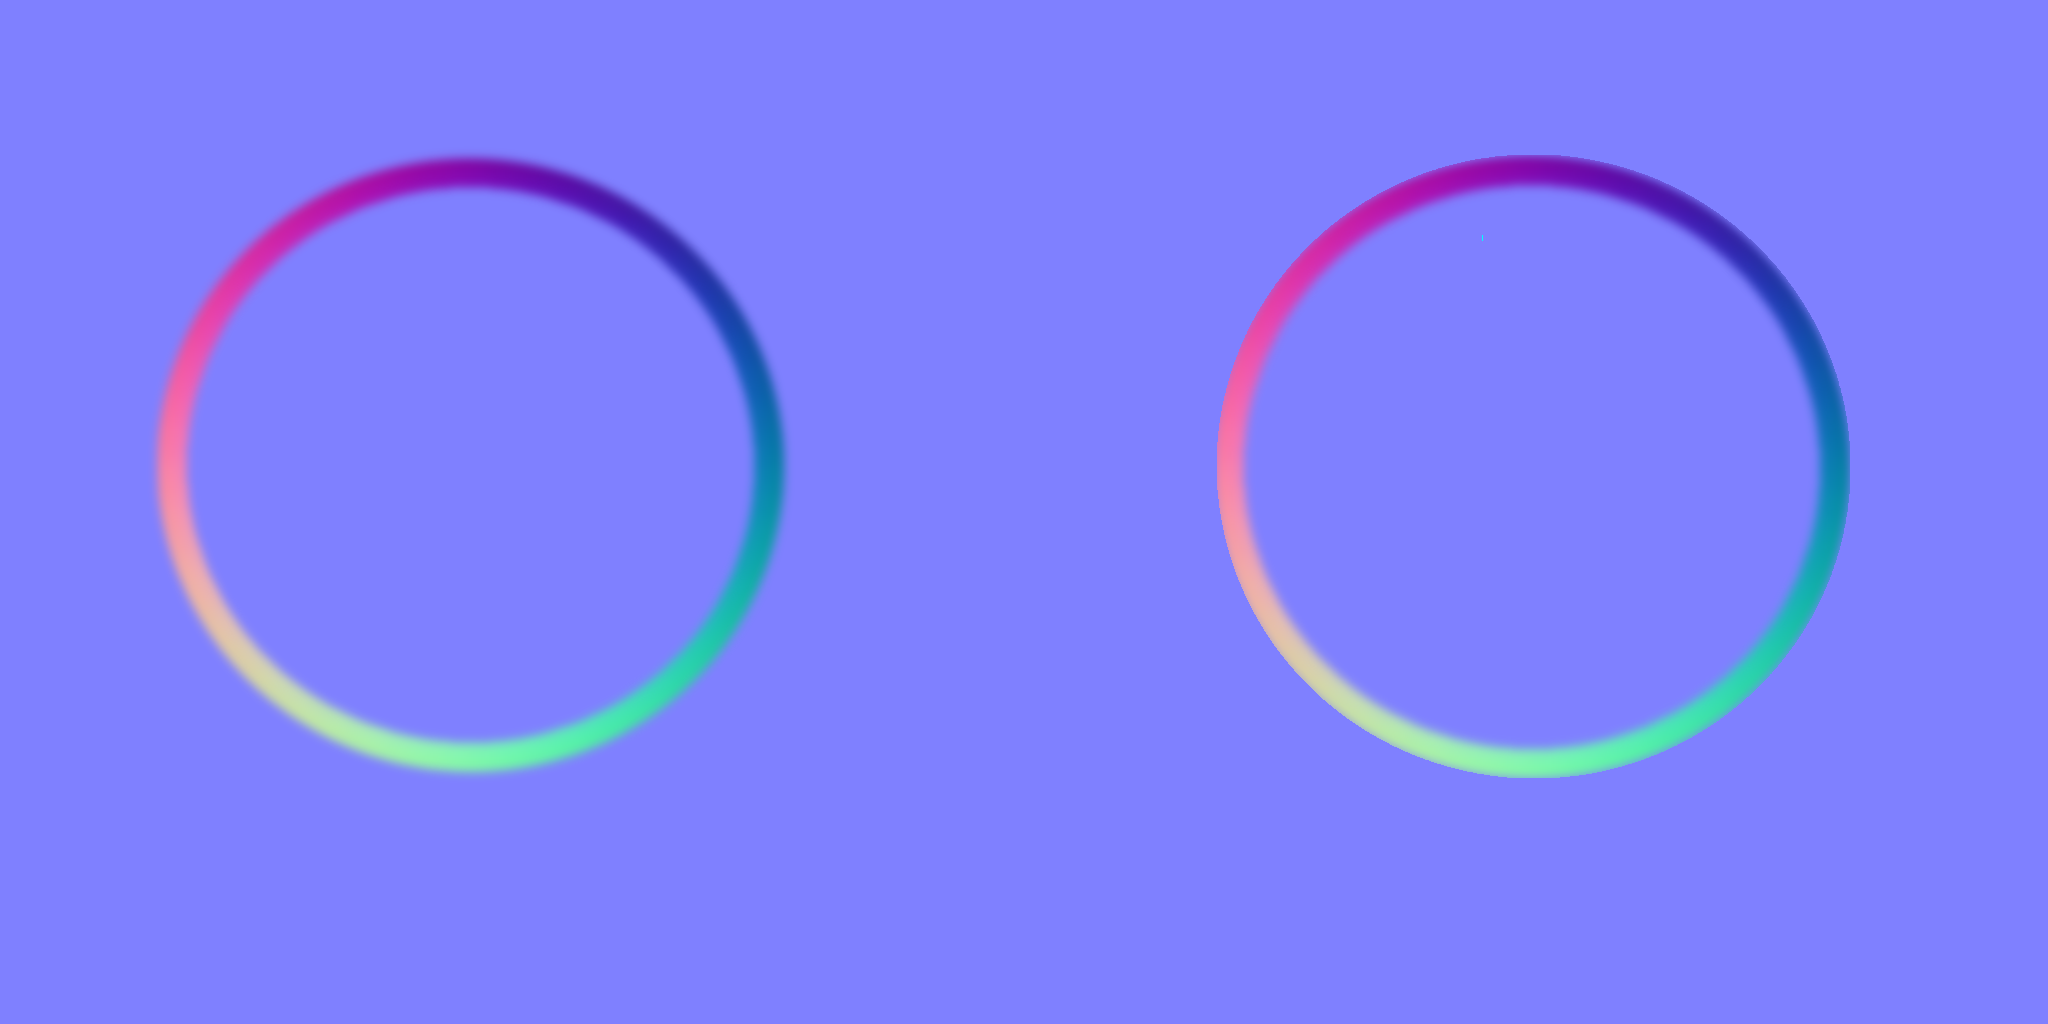
In such a case, it’s more efficient to model a flat surface and apply a normal map to add details.
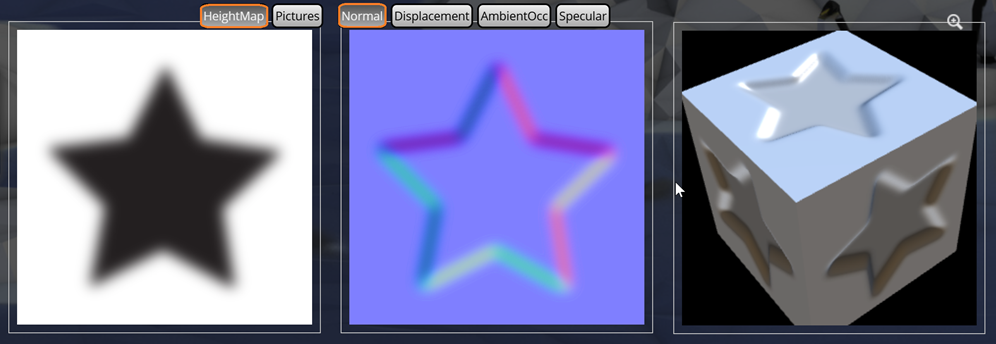
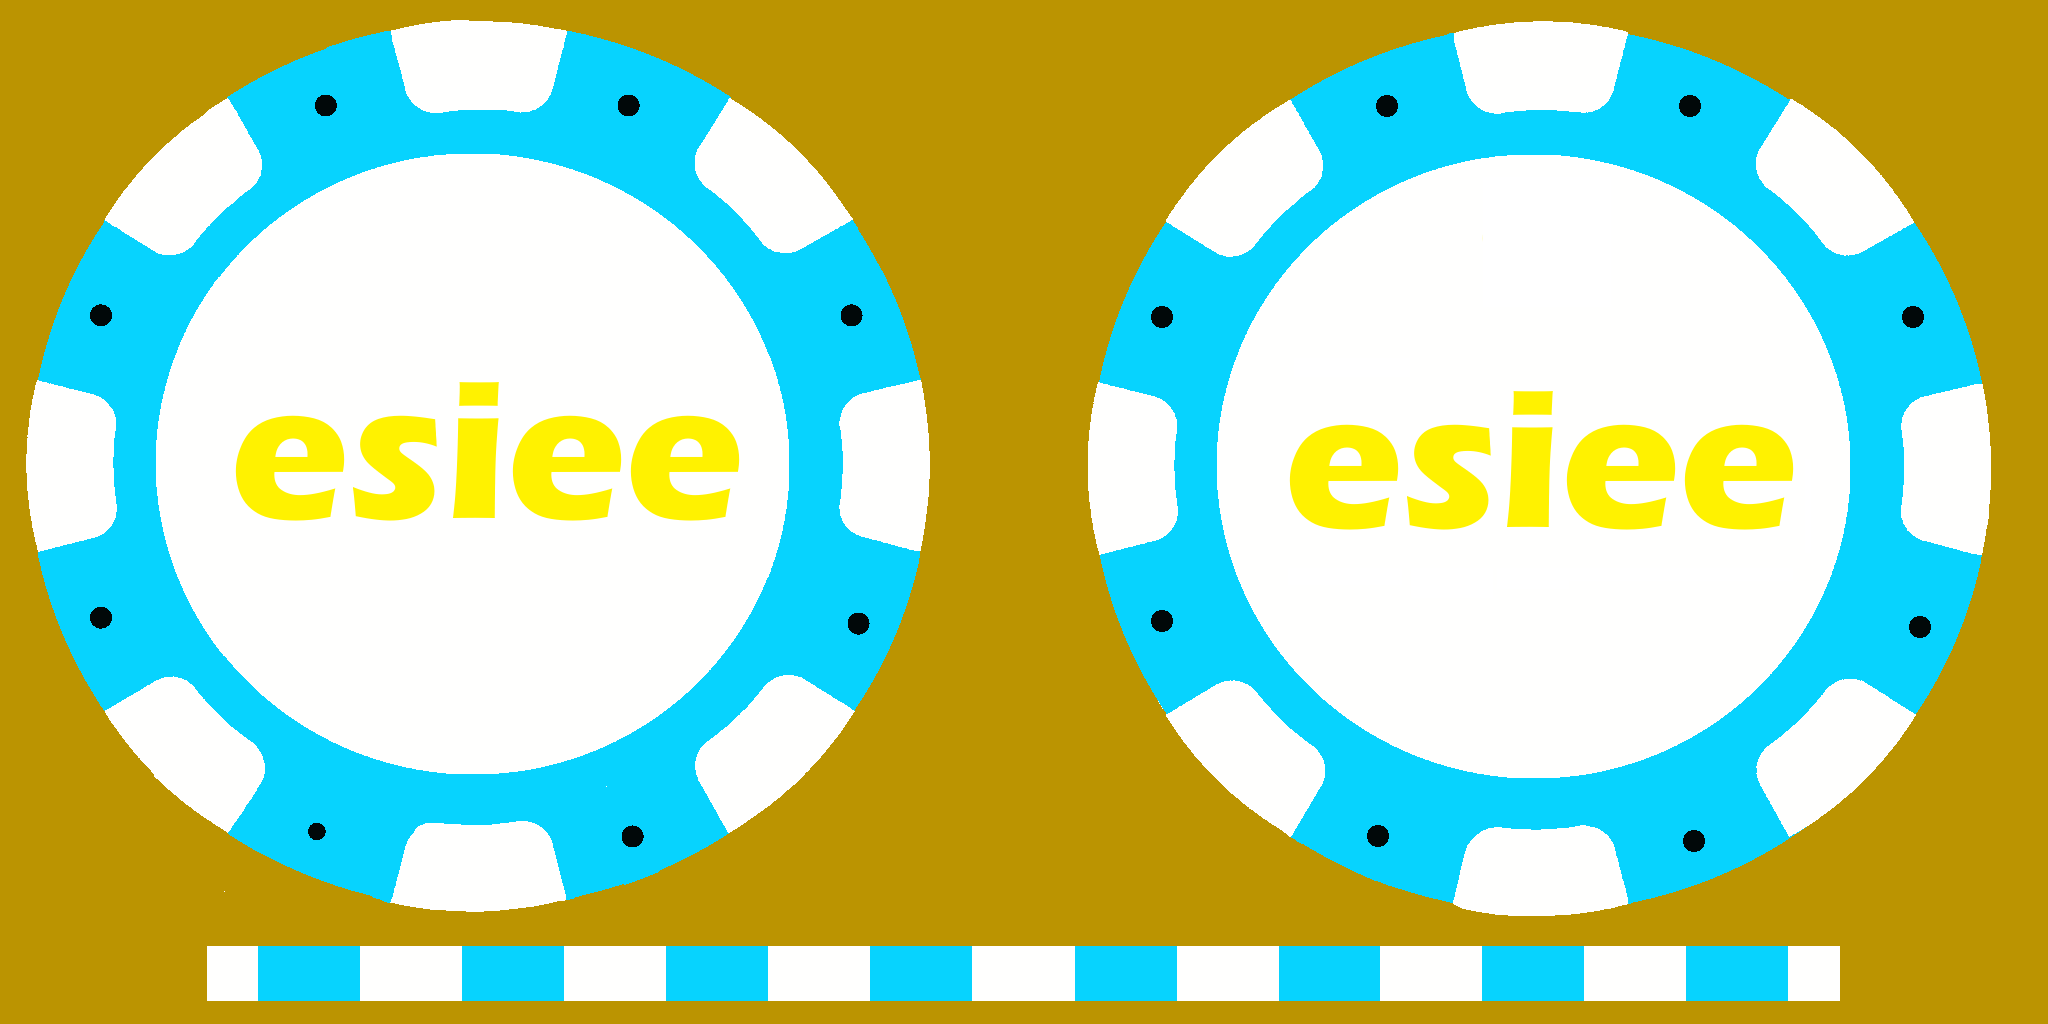
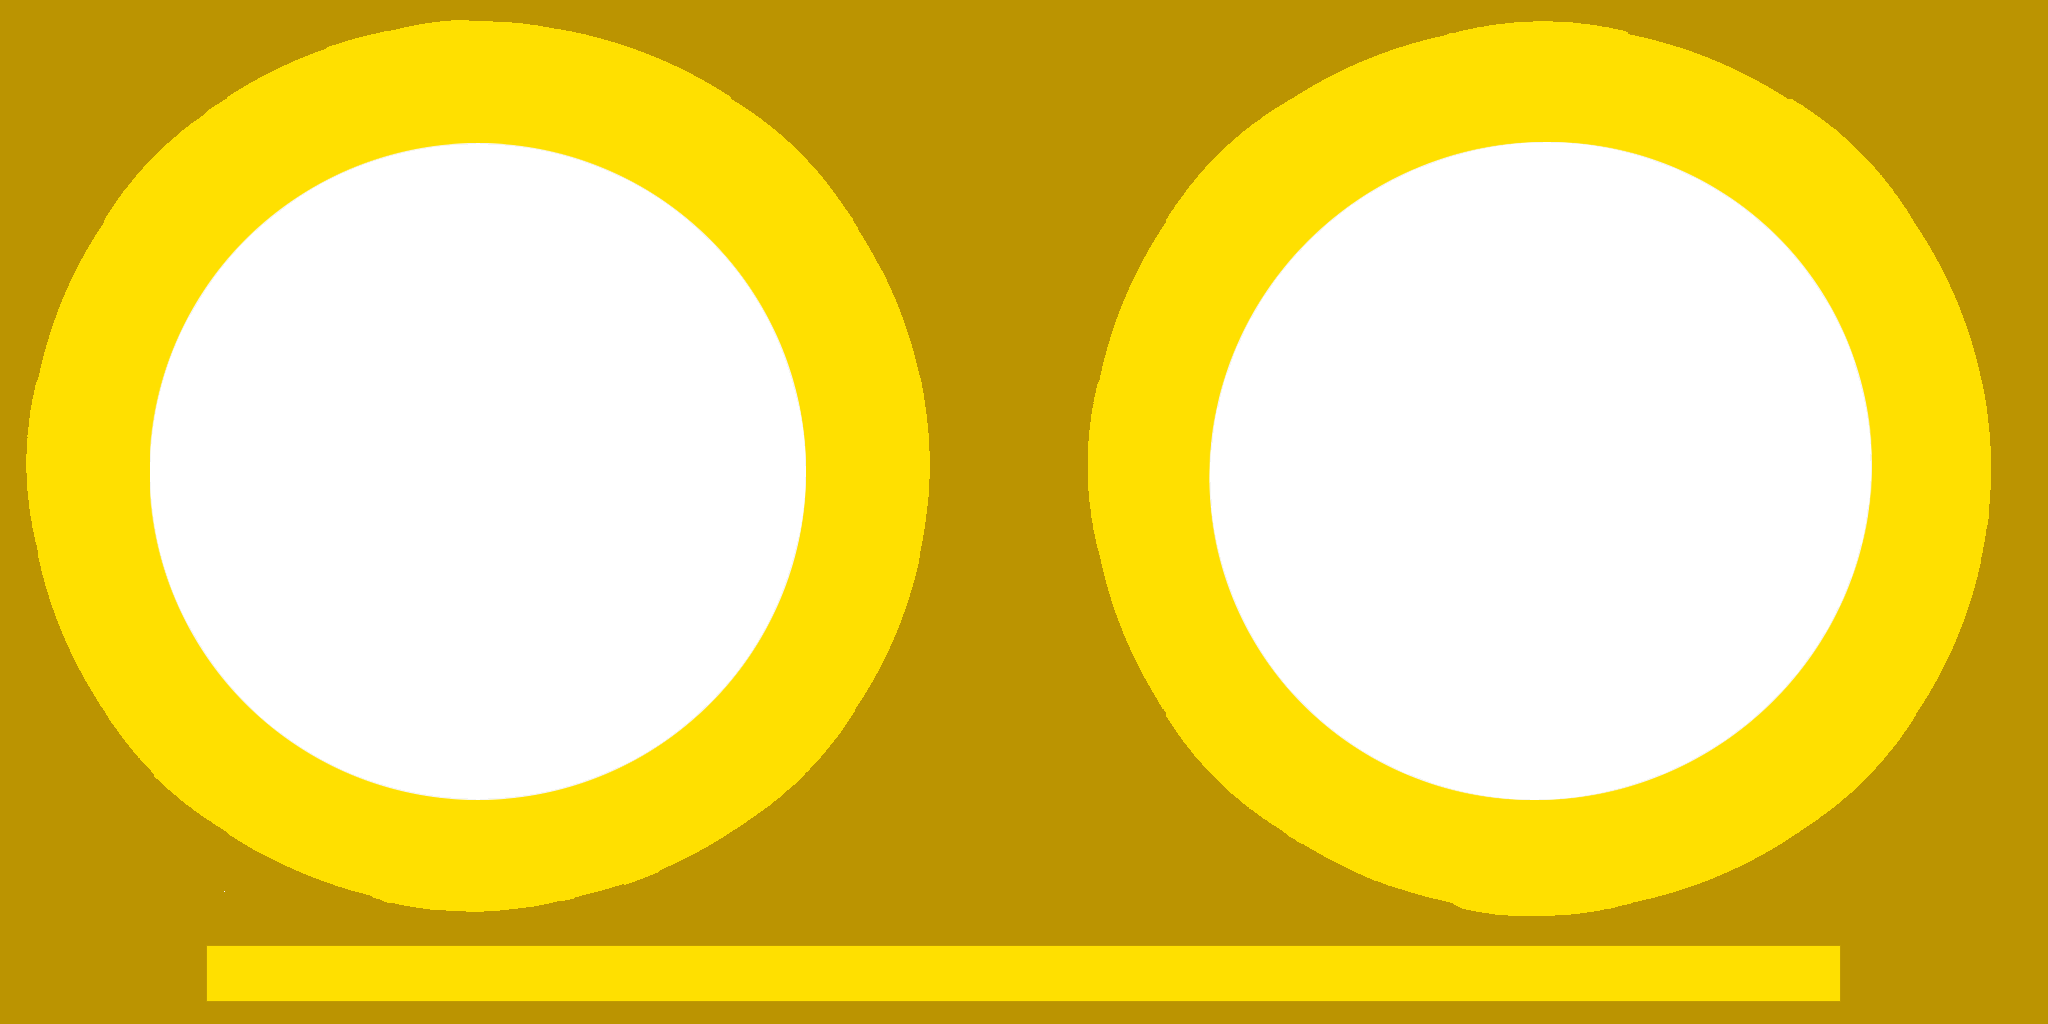
A height map is a grayscale image where the brightness of each pixel represents elevation.
White regions correspond to mountain, whereas black regions represent plains.
For example, let’s have a look at this image:
According to color convention, this star represents a « hole ». Right click on this image and save it to your computer.
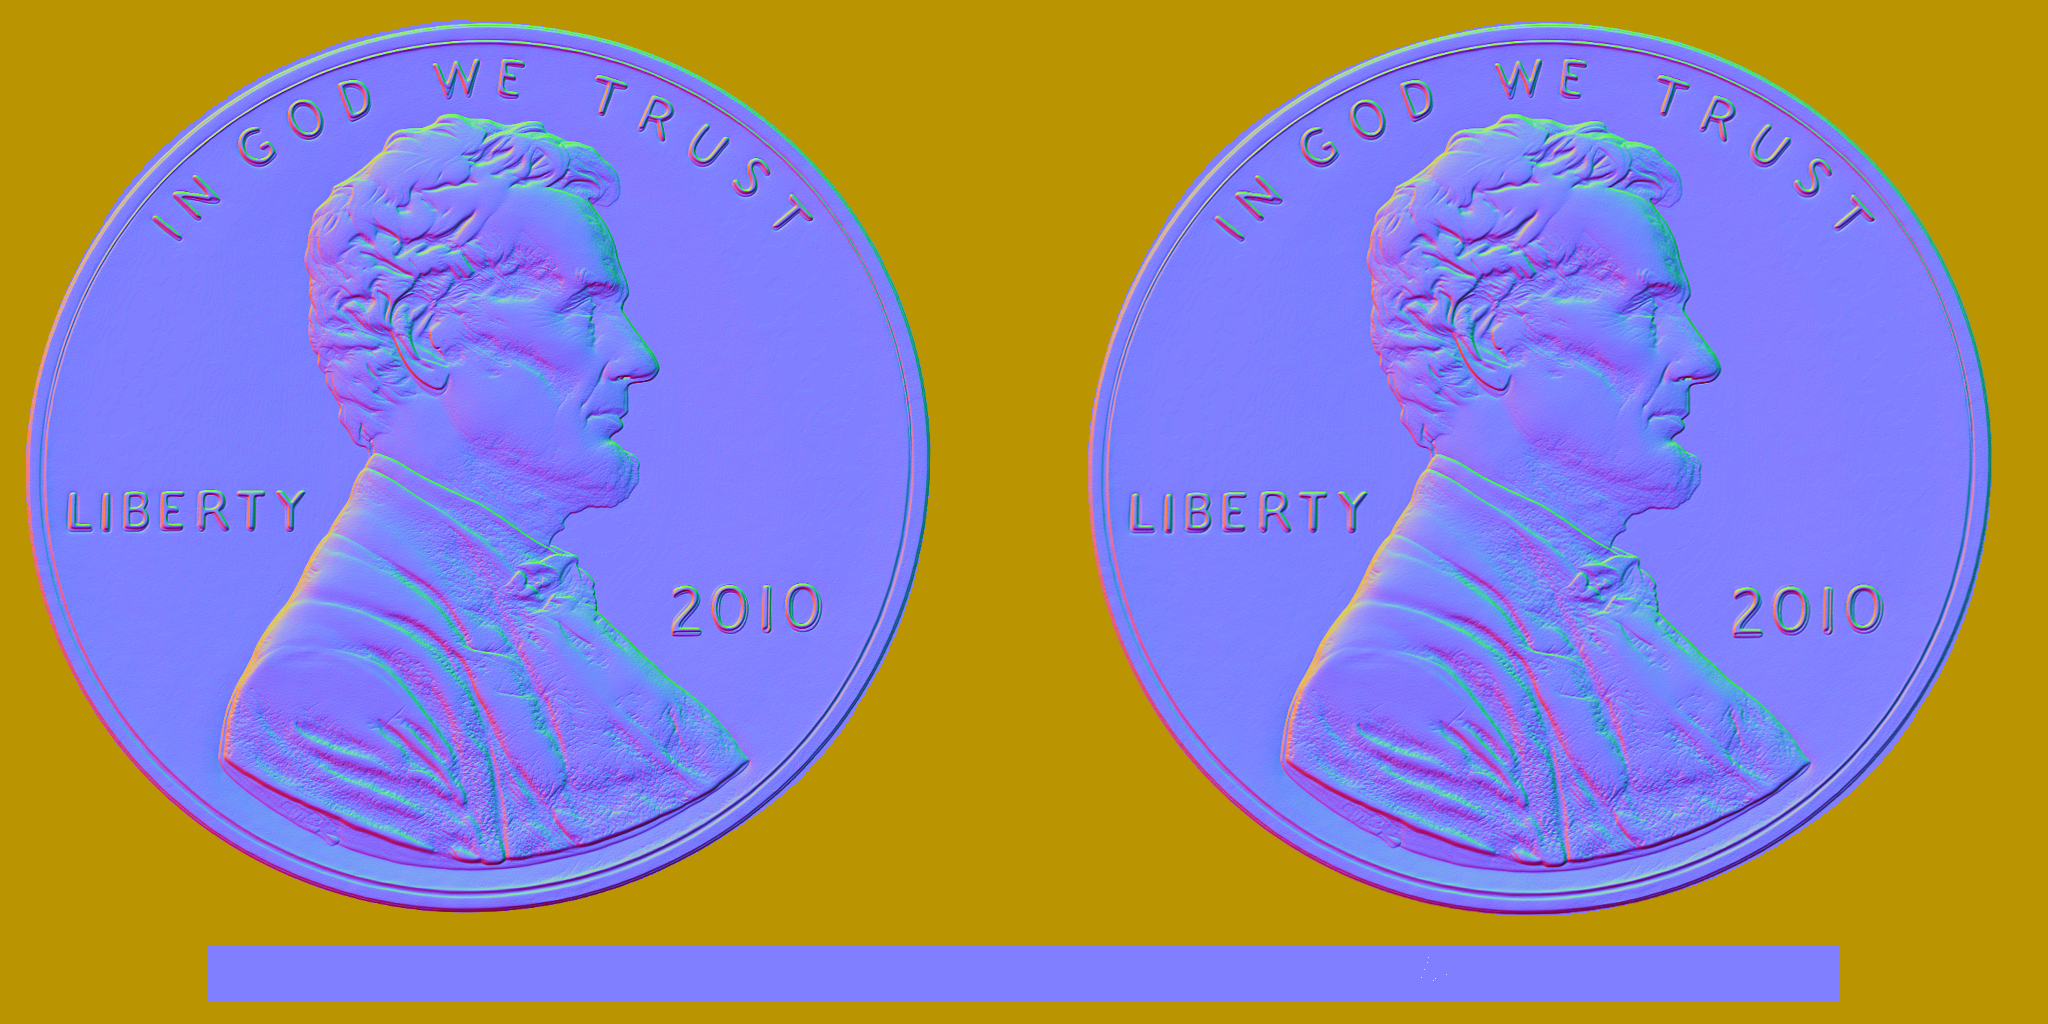
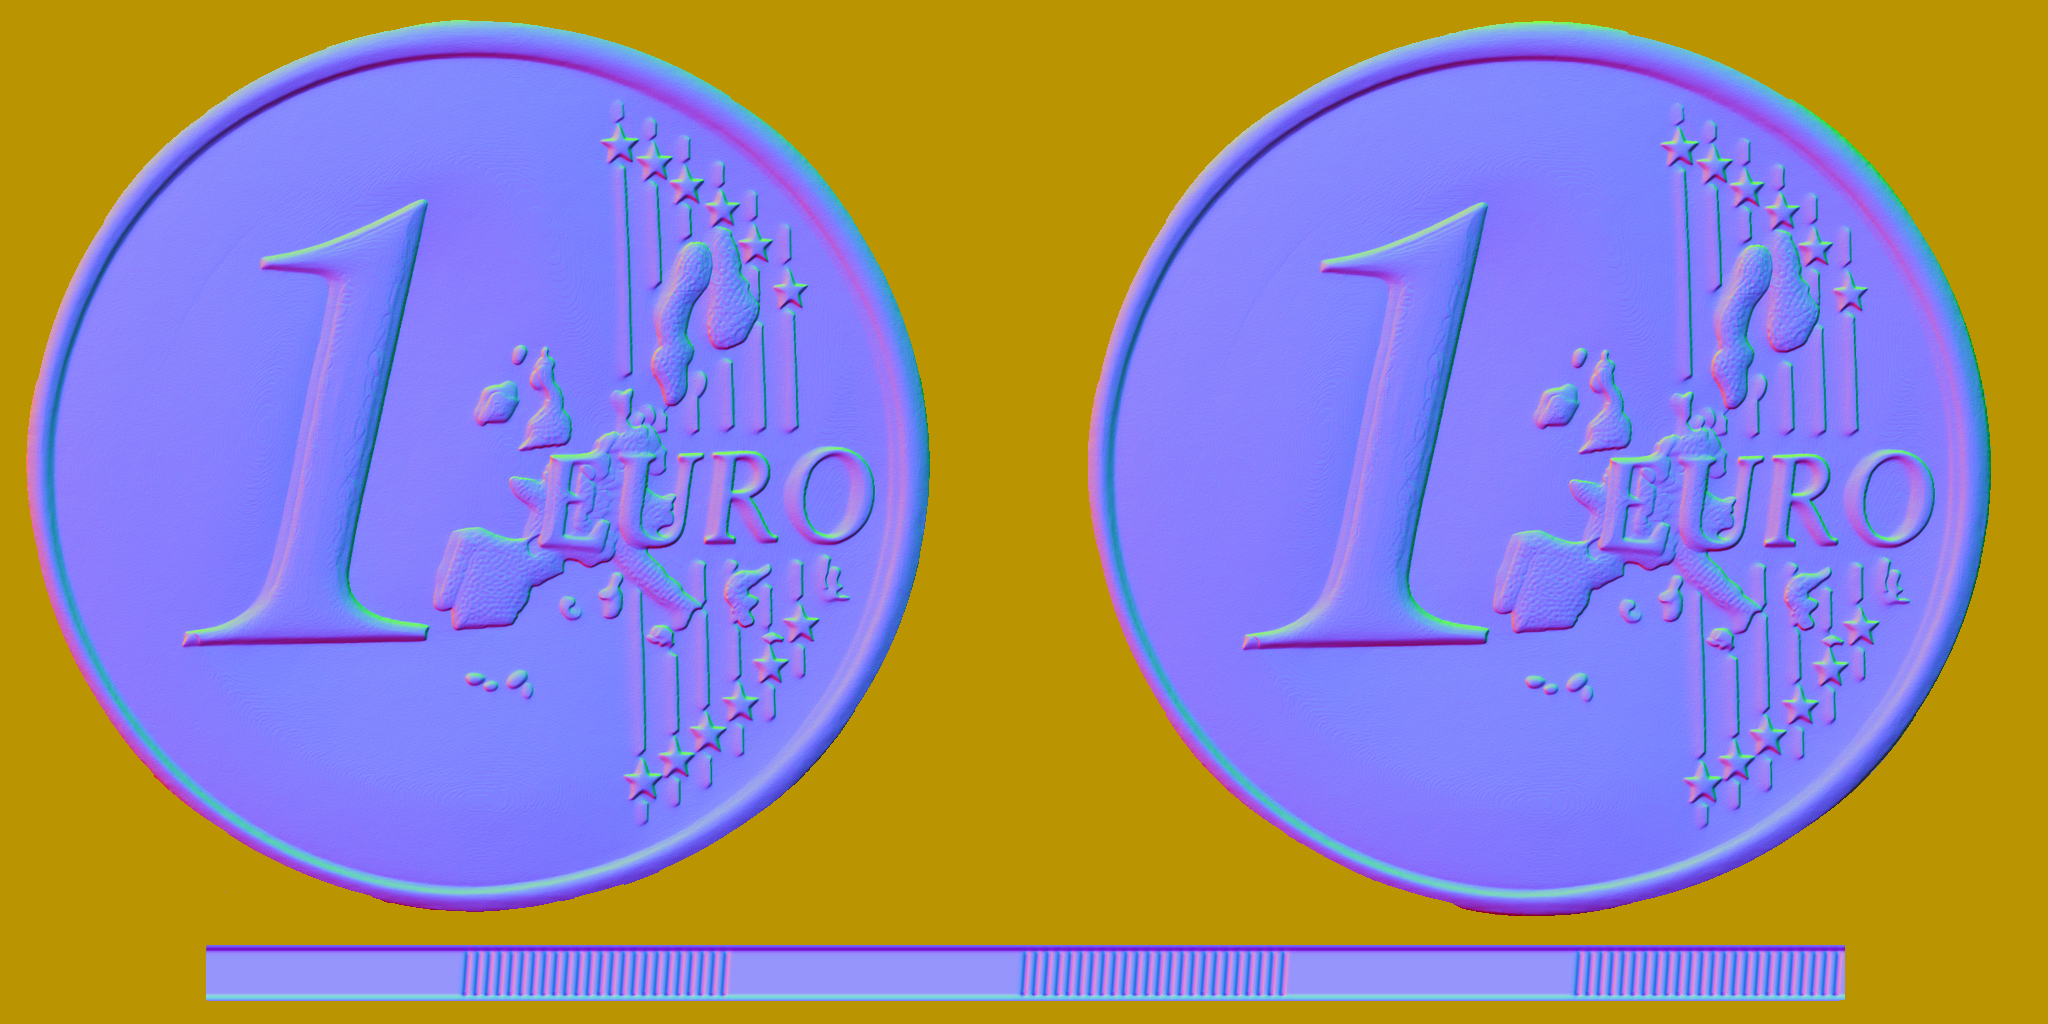
This step is more difficult, but current deep learning technique can handle it.
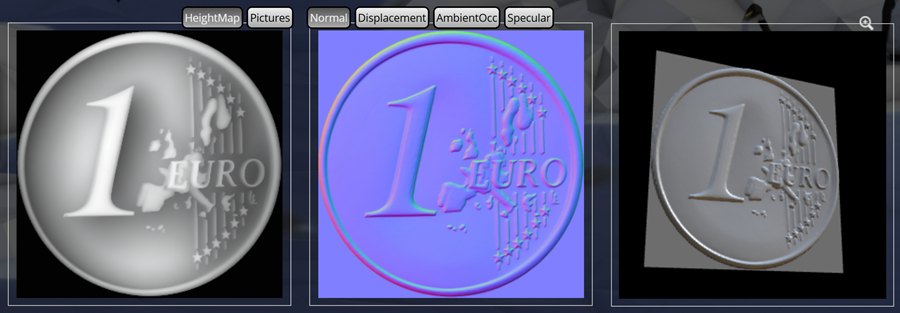
Using google image, perform a research on « face coin » and select a nice clean picture of a coin.
Log in using your gmail account, you will obtain 100 free credits
Upload your image
Click the Draw button located at the bottom left
Multiple height maps have been computed, but only the fourth one appears to be correct: the European continent shares the same shade of white as the digit 1.. Download a normal map and test it:
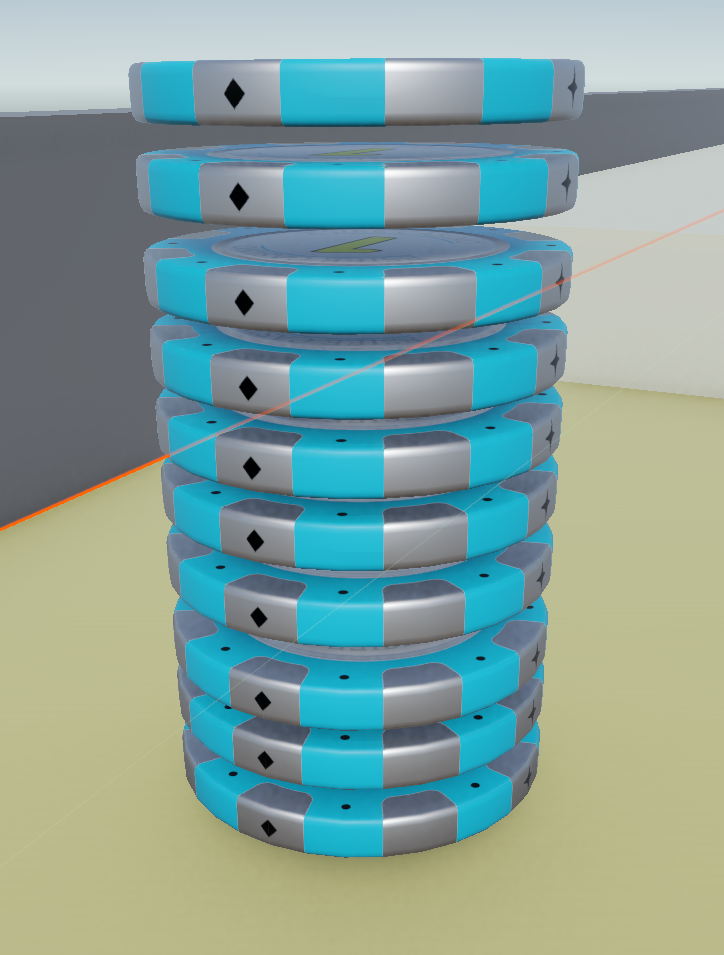
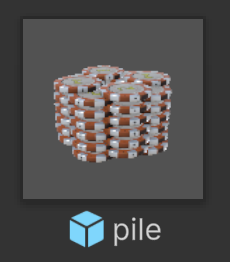
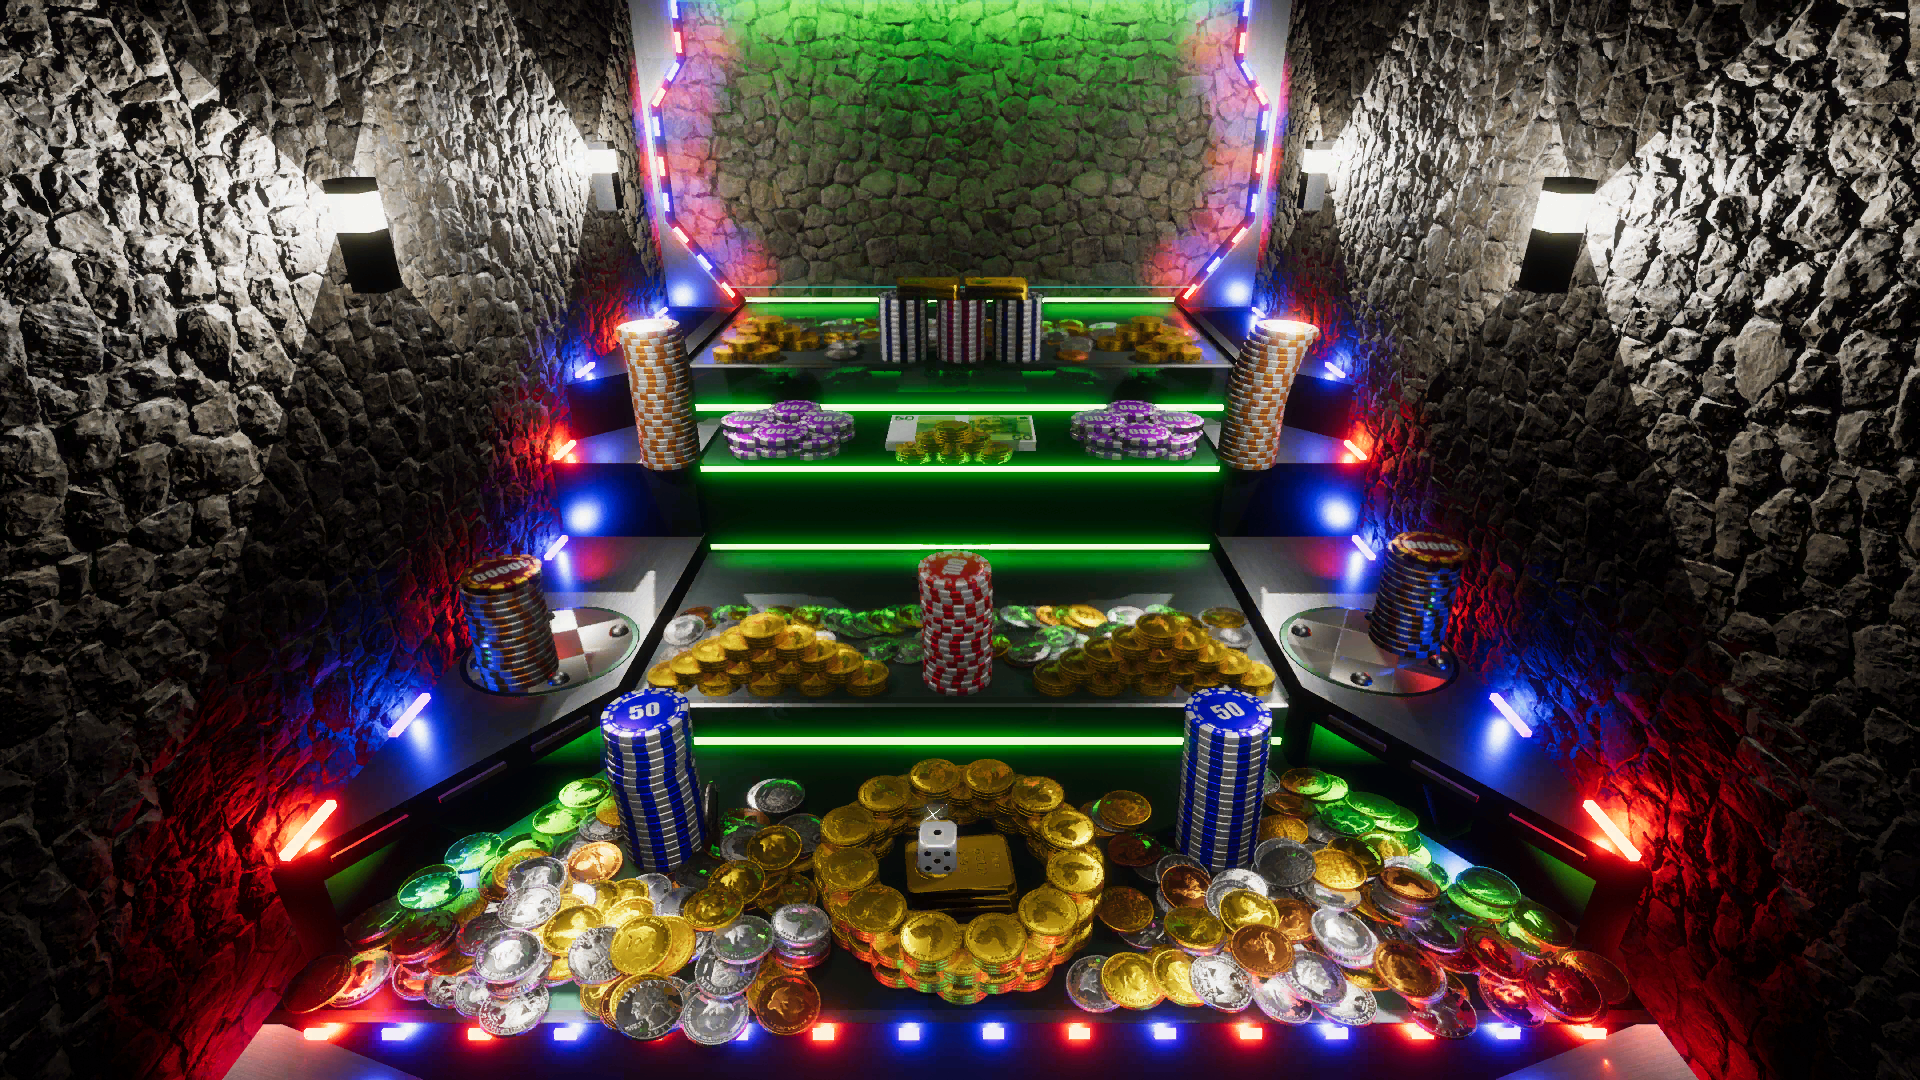
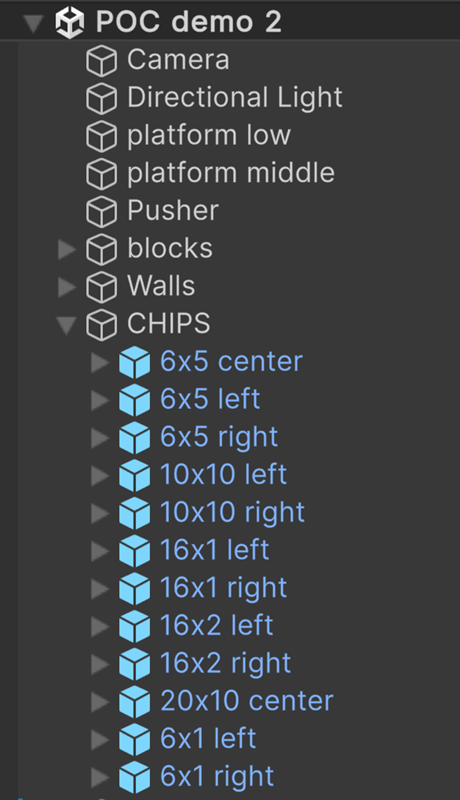
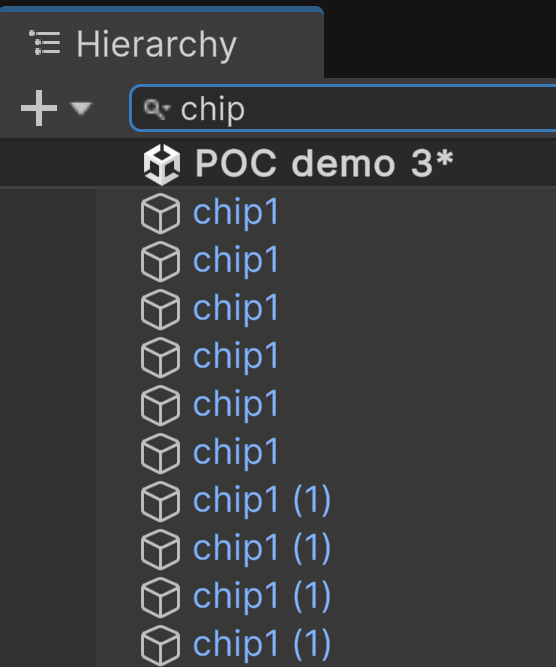
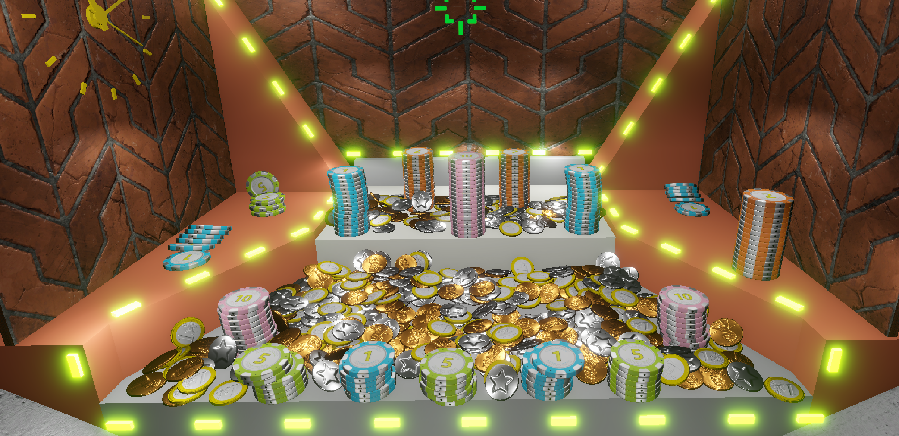
We will put some stacks of chips in the environment.
Stacking objects with the mouse is tricky: it takes time and this requires precision.
Chips may overlap or slide around… We prefer to use Unity’s physics engine.
Create a stack of chips with some spacing between them
Select all the chips and create a parent
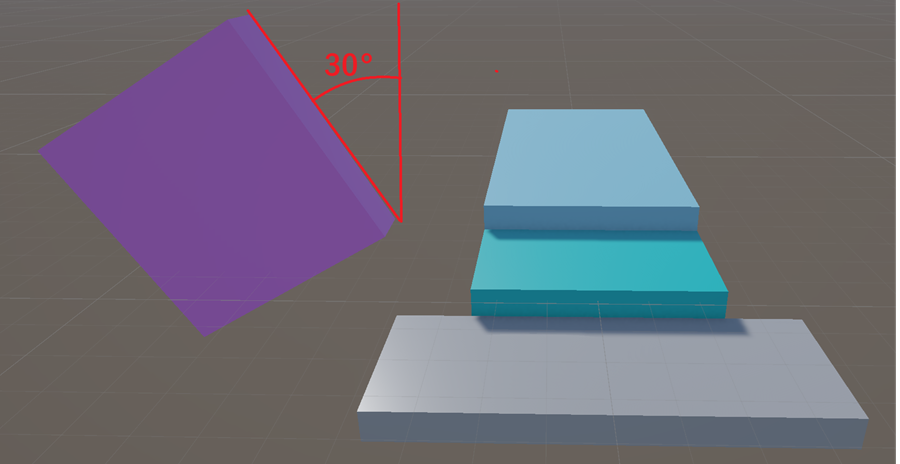
Rotate the stack by 1 or 2 degree to create a pize tower effect
Enter play mode
Wait for the chips to stabilize
Press Pause Button
In the Hierarchy, select the parent node
Drag and drop the stack into the Project Assets folder to create a prefab
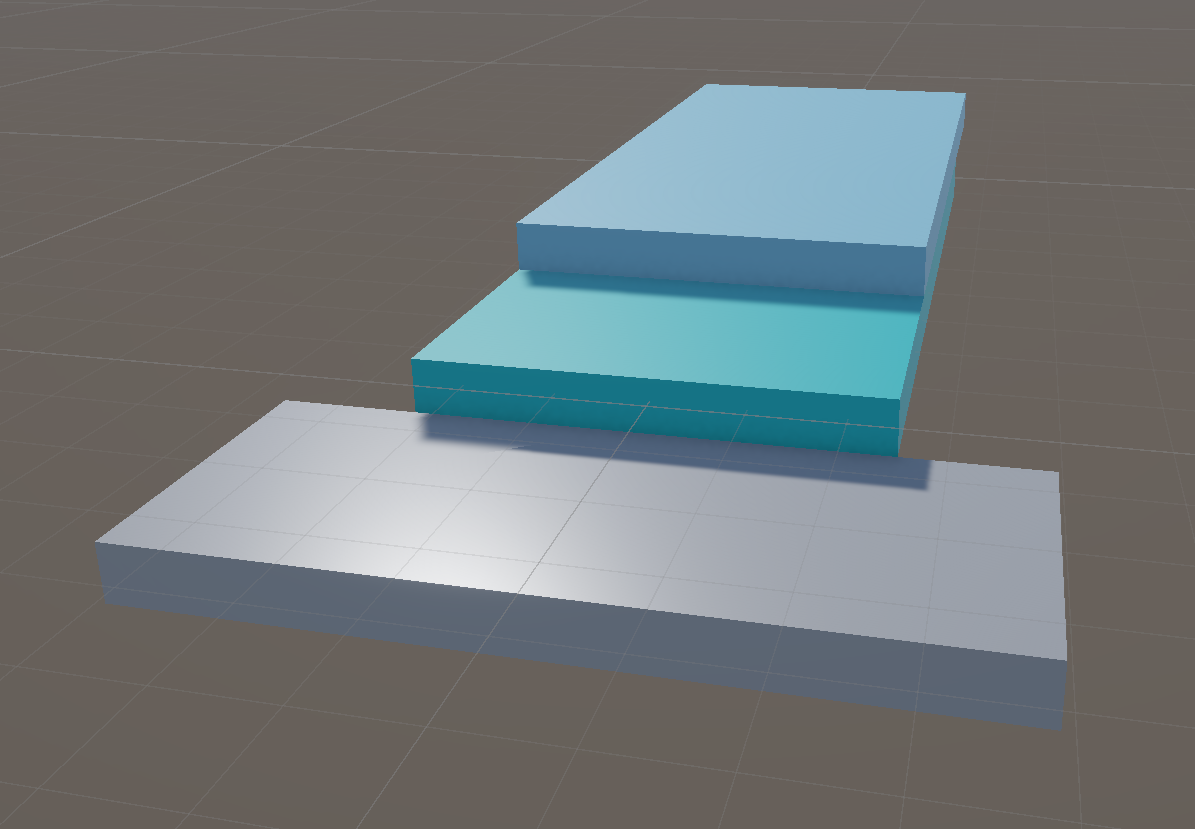
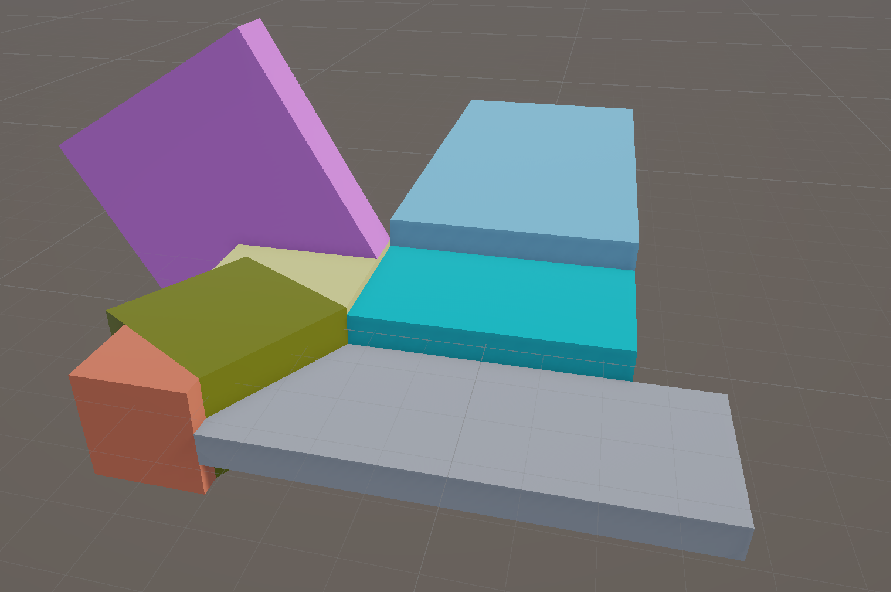
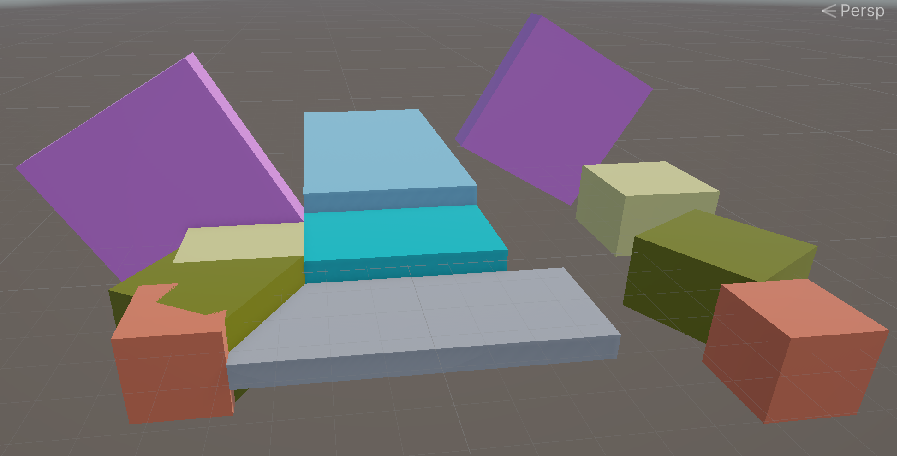
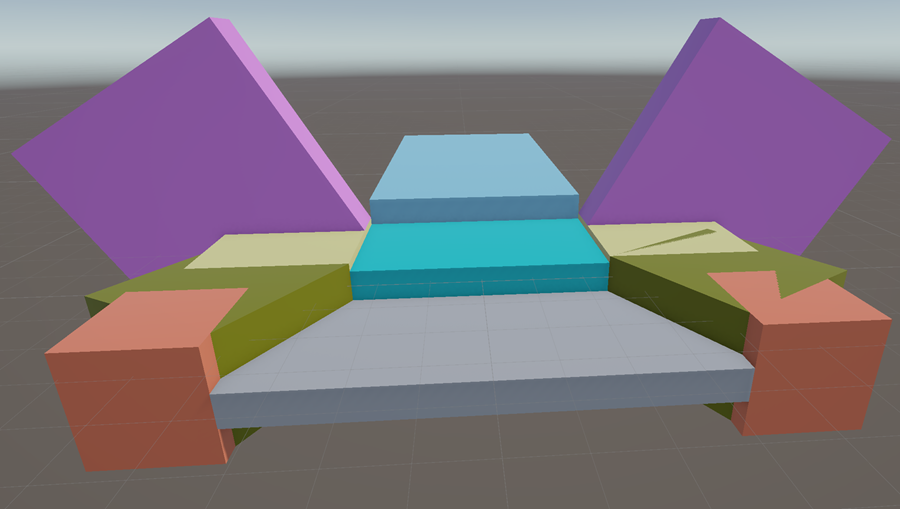
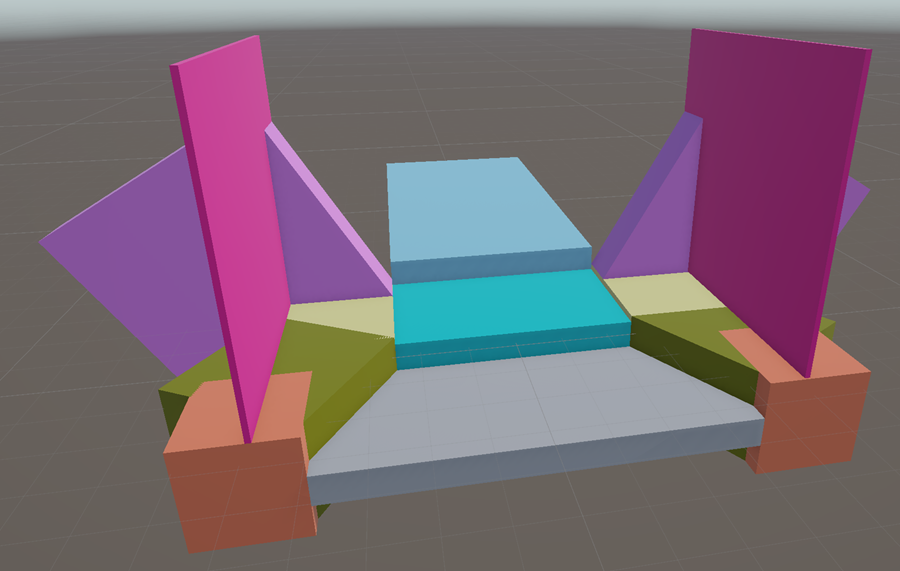
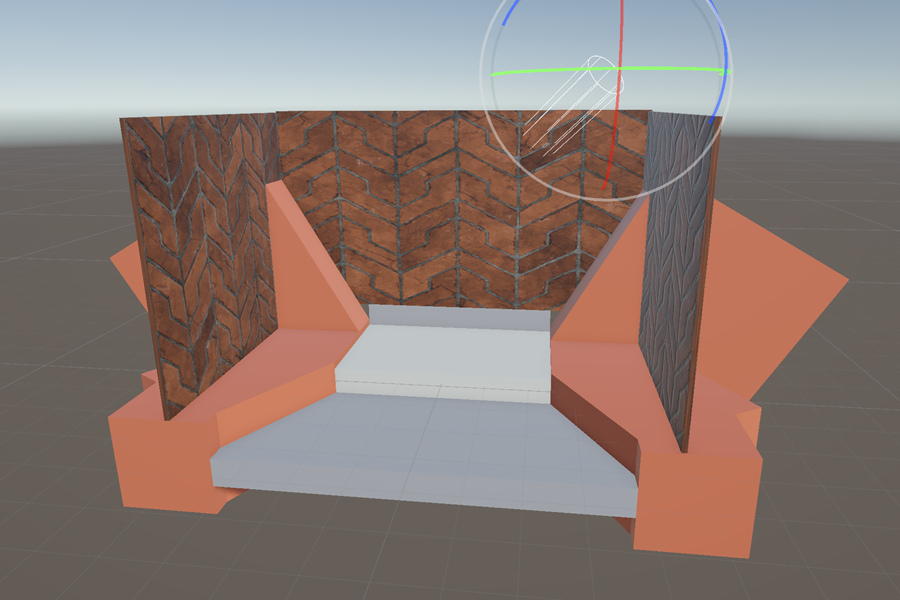
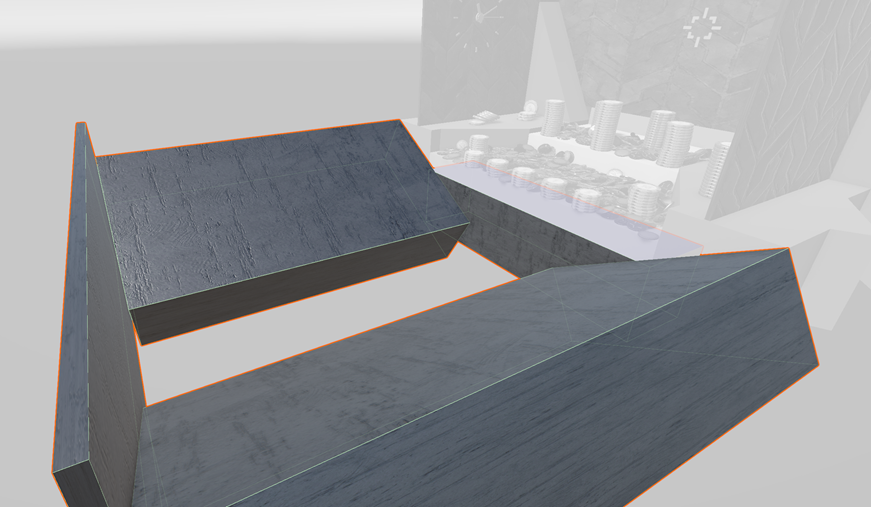
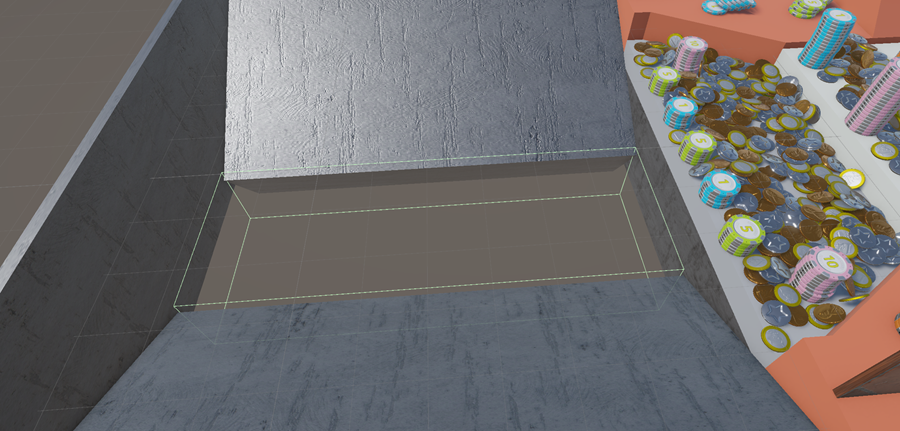
The dimensions given here are for guidance only, to show you how the example set was built. You can of course choose your own shapes and sizes, and take a look at our method to find some helpful tips.
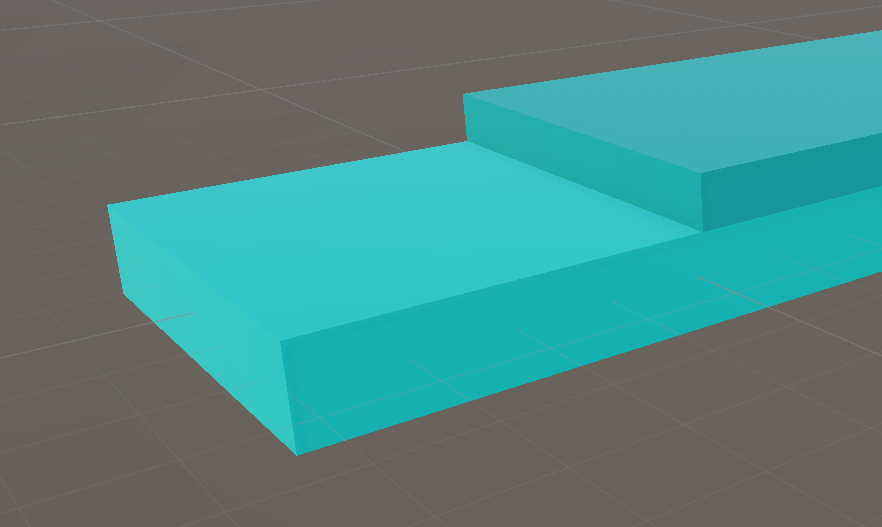
Create a 3D cube scaled to 3x2x3
Snap it carefully, the final position matters
After that, lift it slightly to create a small border
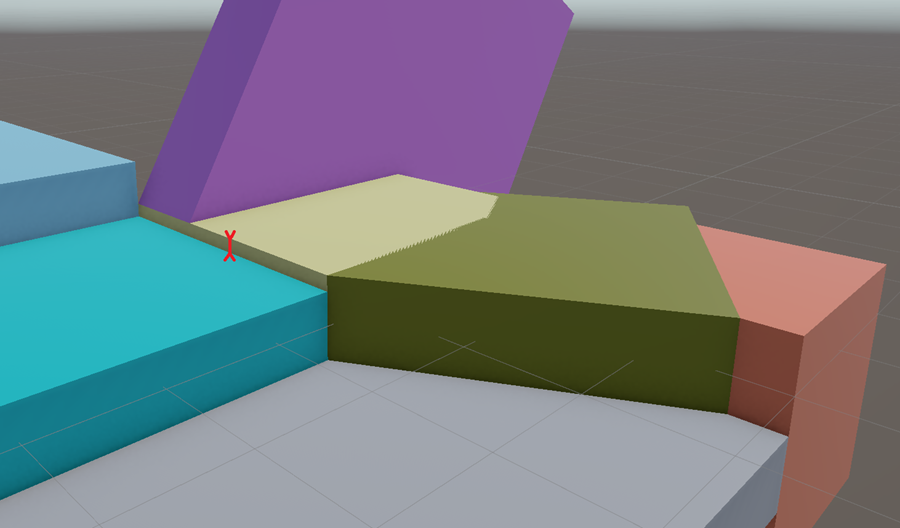
We recall how to snap:
Select a cube
Activate the Translation tool
Hold V Key
Click and hold a vertex
Move mouse to snap this vertex to another vertex in the scene
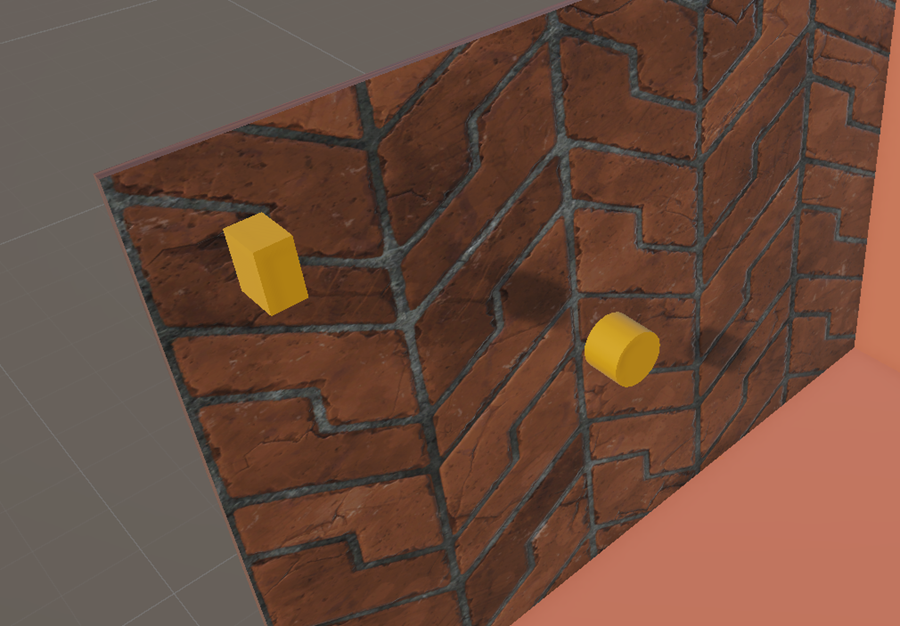
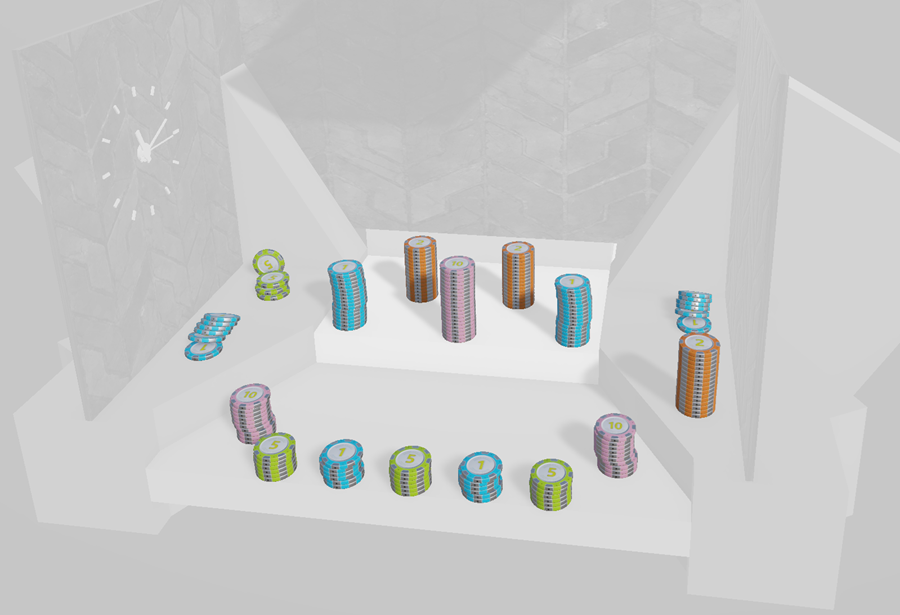
We want to create an analog clock on the left wall
Create a hour marker using a cube
Use a cylinder to create the center of the clock
Use the following script to create the 12 clock markers
usingUnityEngine;usingUnityEditor;publicclassCircularInstancerEditor{[MenuItem("Tools/Circular Duplicate in YZ Plane (use 'center' object)")]publicstaticvoidDuplicateInCircleYZ(){GameObjectoriginal=Selection.activeGameObject;GameObjectcenterObject=GameObject.Find("center");Vector3center=centerObject.transform.position;floatradius=3f;intnumberOfCopies=12;for(inti=0;i<numberOfCopies;i++){floatangle=i*Mathf.PI*2f/numberOfCopies;floaty=center.y+Mathf.Cos(angle)*radius;floatz=center.z+Mathf.Sin(angle)*radius;floatx=center.x;Vector3position=newVector3(x,y,z);GameObjectcopy=Object.Instantiate(original,position,Quaternion.identity);copy.name=original.name+"_copy_"+i;Vector3angles=copy.transform.eulerAngles;angles.x=360/numberOfCopies*i;copy.transform.eulerAngles=angles;copy.transform.SetParent(centerObject.transform);}}}
Create the three clock hands
Create a single script and apply it to each clock hand to animate them.
The speed can be adjusted via a public variable
Placing each clock hand inside a parent GameObject can help manage rotation more easily
Everything is costly when working in real time.
So when you don’t need certain features (like physics simulation or shadows), it’s better to disable them.
Turn off the Cast Shadows option (mesh render)
Shift select multiple elements
In the Inspector, disable the option — the change will be applied to all selected objects
Check:
Main pusher
Walls
Platforms
Clock markers
Check that these types of objects do not have a Rigibody - they do not move
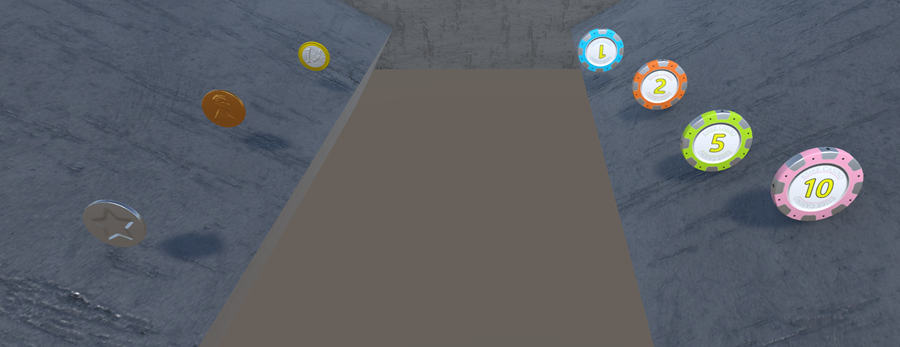
The script works fine; nevertheless, some polishing still needs to be done by hand:
Some coins fall outside the scene and keep falling infinitely
Some coins land on the sides (orange area); we need to delete them
Some coins fall onto the stacks; we have to remove them
It’s quite easy to write a script to remove these annoying coins and simplify our work.
To do this, we use the RayCast technique: we shoot a virtual ray, like an arrow, from the center
of each coin toward the ground. If the ray hits something, we check the type of the obstacle.
This allows us to determine whether the coin should be removed or not. Here is an example:
(Accueil > Police > Effet de texte)


