Camera
Summary
In the Scene view, there many ways to change the current view. Here is a summary:
F: Frame an object
Q then Left mouse: Pan
Q then Right mouse: Look around
Hold ALT + Left mouse: Orbit
Hold ALT + Right mouse: Zoom in & out
Mouse wheel: Zoom in & out
Hold right Mouse + QWE/ASD: fly
Setup
Open the Intro scene
Delete any objects
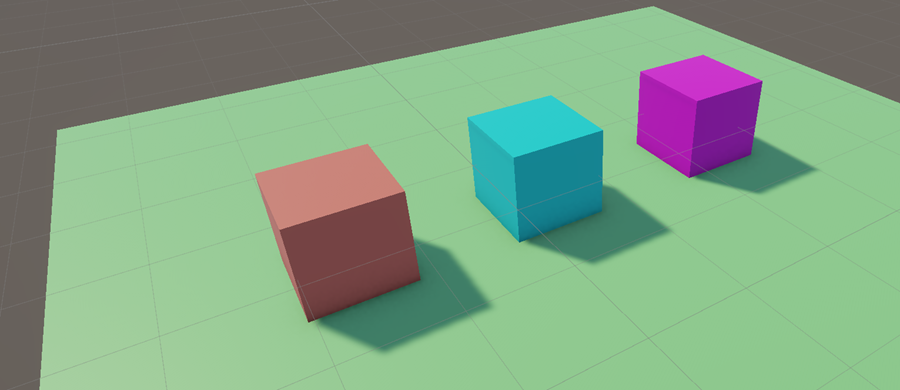
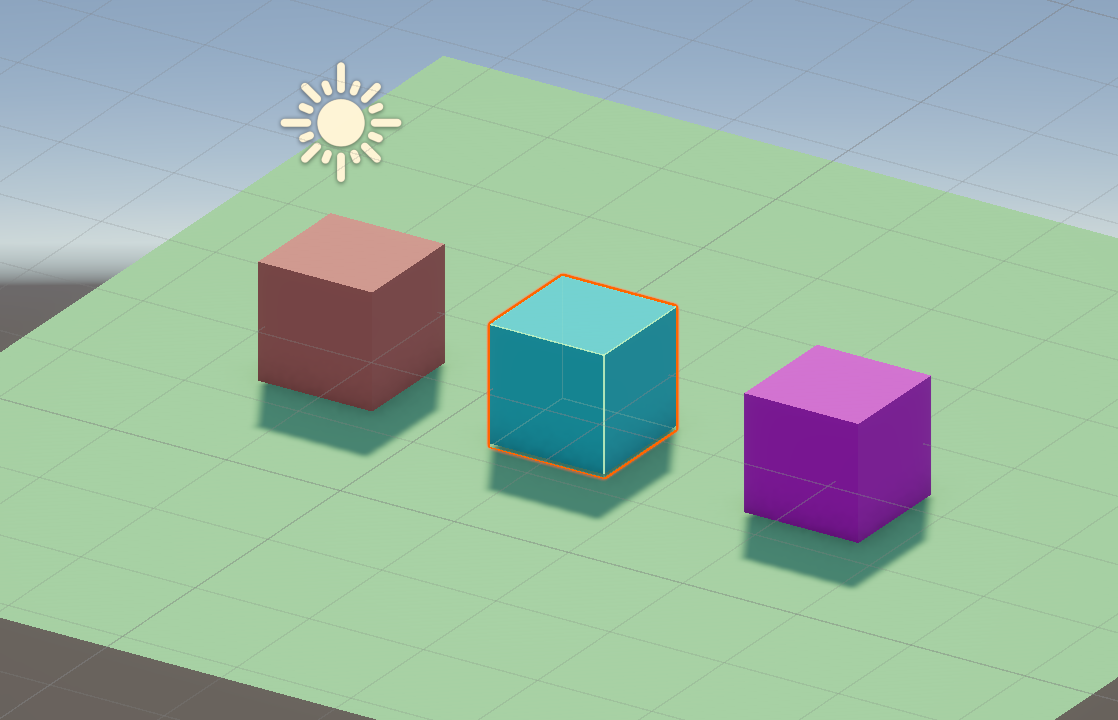
Create a Plane and color it
Create three cubes and color them
Frame an object
Select the Translate/Rotate or Scale tool
Click on a cube in the scene view to select it
Press the F key to frame this object

Zoom in and out
You can use the mouse wheel
Hold ALT key + hold the right mouse button
Wait for the cursor to turn into a magnifying glass
Move left and right
Pan
The camera will move up/down left/right
Press Q to activate the View tool, the cursor becomes a hand
Hold the left mouse button
Move in any direction
Look around
The camera rotates on itself, as if you were turning your head.
Press Q to activate the View tool
Hold the right mouse button, the cursor becomes an eye
Move in any direction
Orbit
The camera rotates around like a satellite around the Earth.
Hold the ALT key + hold the left mouse button and move
Fly
This feature only makes sense if you are using an ENG keyboard mapping.
Hold the right mouse button
Press A/D to move left and right
Press Q/E to move up and down
Press W/S to move forward and backward
Perspective and orthographic views
On the top-right corner, right-click the gizmo
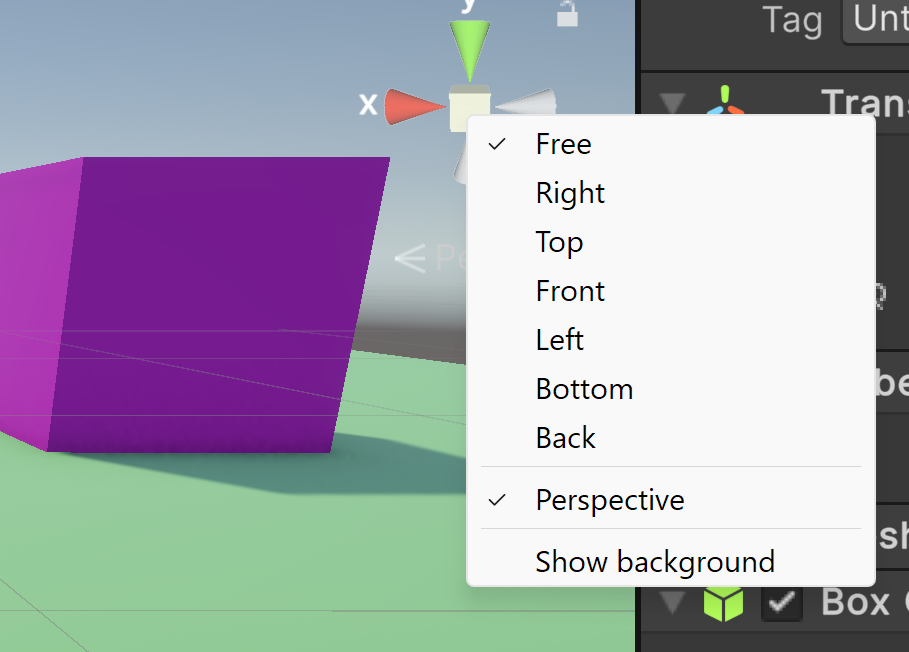
Disable Perspective to enter Isometric view (No distortion based on distance)
Click on the cone-shaped gizmos to activate different views:
Top / side / front / back views:
Right-click the gizmo and reactivate perspective
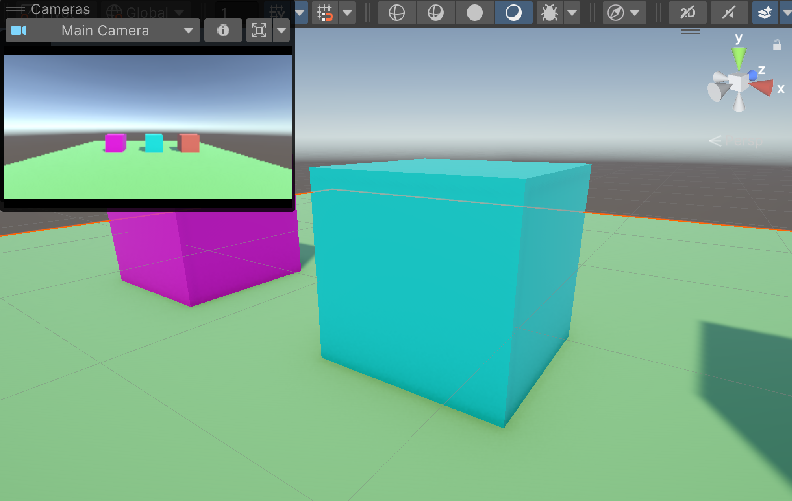
Camera preview
In Unity, the Camera GameObject is similar to a physical camera on a movie set. Adjusting the camera’s position, rotation, and field of view allows you to frame your scene just as a cinematographer would.
In the Hierarchy, select the camera

In the Inspector, note that the camera is an object like the others objects. It has:
A Transform node.
Some internal property.
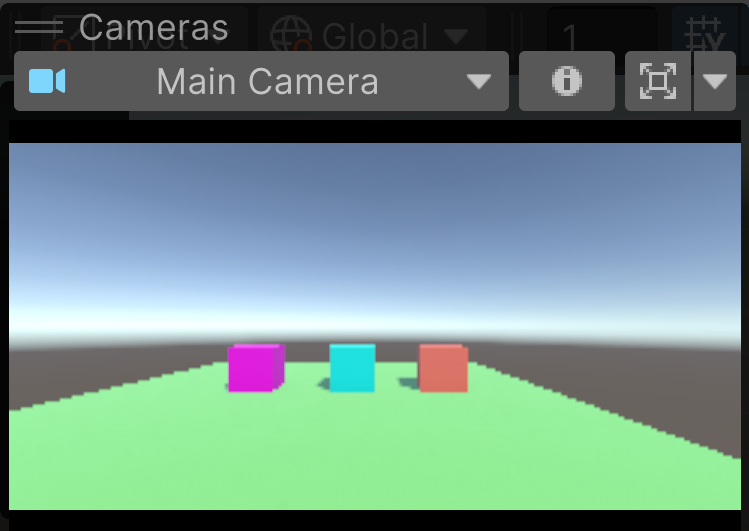
In the toolbar at the bottom of Scene view, select the camera icon:

This opens a panel that previews what the camera sees:
In the Inspector, change the values of the field of view to 90°:
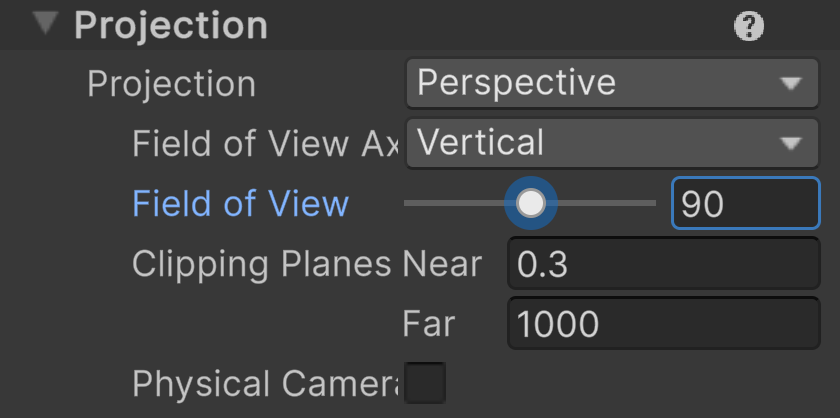

Reset value to 60
Select the Move tool
Select the camera and change its position in the scene:
Align camera with scene view
Select the cube in the middle and press F to frame it
Zoom out to reduce its size
Being very happy of this view, we would want the camera to capture the same
In the Hierarchy, right click on the camera and select Allign with view

Press the Play button to see the result
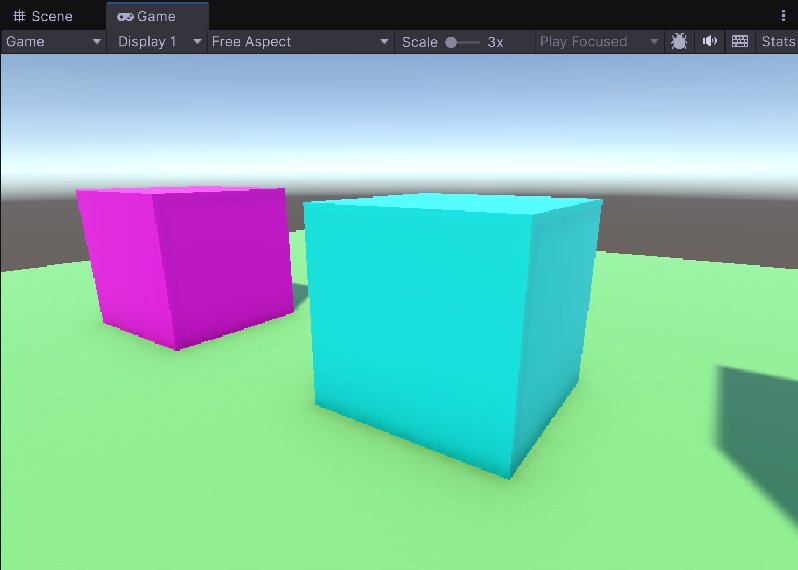
Exit Play mode by pressing Stop button
Snap object
When you create objects in your scene, you’ll notice it’s not always easy to align them perfectly with the ground. To solve this problem, you have different options:
Make calculations and enter the exact x, y, z position
Being lucky
Slowly move the object while fully zoomed in, to position it as accurately as possible
Raise all objects above the ground and rely on gravity to make them fall and rest properly on the ground
Snap them
Snap to vertex
Select the cube in the center and move it upward
Adapt your view to see the gap between the cube and the ground

We now describe how to snap the cube:
Part 1: select a vertex of the cube
Check that the move tool is active
Hold on the V key
Move your cursor to one of the bottom vertices of the cube
Click without releasing on the bottom vertex you selected
Gizmos disappear
A thin yellow square appears
Part 2: snap to vertex
Move your cursor to a vertex of another cube
See the results
In case nothing goes as you wanted, perform an UNDO with CTRL+Z.