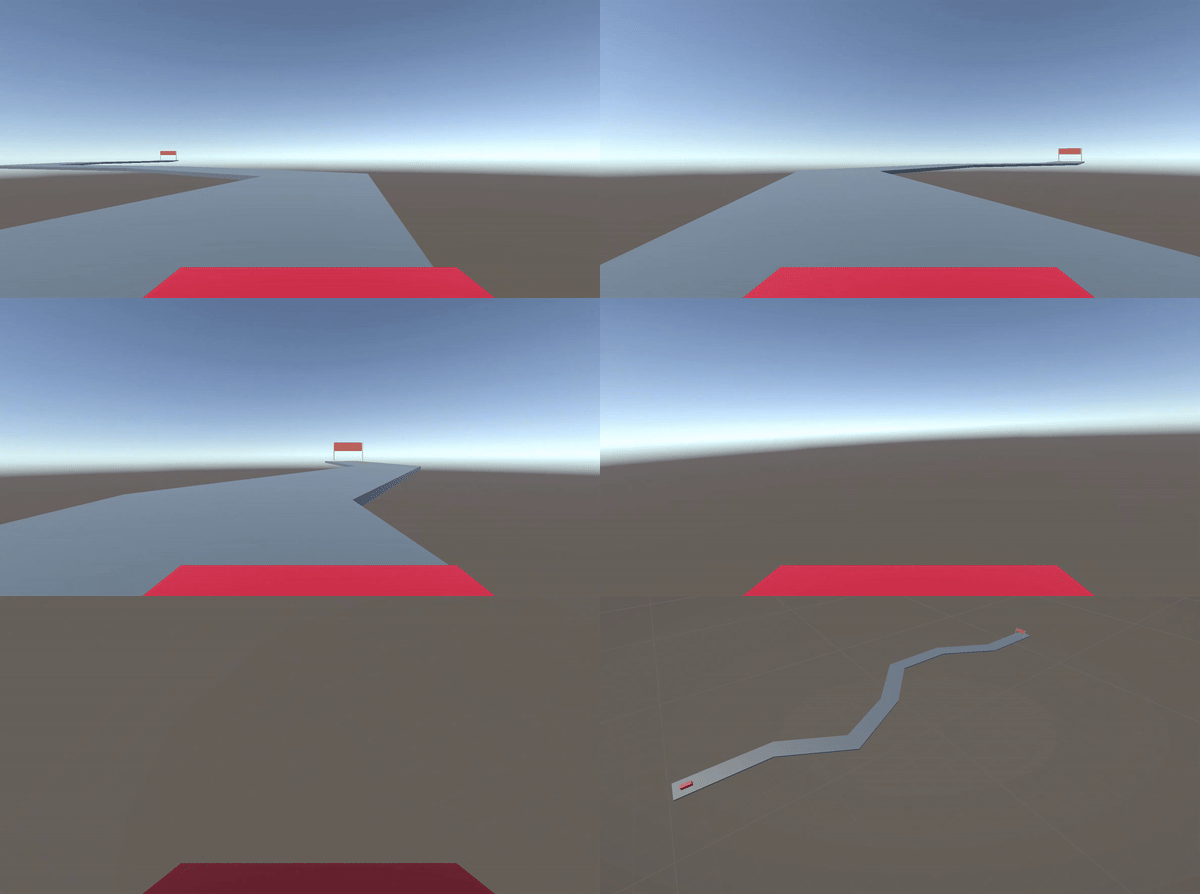
MiniGame1: GrandPrix Monaco
You will:
How to find information
Manage Input
Control a car by translation/rotation
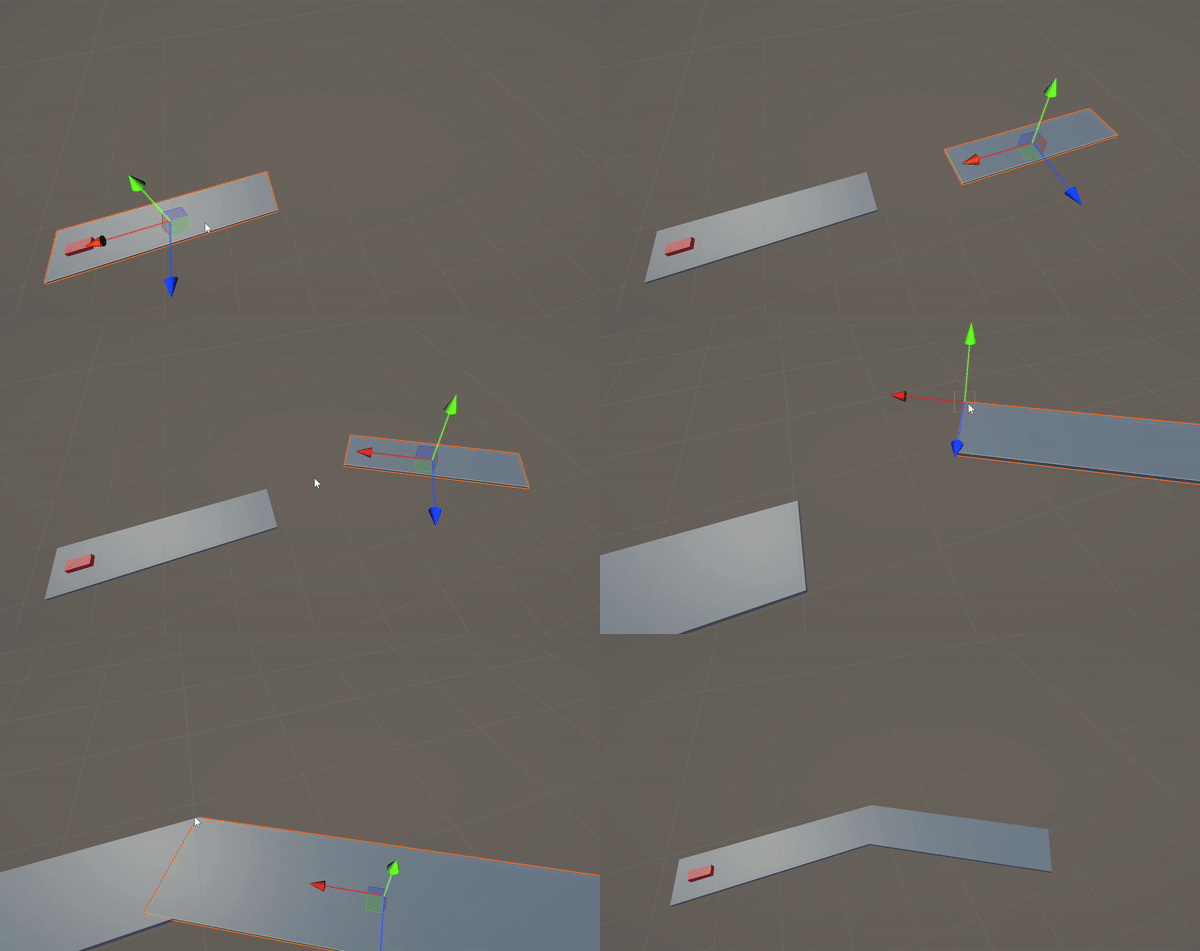
Snap vertex
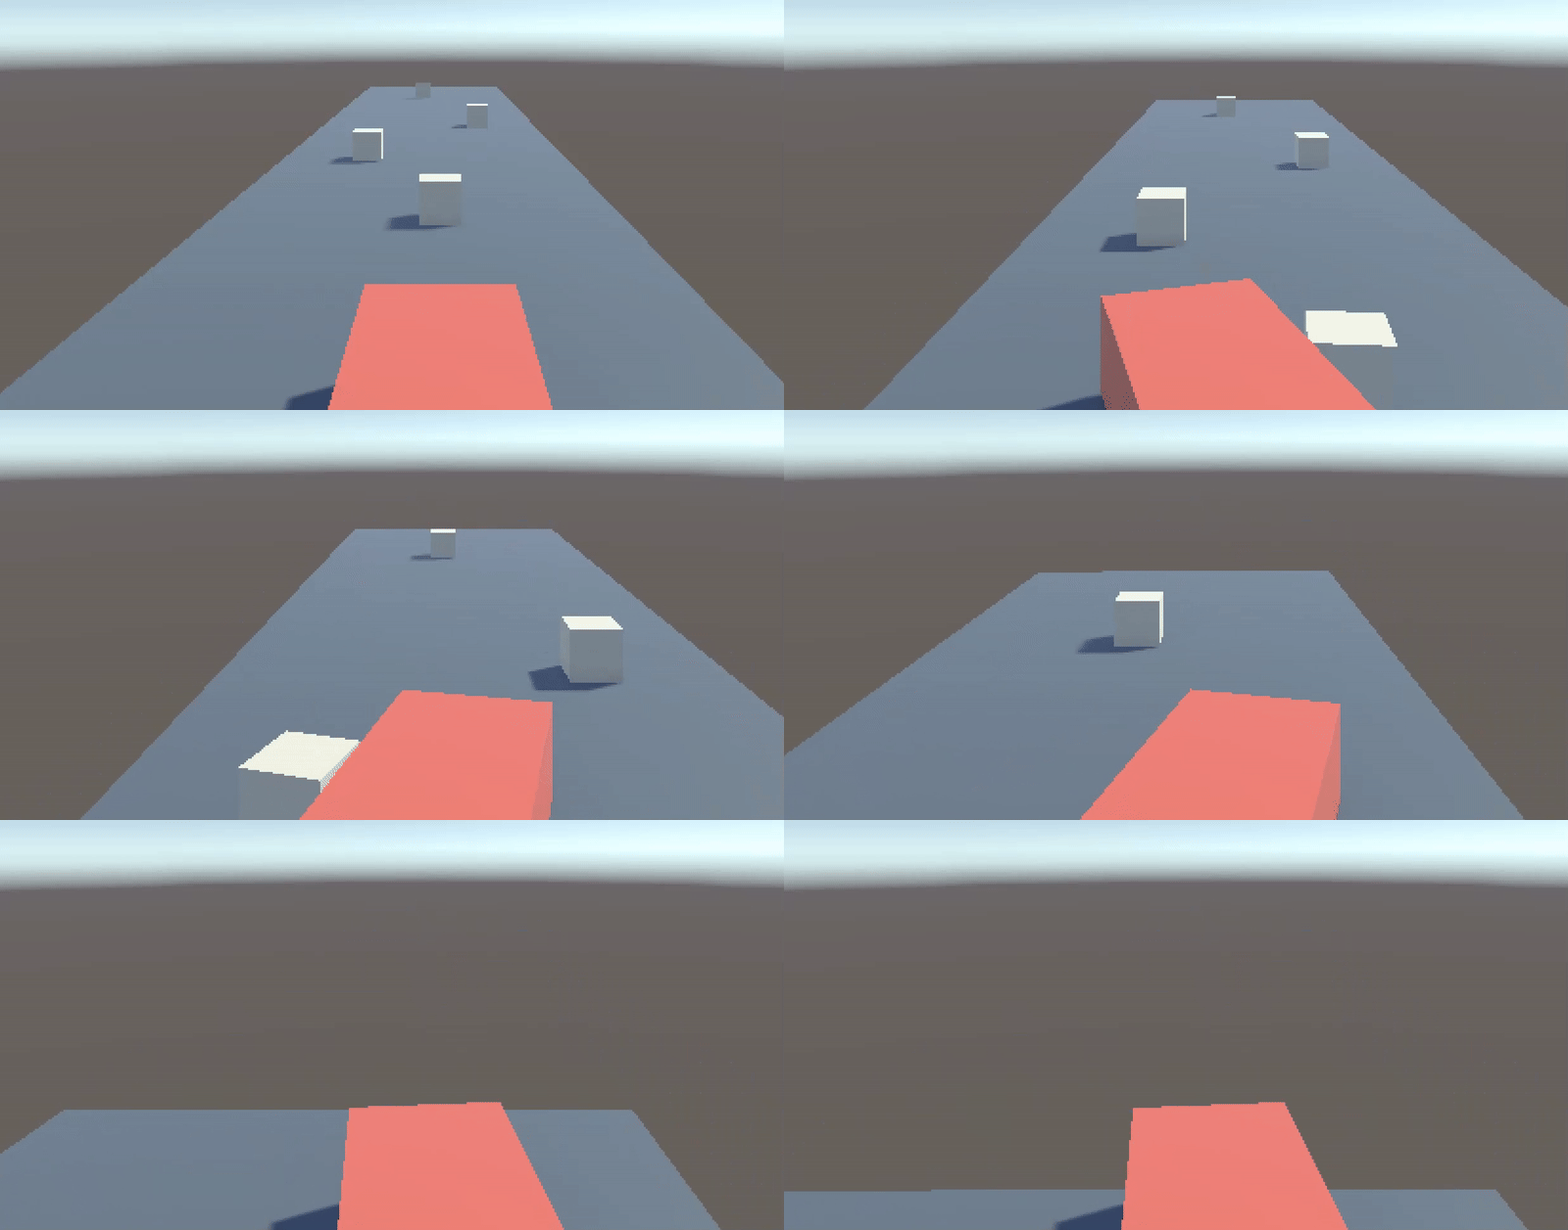
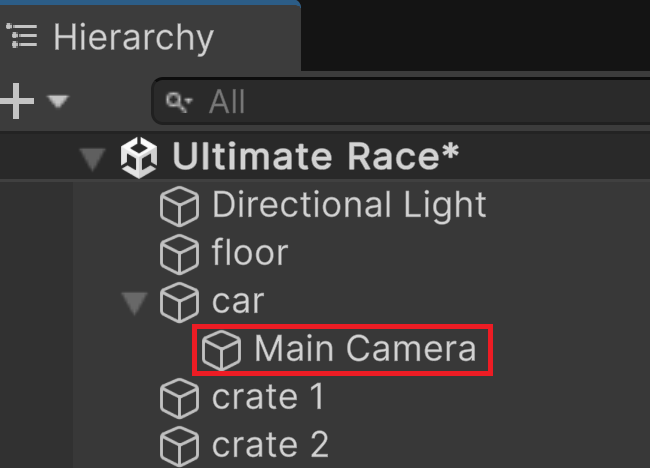
Create a chase camera
Build a track
End the race using a finish line
How to search
Suppose you want to know how to rotate an object, here are some of the simplest and most efficient methods:
Indication

If you do not know the name of the function, ask for how to rotate in unity
If you already know the function name: ask for Unity Rotate

With IntelliSense - Autocomplete
Type: Rotate(
Use up/down arrows to see the different options

Please ask for how to do it, not just to do it
Fore example: Rotate in unity using c#

Outside of a specific topic, watching a 15-minute video to find an answer that only takes 10 seconds to explain is quite time-consuming.
Refresher
How to manage your view:
F key: center an object.
Right-click: look around.
ALT + Left-click: rotate camera while focusing on the selected object.
ALT + Right-click: zoom in & out.
Mouse wheel: zoom in & out.
Hold mouse wheel + mouse move: pan.
Car Controls
Scene Layout
Input.GetAxis()
Unity combines both keyboard and joystick inputs through the Input utility class. By using the function GetAxis(« Horizontal »), we retrieve information about horizontal movement from either the arrow keys or/and the joystick.
Create a new script and attach it to the car
Set its name to CarControler
Paste the following code
using UnityEngine;

public class carControler : MonoBehaviour
{
        void Start() { }

        void Update()
        {
                float v = Input.GetAxis("Horizontal");
                Debug.Log(v);
        }
}
Enter Play mode
Use the left and right arrow keys and observe the values returned by the GetAxis function.
Note
Unity seems to simulate joystick behavior through keyboard keys. For example, when we press the right arrow key, Unity smooths the return values from 0 to 1.
Physic’s law
In unity, rotations use degrees. We recall the formula that gives the rotation angle based on the rotation speed and the time interval:
Let’s turn
We want to make our vehicle rotate at a maximum speed of 30°/sec.
Add a public float variable turnSpeed in your script
In the update() function, add these lines:
float dt =  Time.deltaTime;
float hInput = Input.GetAxis("Horizontal");
transform.Rotate( ... );
Check the documentation of the Rotate function
Using a simple operation, make it so that:
When input is 0, nothing happens
When input is 1, the vehicle turns at the speed turnSpeed
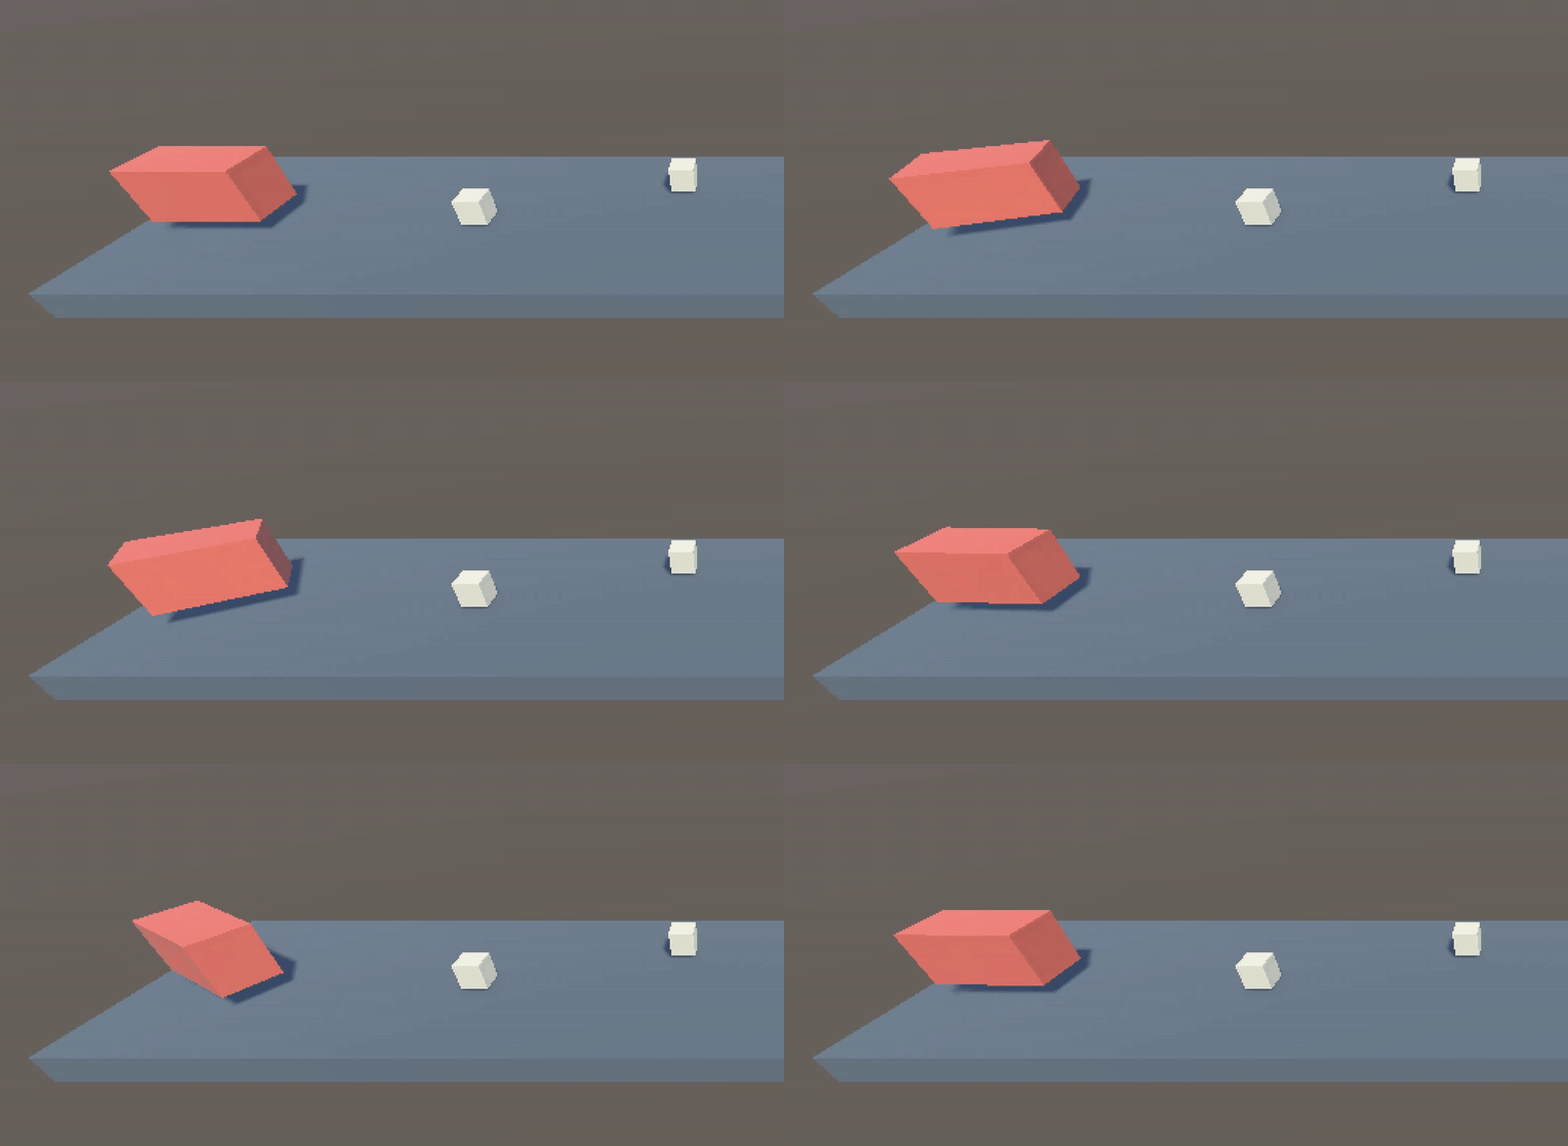
Help in case nothing works
using UnityEngine;

public class carcontrol : MonoBehaviour
{
        public float rotSpeed;

        void Start() { }

        void Update()
        {
                float dT     = Time.deltaTime;
                float hInput = Input.GetAxis("Horizontal");
                transform.Rotate(Vector3.up, rotSpeed * dT * hInput);
        }
}
Go forward
We want our vehicle to drive at a maximum speed of 30m/s.
Buid a track
Chase camera
We want the camera to follow the vehicle
Finish line
Add more fun
As you may have noticed, the car doesn’t fall when it goes off the track. To make things more fun and a bit more challenging, we’re going to simulate gravity. We’ll give a brief overview of the process here, as it will be covered in more detail in an upcoming chapter.
Select the Car GameObject
In the Inspector, click the Add Component button
Add a Rigidbody component
In the Rigidbody settings, make sure the Use Gravity option is enabled
Enter Play mode and have fun !
