HUD
Canvas
In Unity, a Canvas is a container designed to hold UI (User Interface) elements such as buttons, textbox, and images. In this chapter, we will focus on using the Canvas to create a HUD (Head Up Display) interface. But Canvas can also be integrated into a 3D scene to support text boxes or any other UI elements placed in the scene.
Scene Setup
Navigate to Assets > Scenes
Create a new folder named « Interaction »
Inside this folder, create a new scene called « HUD »
Double click to open it
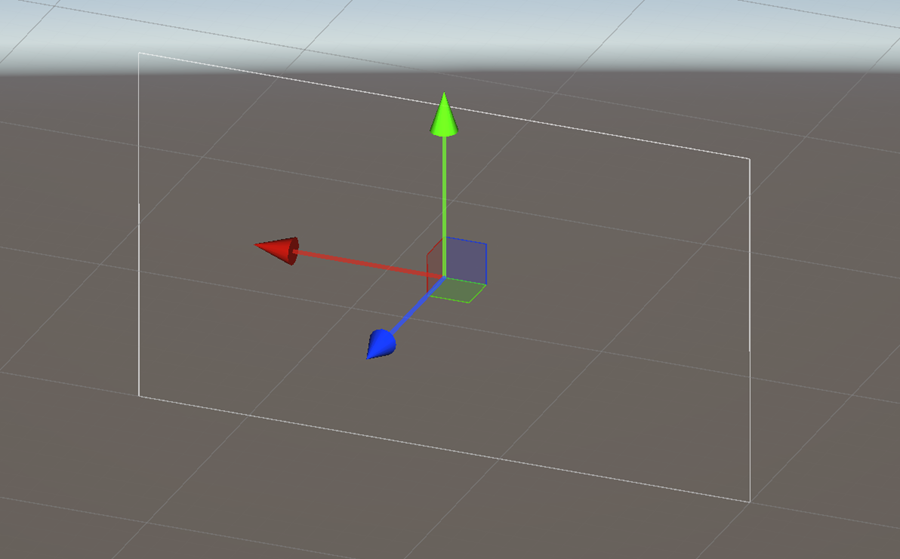
In the Hierarchy, right click and select UI > Canvas
Press F key to center this canvas on screen
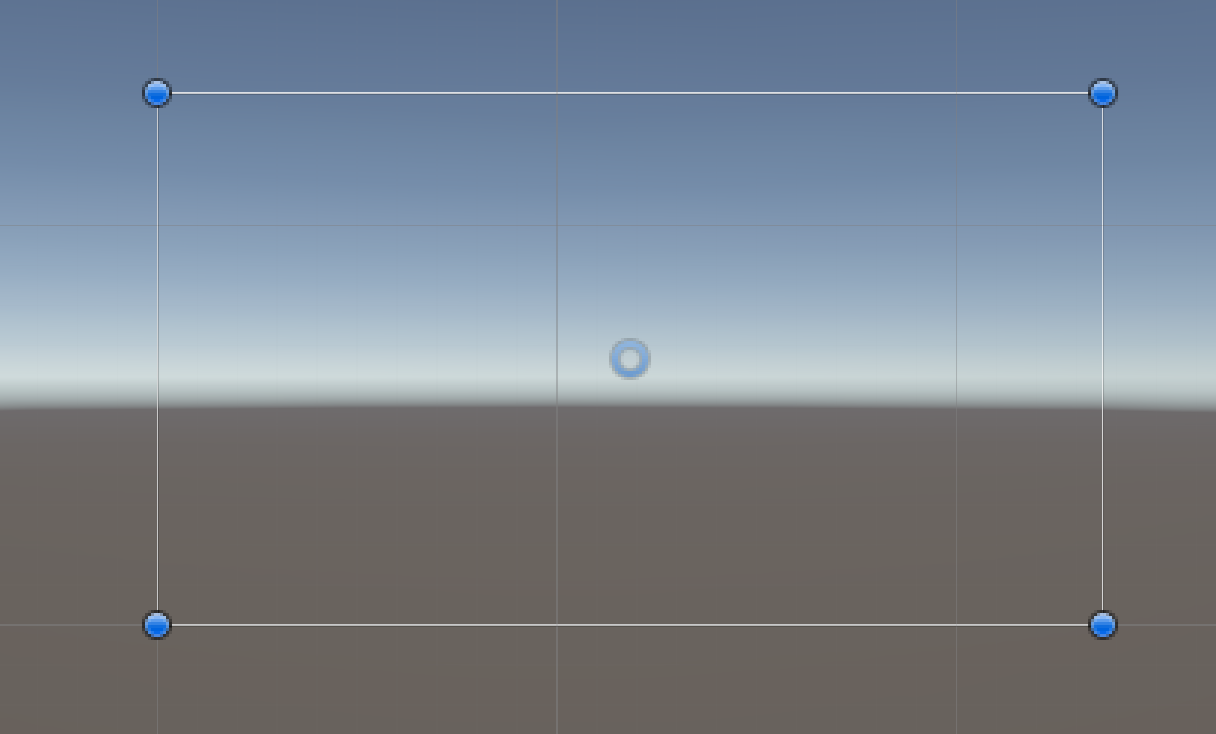
On the top of the Scene view, click on the « 2D » button:

Now, you see the canvas from the front:
HUD
Select the Canvas in the Scene view
In the Inspector, in the Canvas section, check that the Render Mode is set to « Screen Space - overlay »
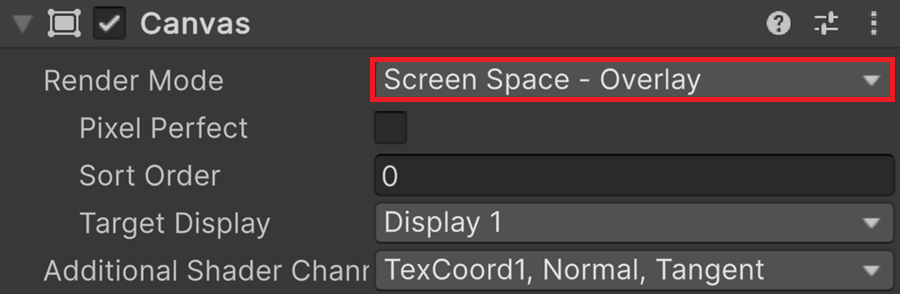
In Unity, Screen Space - Overlay mode renders UI elements directly on the screen, independent of the camera’s position. It ensures a fixed screen position and pixel-perfect clarity. This mode is perfect for static UI elements like:
Health bars
Score displays
Menus and HUDs (Heads-Up Displays)
Notifications and pop-ups
Anchor
We want to ensure that the end user can correctly see the HUD because HUD elements are generally placed in the corners or at the top, bottom, or sides—all risky locations! To achieve this, each element is positioned relative to an anchor, which is set to a specific location such as a corner or a side. This way, if the corner changes position, the anchor will follow, and the element will move accordingly. The remaining danger is that if shrunk too much, HUD elements may collide or overlap. This is another issue that goes beyond our scope for today!
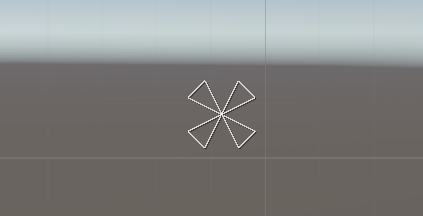
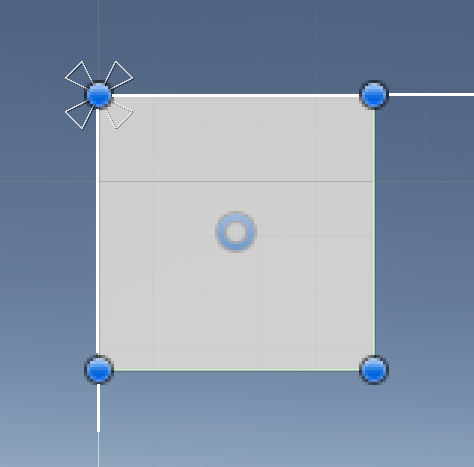
In the Scene view, select a button
Its anchor corresponds to the four-triangle cross in the center of the canvas
In the Inspector, open the Rect Transform section
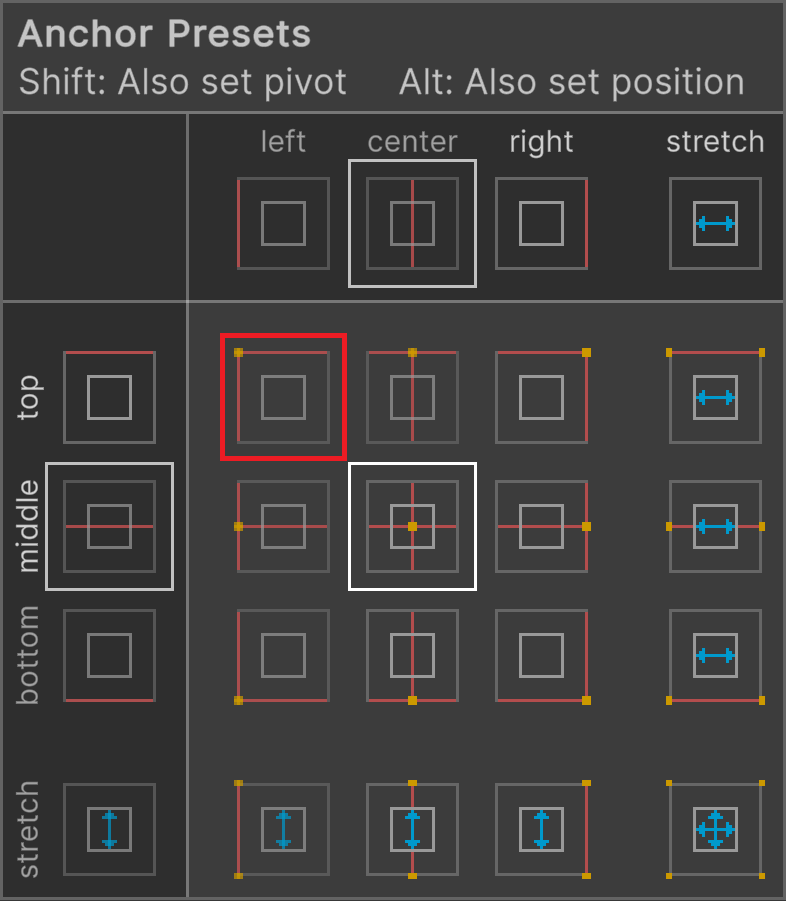
Click on the anchor icon:

Select the top left corner of the canvas as an anchor
Move the button in the top left corner
Select the bottom left button and put it just below the top left button
Change its anchor for the top left corner of the canvas

Enter Game view or Play mode
Try different aspect ratios, and you’ll see that the two buttons remain correctly positioned
UI image
Remove all buttons from the canvas
In the Hierarchy, right click and create an UI > Image in the top left corner
Select the Rect tool
Enlarge the component and give it a square shape by holding the SHIFT key
Change its anchor to the top-left corner
Save this two images inside the Interaction assets folder
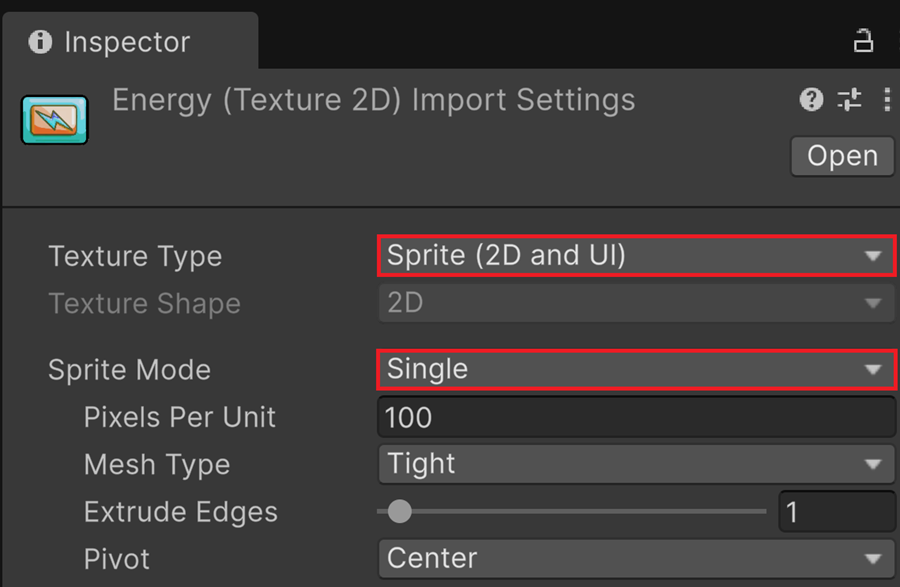
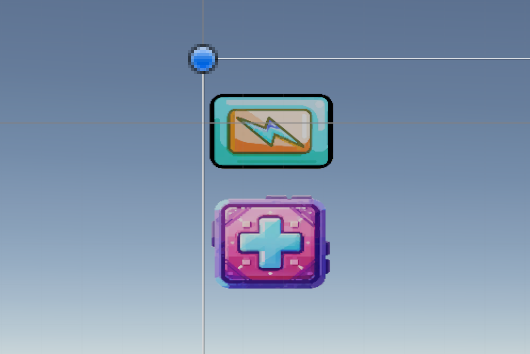
In the Assets folder, select the PNG image of the battery
In the Inspector, select Sprite for the texture type and Single for the Sprite modes
Select the UI-Image in the scene view
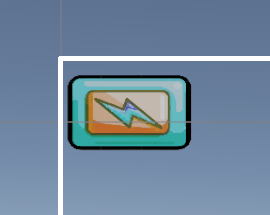
Drag and drop the image from the Assets folder into the Source Image field
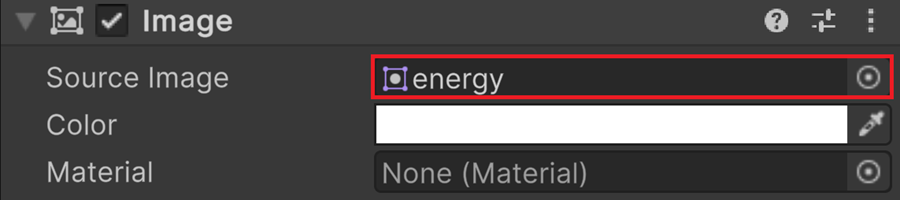
The icon appears in the Scene view
Create a second UI-Image element in the scene view
Put its anchor to the top-left corner
Place the UI-image just below the other
Text
Creation
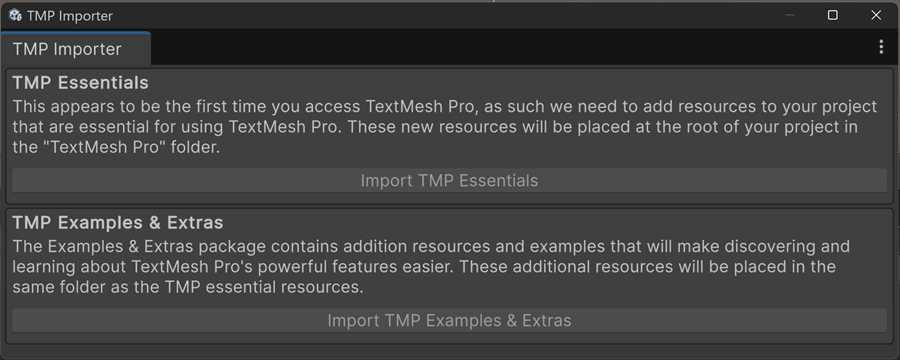
In the Hierarchy window, right click and on the Canvas and select UI > Text - TextMeshPro
You will receive a message box stating that side libraries need to be installed
Please validate
A new text box has been inserted into the canvas
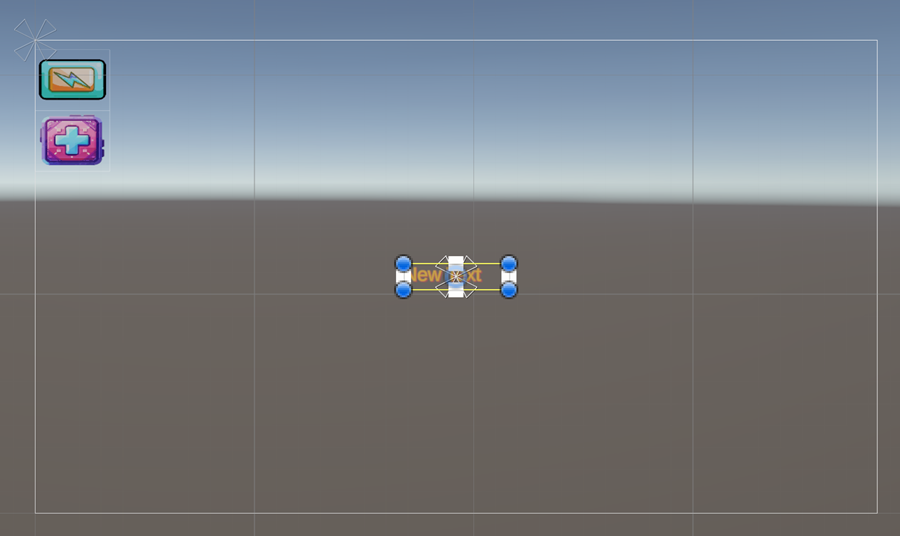
Check that the Rect tool is active
Use the blue handles to extend the text area
Position the textbox to the right of the battery
Avertissement
Do not use the Scale tool to extend a text area, as it will distort the text on screen.
Change its anchor for the top left corner
TMP Material
You have to create a material for each style used by your TextMesh Pro textboxes, otherwise all textboxes will share the same style.
Select the text box
In the Inspector, find the Shader section:

Right-click on the shader name and select Create Material Preset
Now, you can modify text FX without affecting other textbox
Text Attributes
In the Inspector, you can change many attributes of the text:
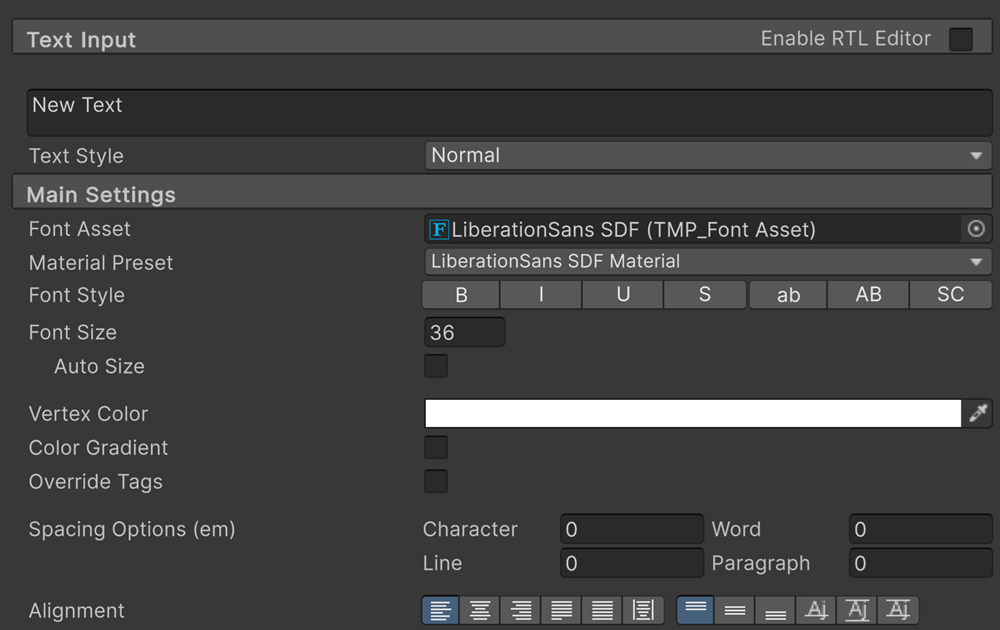
Text input: the text displayed in the label
Font asset: the selected font
Font style: bold, italic, underline…
Font size
Auto size: to automatically fits the label
Vertex Color: text color
Alignment: left/right/center and top/middle/bottom
Avertissement
There exists no parameter to set a background color.
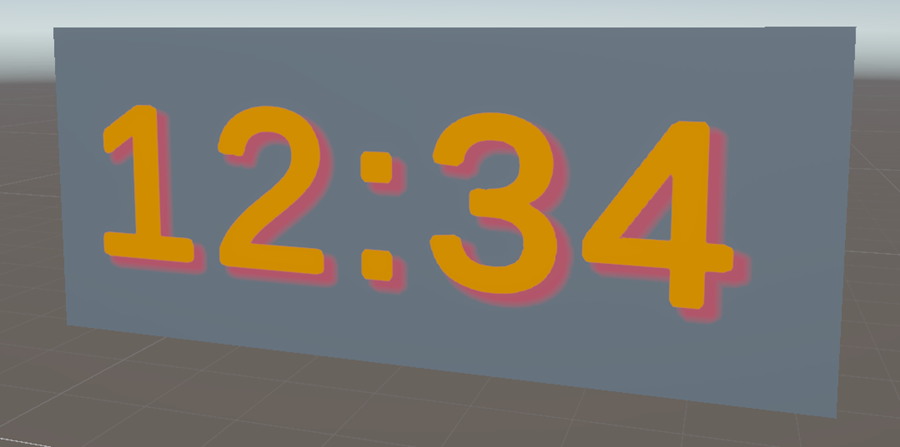
Text FX
In the Inspector, look after the Shader section:
FACE
Color: text color
Softness: blur the font
Dilate: bold or lighten the font
OUTLINE adds a colored border to the text
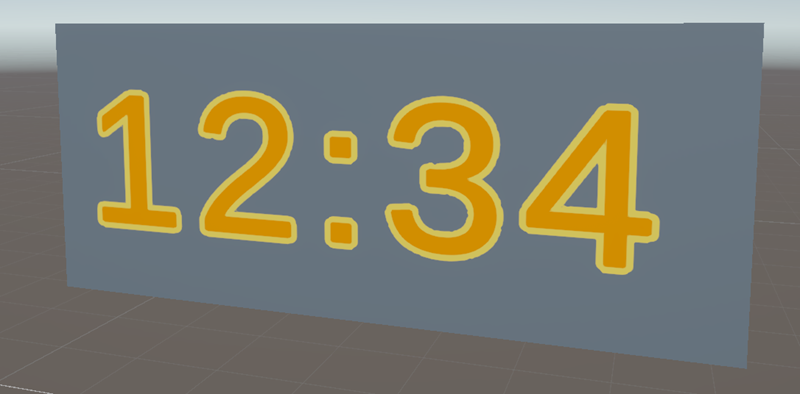
UNDERLAY creates a background offset to create a 3D effect
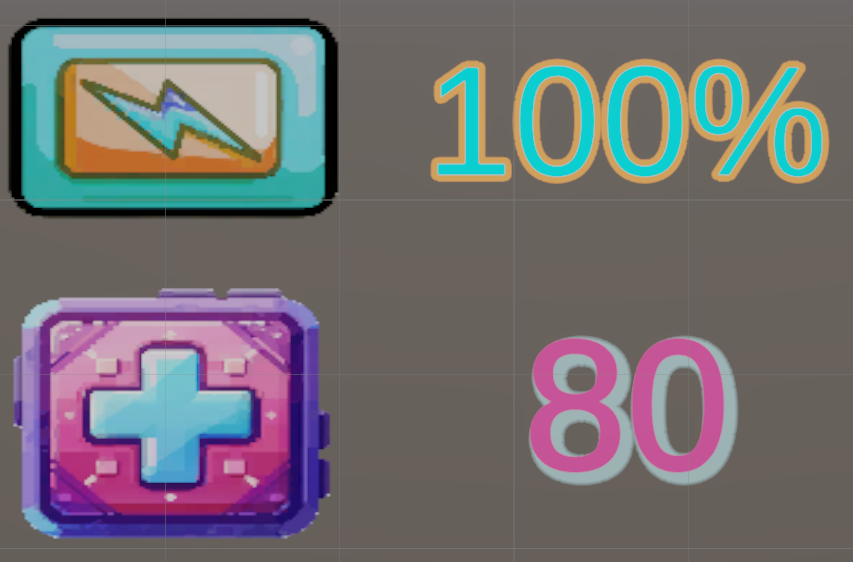
Let’s go
To the right of the battery icon, add text indicating 100%
To the right of the health icon, add text indicating 80
Try to set up styles similar to those below:
Main Scene
GameManager
A GameManager is a central script that manages the global elements of your game, such as:
Scene loading (e.g., loading the HUD, switching between levels)
Managing scores, health, and time
Controlling sound and game settings
Storing persistent data
Handling game states (pause, game over, etc.)
We are going to set up a GameManager:
In the Hierarchy, right click and create Empty
Select this new object and rename it to « GameManager »
In the Interaction folder, create a MonoBehaviour script named Manager
Attach the script to the GameManager object
Open the script
Add two private variables: HP and energy
Add their public getter / setter
In the setter function, modify the value of the textbox in the HUD
How to call a method of the game manager from any GameObject:
GameObject B = GameObject.Find("GameManager");
ScriptA gameManager = B.GetComponent<Manager>();
gameManager.MyMethod();
Interaction
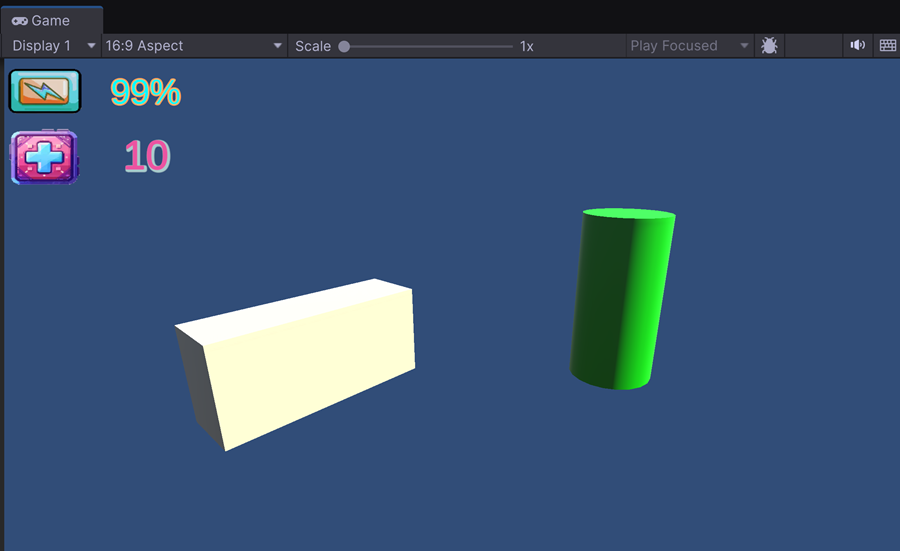
In the main scene, create a 3D white box to represent a health pack
Create a green cylinder to represent a barrel of toxic waste
Enter Play mode
Create a script named healthpack
Associate this script to the health pack in the scene
Use the void OnMouseDown() function to modify HP:
using Unity.VisualScripting
using UnityEngine;

public class healthPack : MonoBehaviour
{
        ...

        void OnMouseDown()
        {
                ....
                gameManager.SetHP(100);
        }
}
Enter Play mode and click on the health pack, it should change the health
Create a script for the barrel
Remove 10 health point each time the user clicks on this toxic barrel
Enter Play mode to test:
