MiniGame3: Sumo Ball
New game mechanics
A gameplay mechanic is a rule or system in your game that ideally makes the game more interesting to play.
In this project, we will introduce a new gameplay mechanics called powerups: a temporary state that will give the player an advantage. There are not only super fun for the player to use, but can completely change the way a game is played. Now the user needs to decide:
Should I go for the powerup now ?
Maybe should I save the powerup ?
What should I do when I get the powerup ?
All the new questions and strategies will suddenly emerge and make your game more interesting.
Another game mechanic is: if you defeat all the enemies, a new wave will appear with one more enemies than the previous one, increasing the difficulty over time. This also completely changes the way the game can be played, because instead of being a static experience, that the player can quickly master, and become bored of, it has limitless potential to challenge even the most expert players. These two gameplay mechanics: powerups and increasing difficulty go hand and hand, because as the game increases in difficulty, you can introduce new powerups to match it. This combinations removes all limitations, adding a tougher enemy can be counterbalanced by introducing a more powerful powerups. The sky is the limit here !!!
In this game, you will learn to:
Create a focal point for the camera
Create controllers
Apply forces to move the characters
Limit speed of the characters
Create a combative IA
Handle powerup and superpower !
Use coroutine
Scene Layout
In the Asset Folder, select the folder MiniGames
Create a new scene called SumoBall
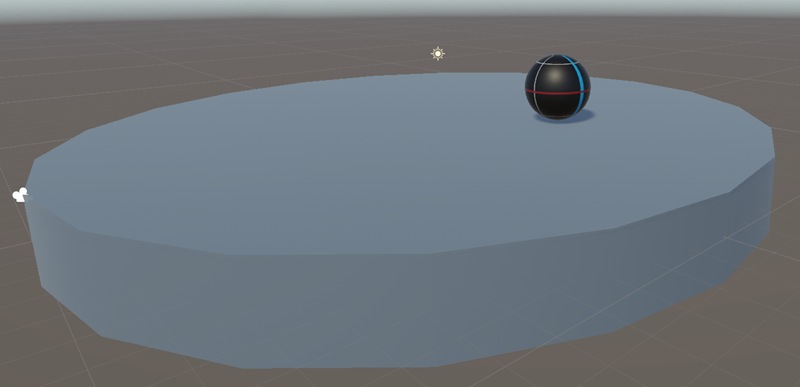
Create a cylinder with a 20m diameter to create the arena
Remove its capsule collider that is inappropriate
Add a mesh collider that perfectly fits the shape of the arena
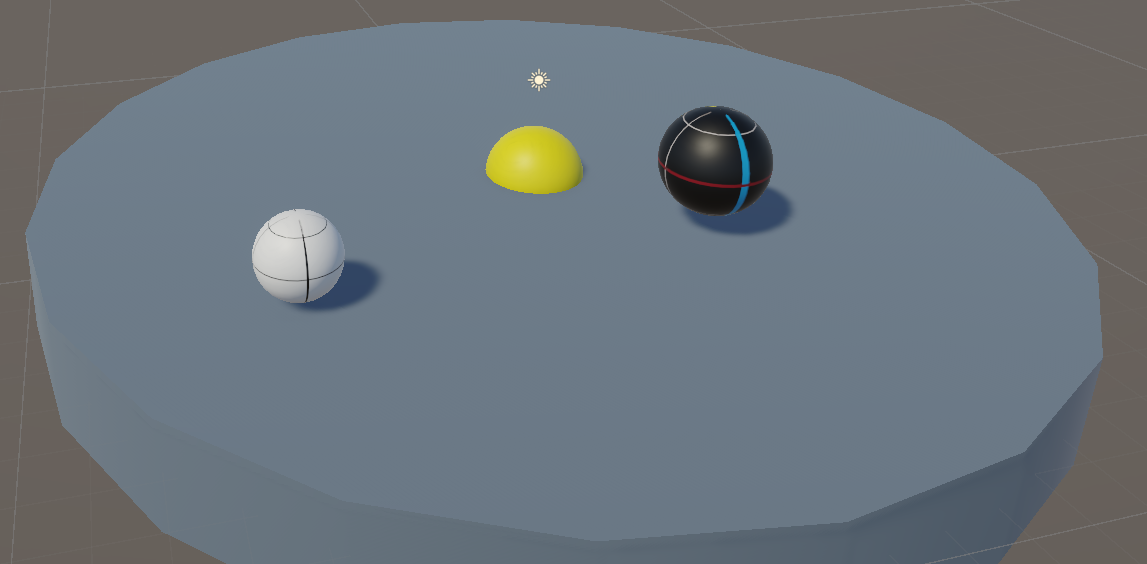
Create a sphere of 1.5m for the player
Add a RigidBody component to simulate physics
Download the texture file
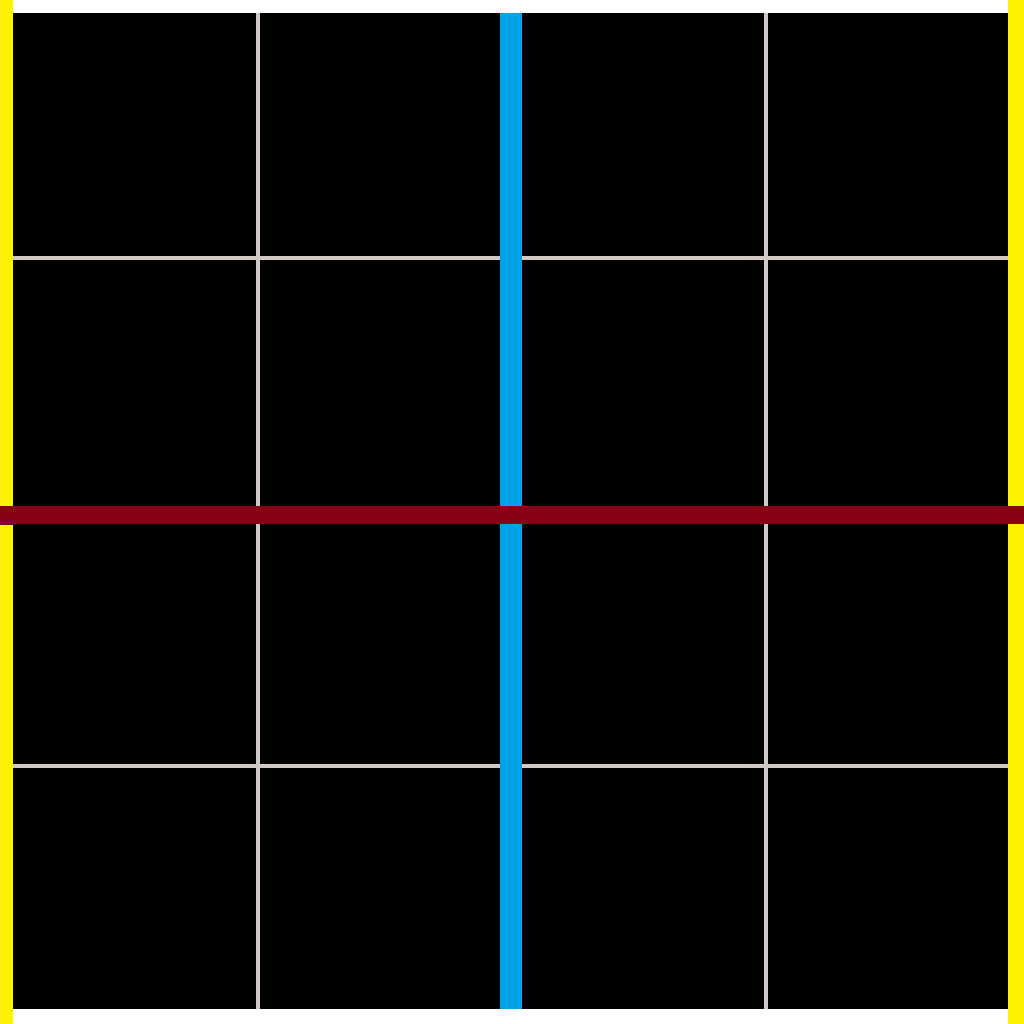
balltexture.pngDrag and drop this file in the Sumo folder
Drag and drop the texture from the asset folder to the sphere on the scene
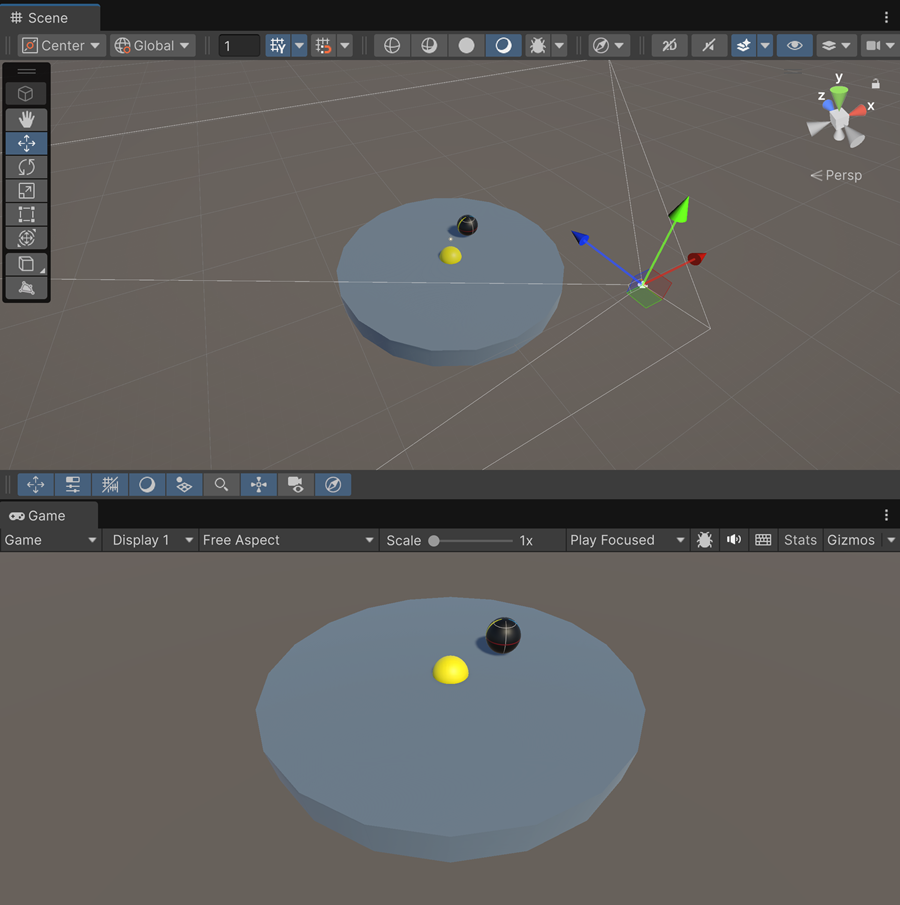
Focal point
If we want the camera to rotate around the arena in a smooth fashion, we need to pin it to the center of the combat zone.
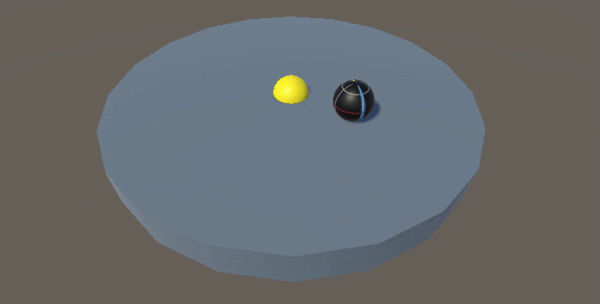
Create a sphere centered on the arena
Color it yellow
Disable its collider
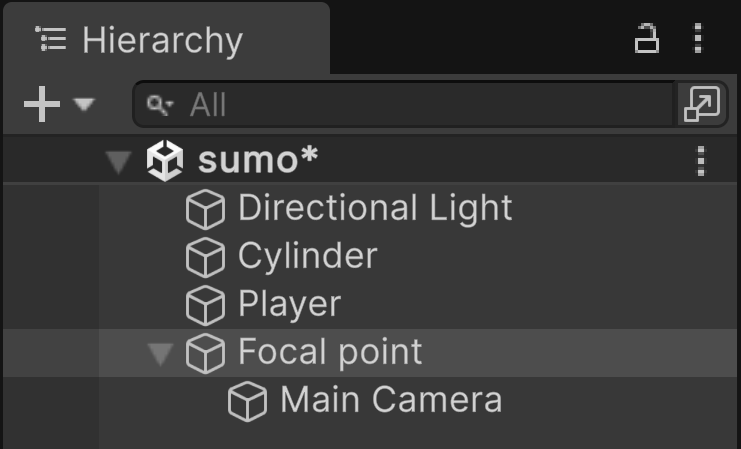
In the Hierarchy window, drag and drop the main camera on the player sphere:
Change the default unity layout for 2by3
We can now see the Scene window and the Game window together
Move the camera to view the scene from above
Activate Default Layout
Note
Since the camera is placed in the frame of the yellow sphere, when we rotate this sphere, the camera also moves. However, from the camera’s point of view, the yellow sphere is fixed and acts as a focal point. Thus, by rotating the sphere in the scene, in the camera’s view, it is the game area that appears to rotate.
Create a script and attach it to the yellow sphere
Copy paste the code below:
void Update()
{
   transform.Rotate(Vector3.up,0.1f);
}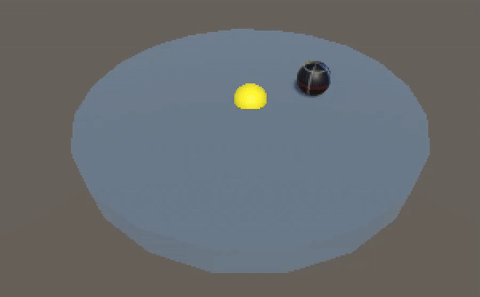
Camera controller
We use the E and A keys to control the rotation of the camera around the battle arena.
In the script of the yellow sphere, add a public variable rotSpeed
Make the camera rotate around the focal point using the Input.GetKey() function
Beware, it is configured for a QWERTY keyboard layout
Help in case nothing works
void Update()
{
        float dT = Time.deltaTime;

        if (Input.GetKey(KeyCode.Q))
                transform.Rotate(Vector3.up, rotSpeed * dT );

        if (Input.GetKey(KeyCode.E))
                transform.Rotate(Vector3.up, -rotSpeed * dT);
}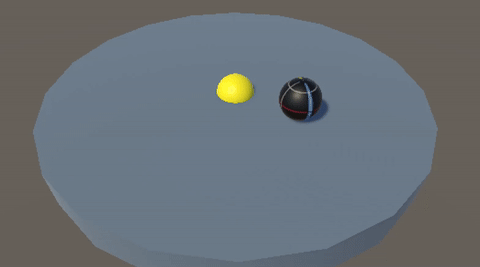
Player controler - V1
Select the Player
Add a Rigidcomponent to it
Create a script and attach it to the player
Note
We use the up and down arrow keys to apply a force to the ball, pushing it upward or downward. Since physics is managed by the Rigidbody component, we first obtain a reference to it.
Create a public variable intensity
Copy paste the code below
void Update()
{
        float dT = Time.deltaTime;
        float vInput = Input.GetAxis("Vertical");
        Rigidbody rb = GetComponent<Rigidbody>();
        rb.AddForce(Vector3.forward * intensity * dT * vInput);
}
Speed limiter
Test this version and identify its limitations
Note
If the intensity variable is rather low, the ball does not move quickly you have to wait a few seconds for it to reach a proper speed. Then, braking becomes difficult because it requires also few seconds to stop. We can increase the intensity value, but the sphere gains too much acceleration and quickly falls off the scene. Finally, we choose a behavior similar to a bumper car: very fast acceleration but a limited top speed.
Set the value of intensity to 2000
Create a maxSpeed variable set to 10
The rigidbody component allow us to control the physics of the object:
Vector3 velocity = rb.linearVelocity;
Debug.Log(velocity.magnitude);

if (velocity.magnitude > maxSpeed)
        rb.linearVelocity = velocity.normalized * maxSpeed;
Player controler - V2
Now, we want the up and down arrow keys to move the ball in the direction of the camera, do not forget that the view can rotate during the game. To achieve this, we need to compute the vector between the camera and the focal point (the yellow sphere). Using their global coordinates, this task is quite straightforward.
Unity provides a simple way to find an object by its name, and we will use this option to retrieve the two GameObjects. Once we have them, we obtain a 3D vector. Since the camera is positioned above the scene, we set the vertical component to zero and normalize the vector to ensure it remains horizontal. This resulting vector will then be used to propel the ball.
Find an object by name: GameObject.Find(…)
v.Normalize() normalize the Vector3 v
Help in case nothing works
float dT = Time.deltaTime;
float vInput = Input.GetAxis("Vertical");
Rigidbody rb = GetComponent<Rigidbody>();

GameObject cam    = GameObject.Find("Main Camera");
GameObject center = GameObject.Find("Focal point");
Vector3 V = center.transform.position - cam.transform.position;
V.y = 0; // horizontal vector
V.Normalize();

rb.AddForce(V  * intensity * dT * vInput);
Now we want to use the left and right arrow keys to move perpendicularly. For that, we need to rotate the vector V by 90°, we can ask to unity to create the corresponding rotation matrix and compute the rotated vector:
vector3 V2 = Quaternion.Euler(0, 90, 0) * V;
Use the left and right arrow key to propel the ball
Enemy
We add an enemy to challenge the player.
Create a sphere of 2m for the enemy
Rename it Enemy
Add a rigidbody component to simulate physics
Download the texture file
enemytexture.pngDrag and drop this file in the Sumo folder
Drag and drop the texture from the asset folder to the sphere on the scene
Enter play mode
Push the enemy outside
Chase
We give the enemy the ability to bounce the player away.
Create a script and attach it to the Enemy
Add two private references: one for a Rigidbody, one for the player
Add a public variable intensity
For performance optimization, we link this reference only once in the Start() function
public float maxSpeed;
private Rigidbody rb;
private GameObject Player;

void Start()
{
        rb = GetComponent<Rigidbody>();
        Player = GameObject.Find("Player");
}
Apply a force to make the enemy move toward the player
Previous code might help
Apply the speed limiter
Set manually the enemy’s maximum speed to 75% of the player’s speed
Run and play!
Spawn manager
Prefab
Transform the Enemy into a prefab
Delete the enemy currently in the scene
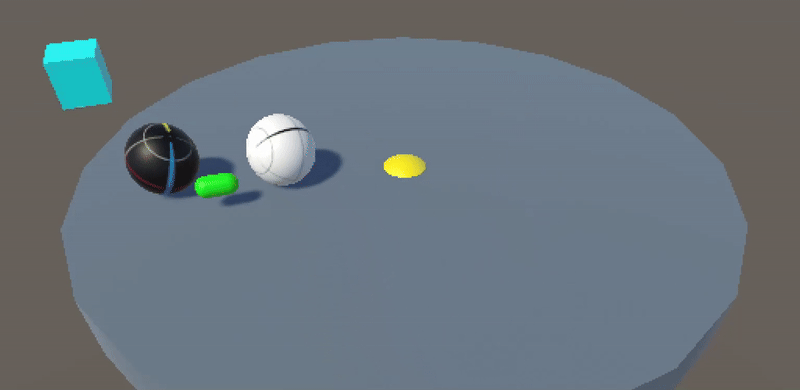
Create a blue cube in the scene outside the combat area
Rename it to Spawn manager
Create a script and attach it to the cube
Add a public variable to link to the prefab
In the Start() function, instantiate the prefab
Enter Play mode and check if the enemy appears
Randomness
Create a function that returns a valid spawn position
Use this code to generate a random float number between -10 0 and 10:
float randomNumber = UnityEngine.Random.Range(10f, 10f);
Generate a random position
Check if the location is inside the circle
If not, pick a new value
Instantiate un prefab by using this function
Powerup
Setup
Create a capsule
Rename it Powerup
Apply a green color
Reduce its size so that it is smaller than the Player
Rotate it to make it horizontal
Assign it to the “Powerup” tag
Edit the player’s script
Add a void OnTriggerEnter(Collider other) function
Check the tag of the other GameObject to be sure it is a powerup
Make the powerup disappear when the Player touches it
Add a public boolean variable hasPowerUp
Set it to true when the players picks up a powerup
Enter Play mode
Check in the Inspector window that the variable hasPowerUp changes to true
Powerup indicator
It should be clear when the player does or does not have the powerup, so we add a visual indicator to display that the powerup is active.
Create an indicator: choose an object/color that you prefer
Create an empty parent to group elements
Disable collider and shadow casting
In the Hierarchy, drag and drop the group into the player
This ensures that the indicator remains centered on the player
In the Player script, enable or disable this group to show/hide the indicator

.
Superpower
Select the Enemy
Assign it to the “Enemy” tag
In the player script, check the collision with an enemy
Check the variable hasPowerUp
Apply a force on the enemy to push it away from the player
Enter Play mode
Avertissement
Normally, you should notice that the enemy is pushed 1 meter away and then it starts chasing the player again. As a result, the power-up doesn’t have much of an effect, so we need to improve our gameplay. We could increase the ejection force applied to the enemy, but this would result in throwing the enemy out of the field in just 1 or 2 tenths of a second, which is too fast.
In order to increase the effect of the Superpower, when the player hits an enemy:
Apply a force on the enemy to push it away from the player
Freeze the enemy AI to prevent it from fighting back
Coroutine
The player cannot keep its superpower all the time. So, we add a countdown to disable the superpower after 5 seconds.
In Unity, coroutines provide a simple yet powerful way to handle tasks without blocking the main thread. Unlike traditional threading or asynchronous programming, coroutines do not create new threads. In Unity, the main thread manages and schedules calls between:
The MonoBehaviour.Update() function of the different GameObjects
The active coroutines
It’s a simple way to simulate multithreading by interleaving function calls to achieve parallel-like execution. Of course, if a function call takes too much time, it blocks the entire system. Therefore, this approach works well only with functions that have low computational requirements.
How can we implement a coroutine to meet our needs?
private void TakePowerup(...)
{
        ...
        StartCoroutine(EndPowerup());
}

IEnumerator EndPowerup()
{
        yield return new WaitForSeconds(5);

        // Stop powerup
        ...
}
In a Unity coroutines, yield (+return) suspends execution until a condition is met (e.g., a delay with WaitForSeconds), allowing tasks to run over multiple frames without blocking the program.
yield keyword
Outside Unity, yield keyword is used in C# in conjunction with the foreach loop: it allows to pause the function’s execution and to resume later when needed.
foreach (int i in ProduceEvenNumbers(9))  {  Console.Write(i);   }   // Output: 0 2 4 6 8

IEnumerable<int> ProduceEvenNumbers(int upto)
{
        for (int i = 0; i <= upto; i += 2)
        {
                yield return i;
        }
}
Why the yield keyword? A function can easily loop through an array all at once, but writing a function that returns values one by one is far more complex. The yield keyword makes this task easier by transforming the full array traversal into an iterator with minimal effort.