Game Assets
If you use Unity 3D primitives, you should obtain a rendering similar to the following:
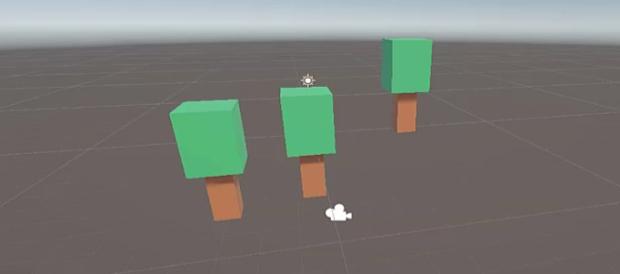
This result is already very good and perfectly suitable for our projects.
However, in order to introduce some variety, we will show how to integrate external assets. To do so, a few rules must be followed:
Do not use resources extracted from existing projects found on the internet or on GitHub…
Do not use resources from the Unity Asset Store
Prefer low-poly assets whenever possible
All asset packs used must be properly credited
No organic assets (animals, humans, monsters), in short anything that requires animation
We strongly discourage the use of the Unity Asset Store. Assets obtained from it are often difficult to manage, may include hidden dependencies, are frequently very large (sometimes several hundreds of megabytes), and can easily become distracting and time-consuming. In short, for beginners, it is not necessarily a good starting point.
Opengameart.org
This website is a good starting point. We can find many modular asset packs used to build 3D environments:
Select : Browse > 3D art
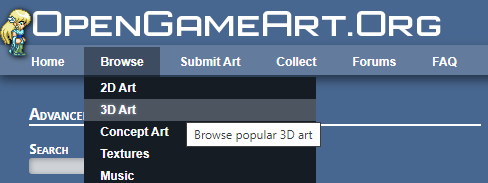
Use the search to search by name of object or artist
Recommended Asset Packs
Modular Dungeon 2 - 3D Models - By Keith
Modular Village - By Keith

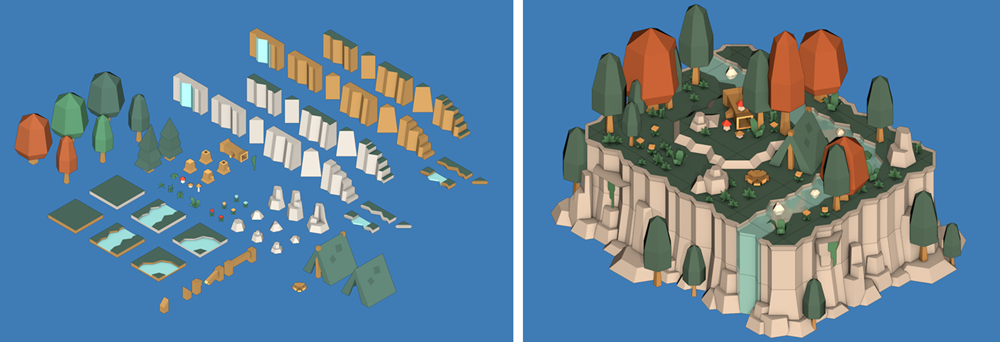
Modular Terrain - By Keith

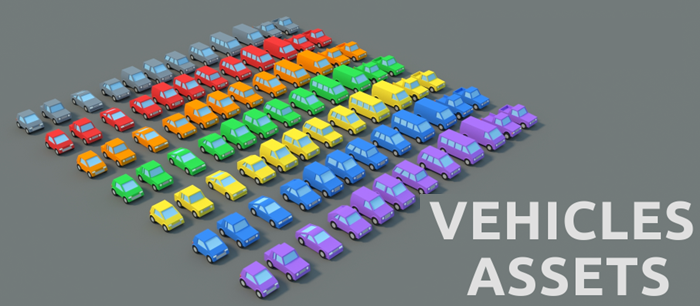
Vehicles assets - By eracoon
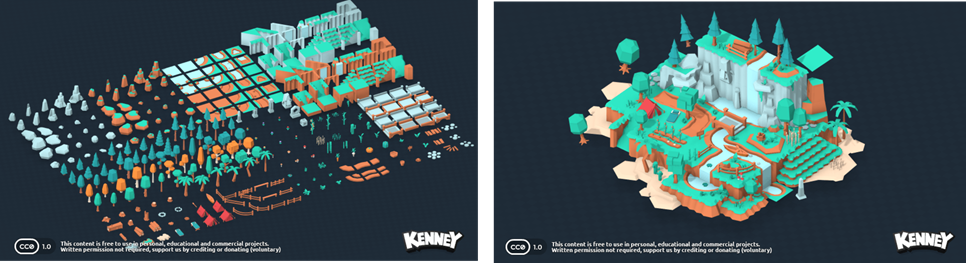
3D Nature pack - By Kenney
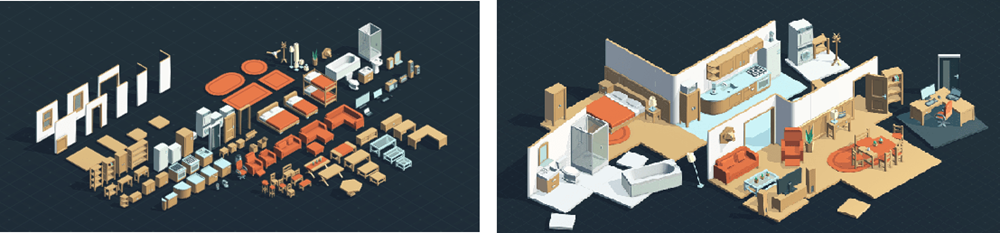
Furniture Kit - By Kenney
Marble Kit - By Kenney
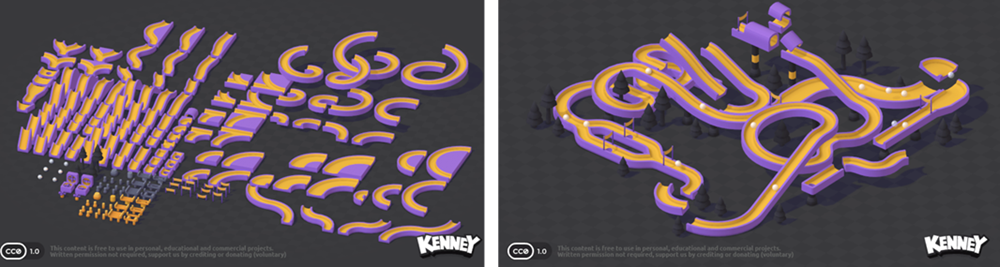
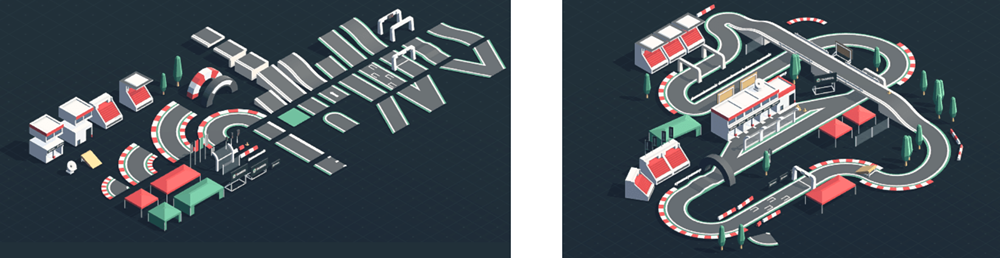
Racing Kit - By Kenney
Nature Kit - By Kenney
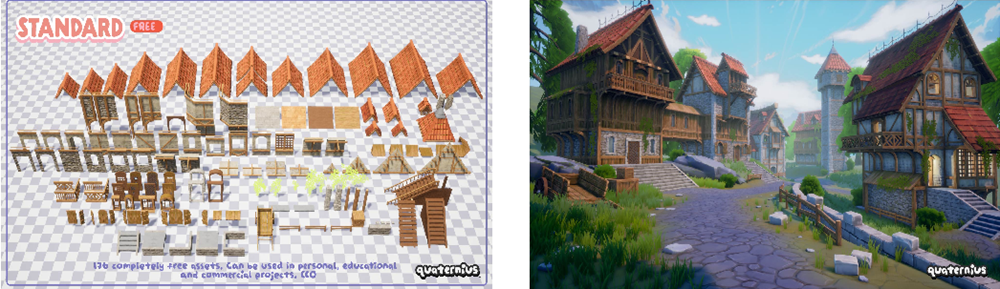
Medieval village megakit - By quaternius
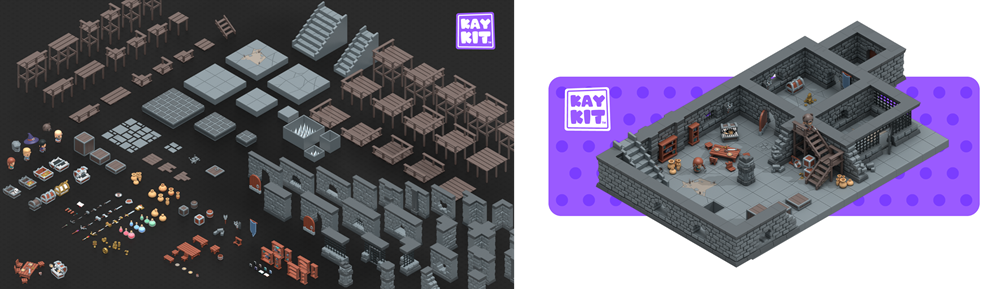
Dungeon Pack - By KayKit
Importing Assets
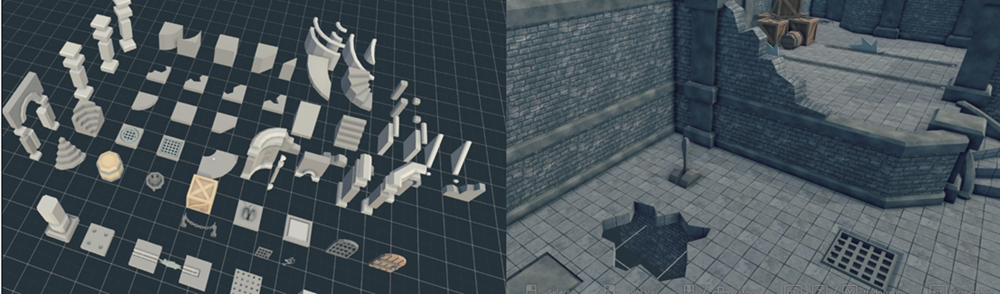
For this example we use: Modular Terrain - By Keith
Follow the link to the modular terrain pack
Download it, extract it
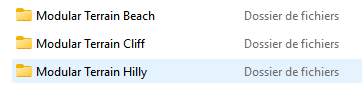
Copy the three folders into your Unity Assets folder
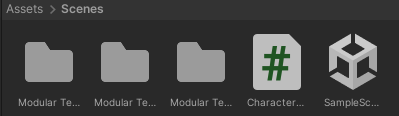
Enter folders and click on the prefab to preview objects

Find the Sand_Flat prefab and put it in the scene, it is basically a cube
Scale it to 50x50 to obtain a large ground
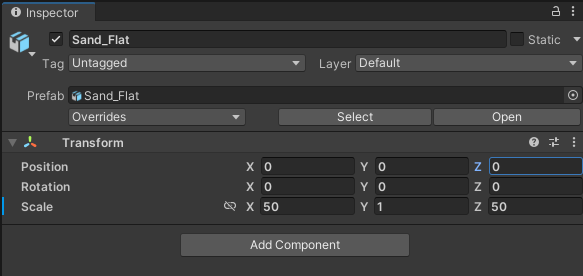
This object has no collider. As a result, objects placed on it will fall through and must be manually vertically adjusted. To fix this and allow objects to rest correctly on the ground, add a Box Collider.
Add a box collider to the ground
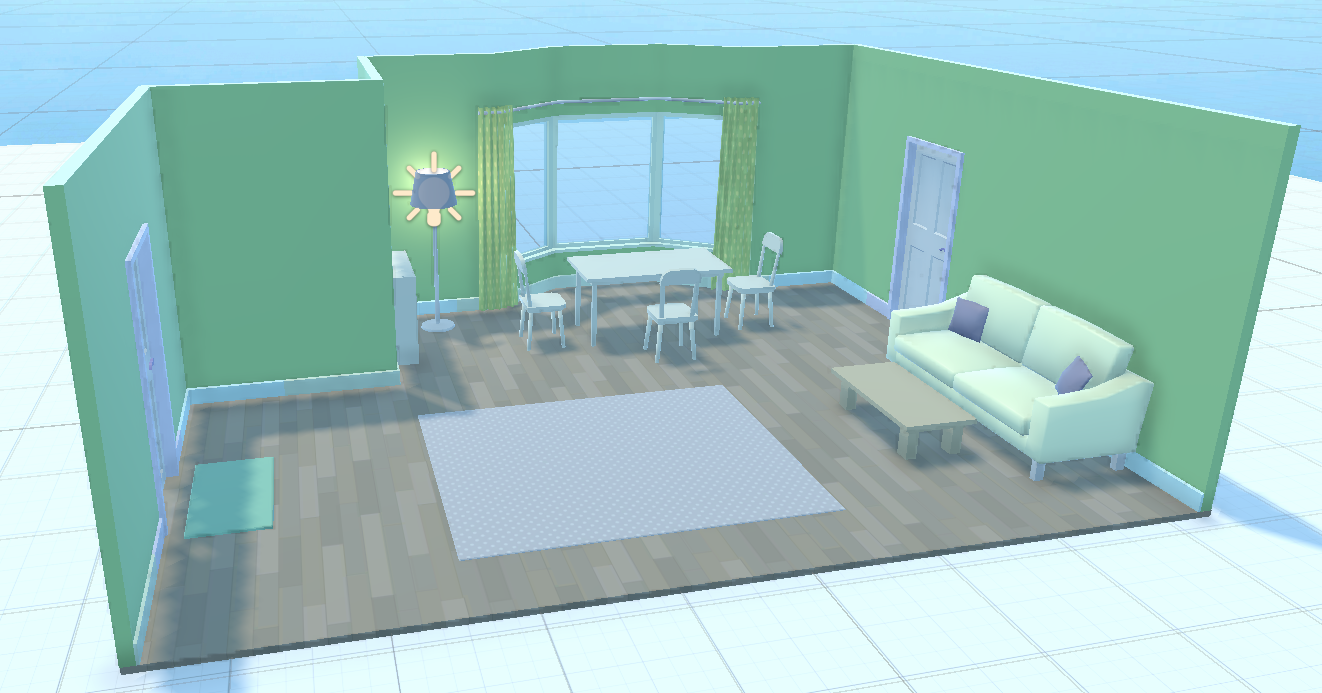
Drag and drop some prefab and create your first scene
Import Issues
Importing an asset package is often problematic. Many issues can arise and usually need to be fixed manually. For example, you may encounter:
Missing texture/material
Broken link to the texture/material
Holes in geometry
Missing collider
Incorrect scale
Incorrect normals
Missing UV mapping
Duplicate materials
Excessively high polygon count
Incorrect object orientation
Single mesh (doors merged with the house)
…
In the previous exemple, we notice that there was no collider in the prefabs. We will now correct this issue:
Drag and drop the Prop_Tree_Palm prefab into the scene
Expand its hierarchy in the Hierarchy panel
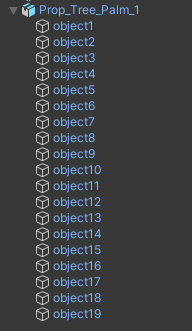
Select the different elements of the palm tree and check that none of them has a collider
At this point, without any collider, this tree will behave like a ghost object in the scene: the player can walk through it. To solve this issue, we will select the tree trunk and add colliders to it.
Select the Translation Tool
By shift-clicking, select all the elements of the trunk
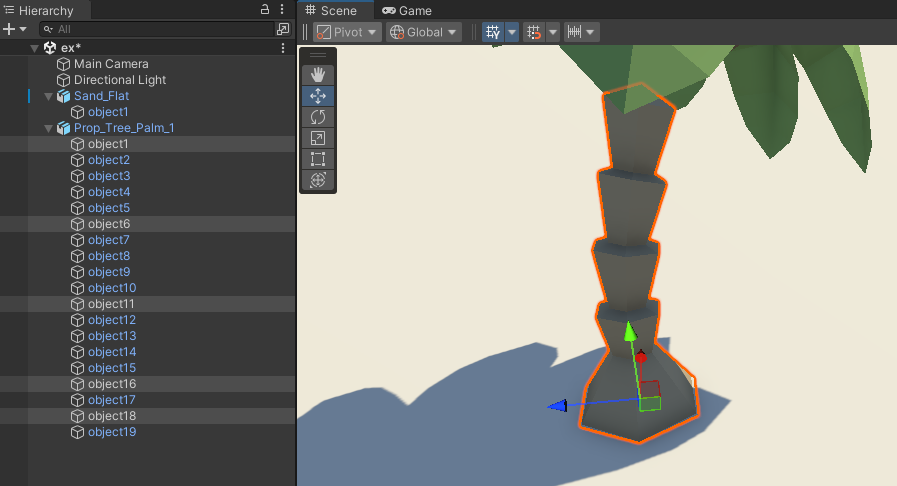
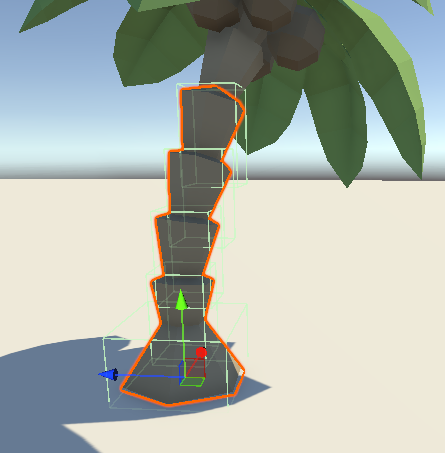
In the Inspector panel, click on Add component and select Box collider. This way, each part of the trunk receives a collider:
Note
If you need a more precise collider that follows the shape of the object, prefer using a Mesh Collider (with convex option activated). However, be aware that it is much more expensive.
Create a new asset folder named: fixedPrefab
Select the parent node: Prop_Tree_Palm_1
Drag and drop it into the new folder to create an updated prefab
This way, we fix a 3D prefab that had no collider and create an updated prefab.
Avertissement
This process should be done for every component you use, so it may take some time.